


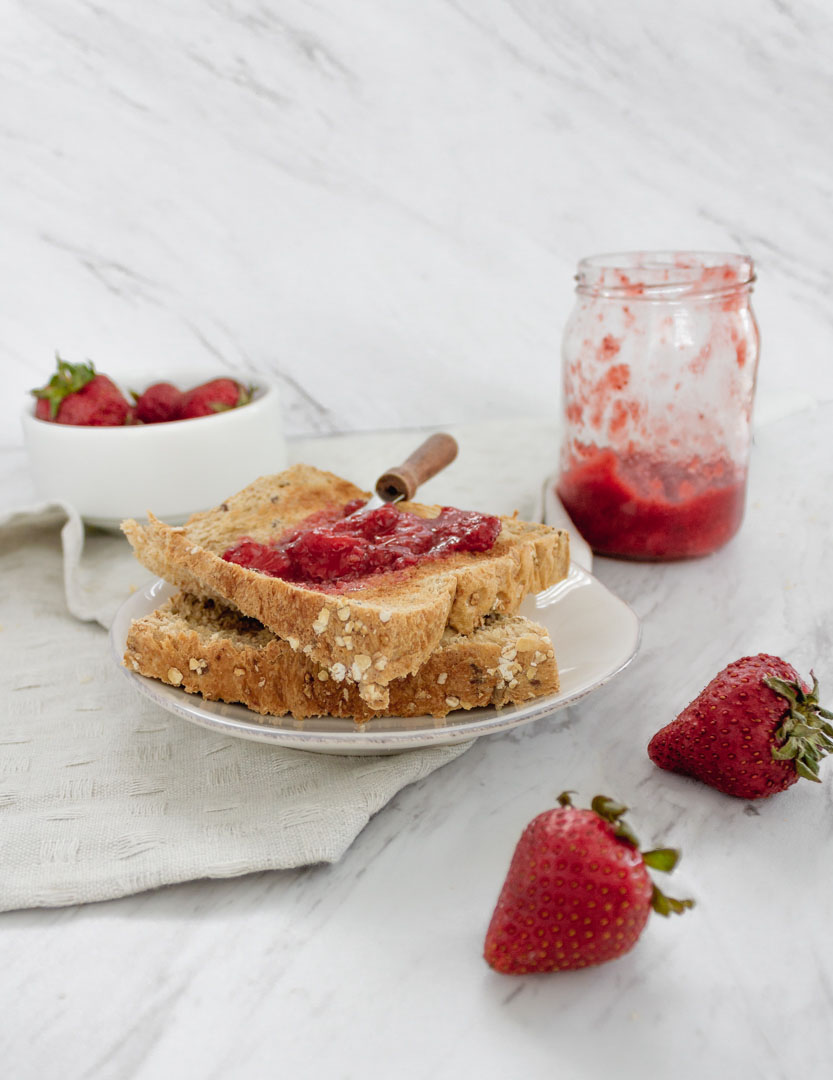


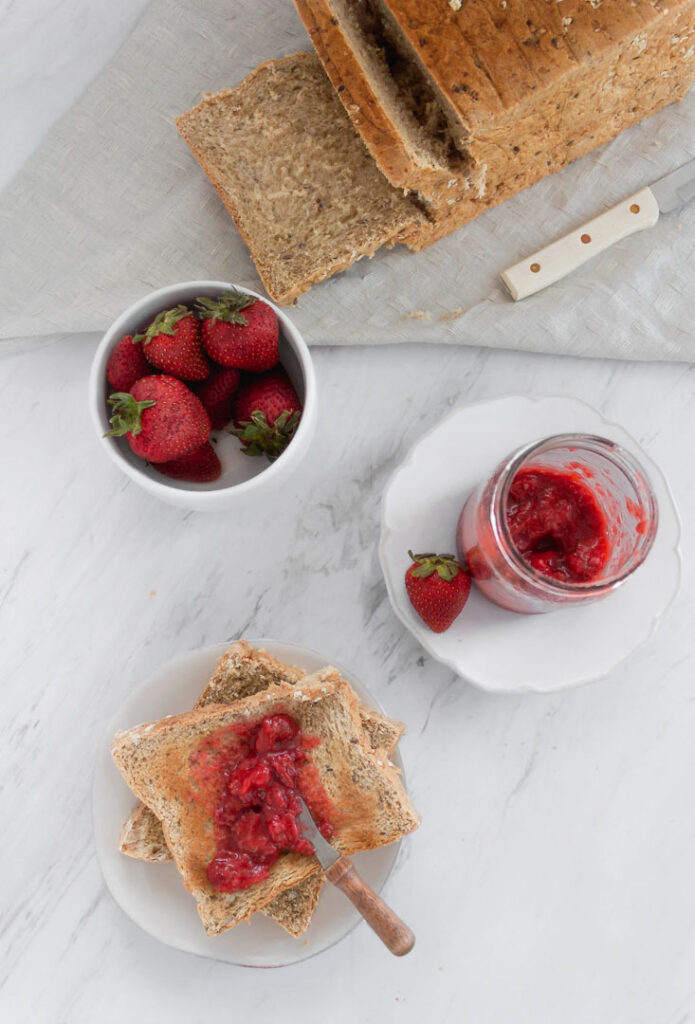
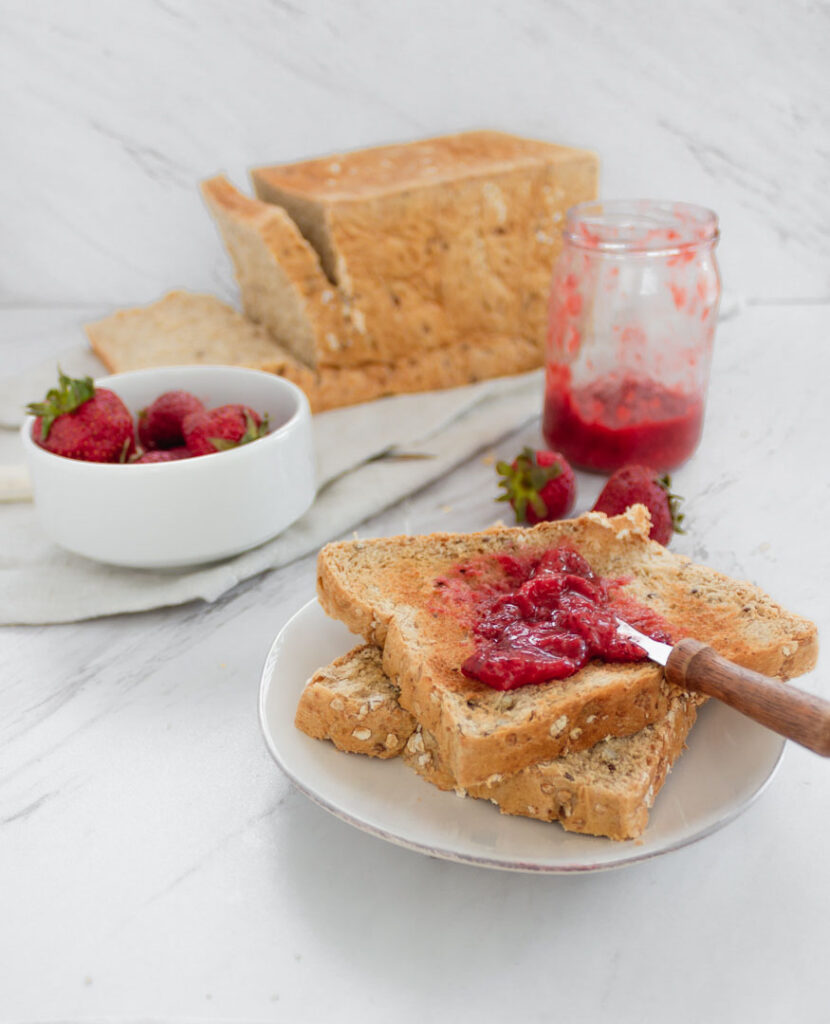
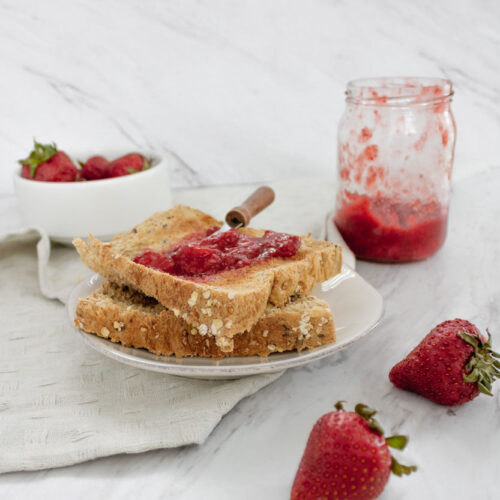
I’ve been working over-time in my garden recently, and it’s been a therapeutic and wholly gratifying experience. My vegetable patch is slowing growing, and I have abundance of fresh strawberries (a wonderful problem to have). Cue in Home-made Strawberry Jam. It’s sweet, tart and has little nibbles of strawberry pieces; it’s a 100% healthy, and guaranteed no preservatives. There’s nothing more satisfying than making your own jam. It’s super simple and this recipe takes less than 30 minutes. Once you’ve made your own jam you’ll wonder why you never did before.
Jam? Jelly? Compote? What’s the difference?
This recipe is a jam, but can be easily turned into other “forms” It can get a little confusing when there’s so many options, but essentially all of these are some combination of fruit, sugar, maybe spices, and a thickener.
Jam: You’re probably most familiar with Jam. It’s made with either chopped or pureed fruit that has been boiled down with sugar and mashed. Easy to spread, Jam has a looser consistency and when jarred can maintain its freshness for months.
Jelly: Only made from fruit juice, Jelly is the firmest and smoothest. In addition to sugar, an acid and thickener is added to give a firm gel-like texture.
Compote: Similar to jam, compotes are made by slowly cooking fresh or dried fruits in sugar syrup. The main difference being the fruit pieces largely stay intact. Unlike jam, compote is normally eaten right away and can be used in savoury dishes or as dessert components.
What’s in the Jam?
Three ingredients is all it takes, and I’m guessing you already have them in your pantry.
Strawberries: It wouldn’t be Strawberry Jam without them. Taste test your berries to make sure they’re fresh and sweet.
Sugar: It gives a little added sweetness and helps preserve the final product.
Lemon Juice: With all that sweetness we need some acidic to cut through and raise the flavour.
Cornstarch (optional): Personally, I think strawberries have enough pectin (natural thickener) to give a thick consistency, but if your preference is for a thicker jam, then you can add cornstarch.
How do I make Strawberry Jam?
Rest the Berries: After washing, de-stemming and chopping the strawberries into quarters, toss the berries with sugar in a bowl. Let the berries rest for 15 minutes to absorb the sugar and release any excess water. A crucial but often over-looked step, this extra prep will prevent your jam from being too watery.
Boil: Add the rested berries and the other ingredients into a medium pot and bring to a boil on medium heat.
Stir Frequently: Throughout the boiling process, stir constantly to prevent the berries from sticking to the bottom. Continue boiling for another 20 minutes and the fruit will begin to thicken.
Mash: During the 20 minutes of boiling, mash the berries against the side of the pot with the flat side of your spatula or spoon. Don’t mash completely or you won’t have any chunks of berry in your jam.
Final Test: Once the mixture has thickened you can start testing to see if it’s ready to be jarred. For test options see below.
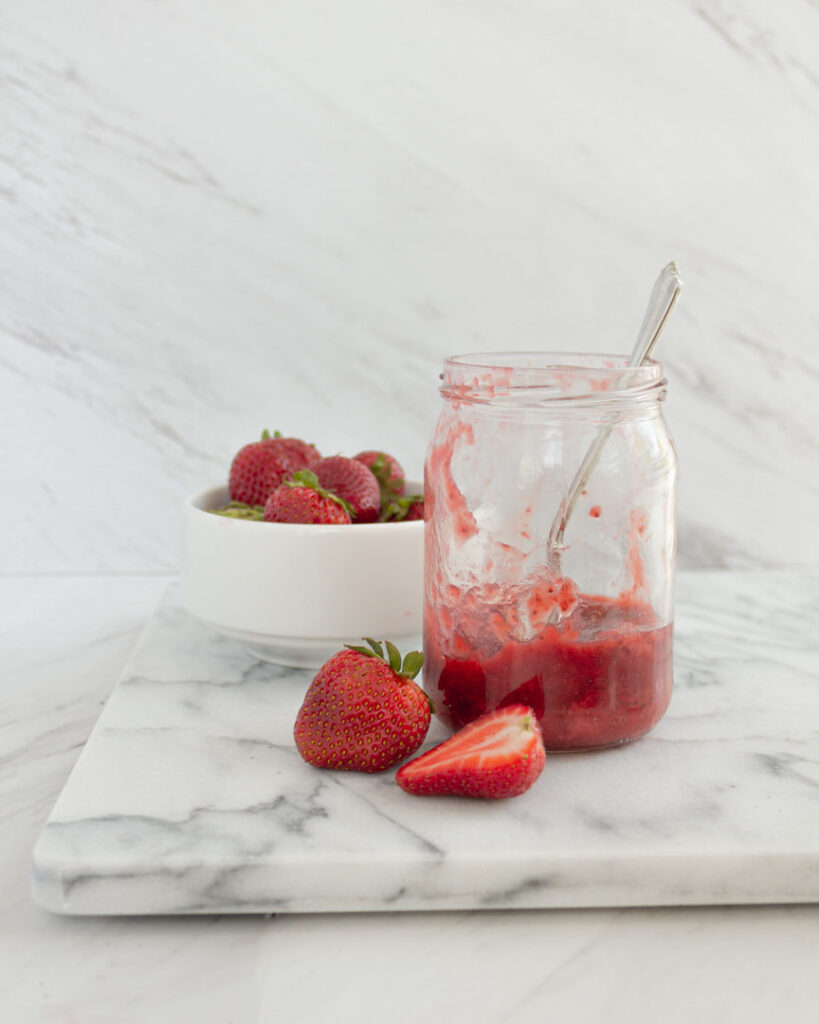
Jar: Once your jam is set, turn off the heat and immediately pour into a sterilised airtight container or glass jar. Let the jar cool for 20 minutes at room temperature before sealing and placing in the fridge. The jam will continue to thicken while cooling. Allow the jam to set for 24-49 hours before consuming.
NOTE: Never place sealed hot foods into cold/frozen glass jars or the fridge (vice versa) or they may shatter. It is dangerous and a waste of all your hard work.
How to Know if My Strawberry Jam is Set?
There are three ways to know if your strawberry jam is set and ready to be jarred. Remove the pot from the heat before testing.
Thermometer: The easiest way is with a sugar thermometer. The jam should be at a temperature of 221 °F/ 105°C.
Drip Test: Dip your spoon through the mixture in the pot and hold it up vertically. When set the jam should NOT run down the spoon, but coat the spoon and take a while to drop down.
Frozen Plate Test: Before making your jam, pop two plates in your freezer. When ready to test, remove the plates and place a dollop of jam on the plate. Push your finger through the jam on the plate and if it wrinkle and stays in place it’s ready. It should not be watery.
If the jam isn’t set, return the pot to the heat and cook at 5 minute increments, testing after each, until set.
A Note on Sterilising Jars
We may be getting messy in the kitchen while baking, but this doesn’t mean that our final product should be messy. Especially with preserves that can last for months it’s important that the jars/containers are bacteria-free, yeast-free, and contaminant-free. It’s a small detail but makes a huge difference in how long jams last and maintain freshness.
The easiest way to sterilised your containers is to clean them in a dishwasher with hot water and steam. Alternatively, if you don’t have a dishwasher or one that goes to high temperatures you can boil your jars over the stove top.
For additional information check out this post by The Spruce Eats.
Home-made Strawberry Jam
Ingredients
- 1 quart strawberries washed & quartered
- 1 tbsp granulated sugar
- 3 tbsp lemon juice
- 1 tbsp cornstarch (optional) for a thicker jam
Instructions
- In a bowl, toss the strawberries in sugar. Let rest for 15 minutes.
- In a medium sauce pan over medium heat add the strawberry/sugar mixture and lemon juice. Once the sugar is dissolved, raise the heat to medium-high and let the mixture come to a boil, stirring often.
- If you decide to use cornstarch to help further thicken the jam, add cornstarch now.
- Continue boiling to thicken the mixture, approximately 15 minutes, and test to see if it is ready for sealing. To do so, place a dollop on a cold plate, push a finger through the dollop and if it feels gel-like and wrinkles - it is ready.
- Once the mixture is ready, ladle immediately into airtight jars or containers. Let the mixture cool unsealed for 20 minutes at room temperature before sealing and placing in the fridge. Allow the jam to further thicken and set for 24-48 hours before consuming.
Notes
Show me your bakes!
Did you make this recipe?
Tag @WhiskfullySo on Instagram


Read the Comments +