


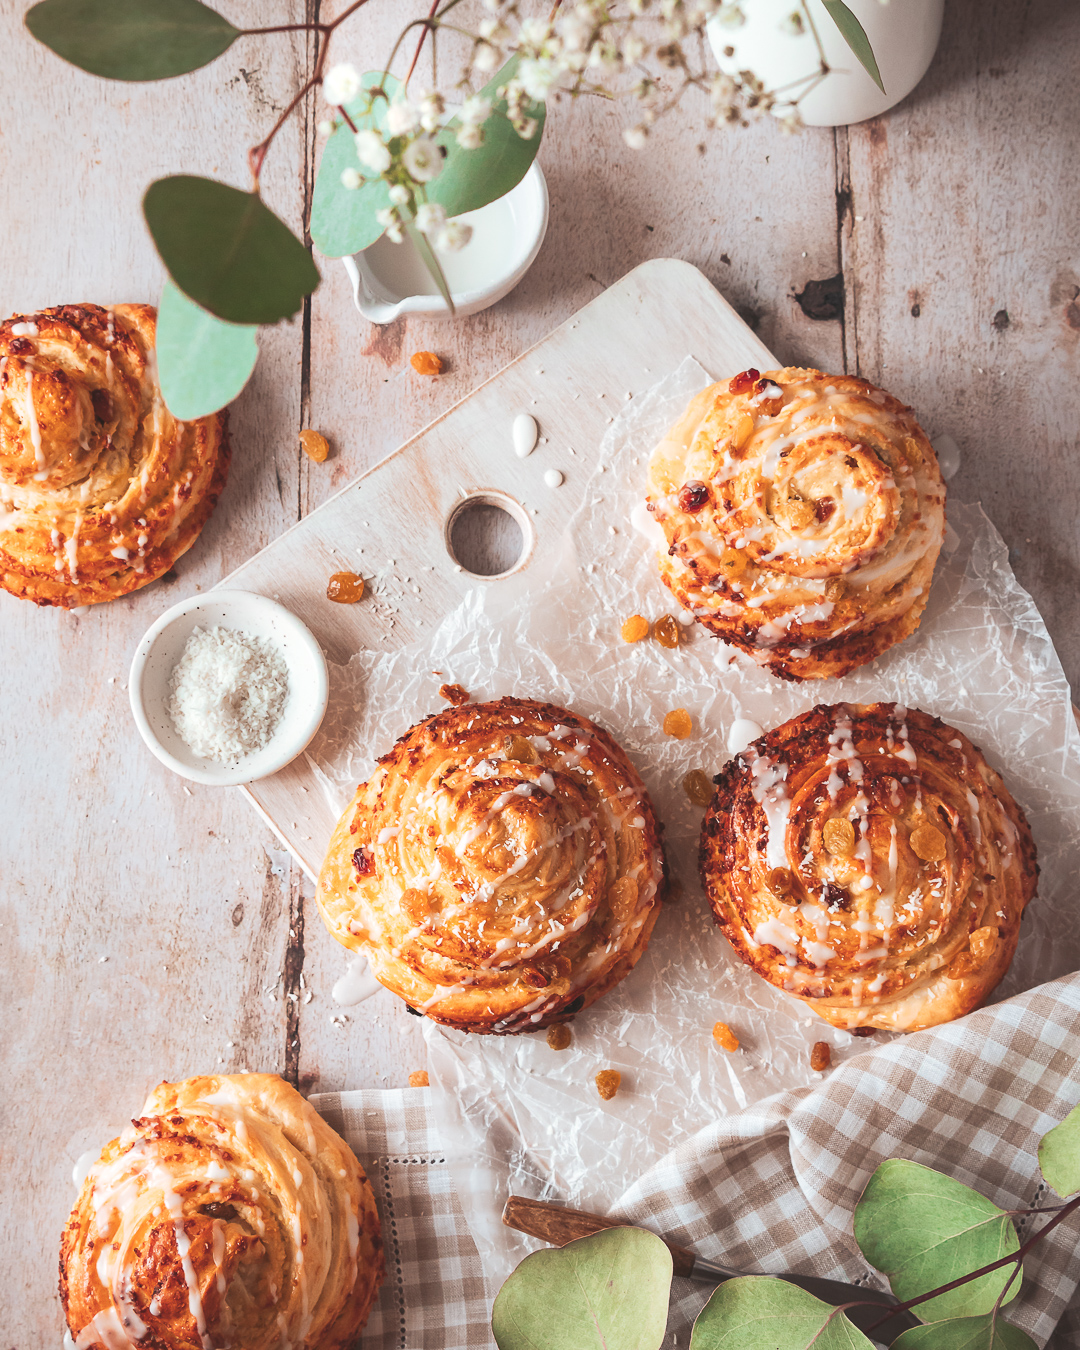


These Coconut Golden Raisin Swirl Buns are possibly the best morning buns I’ve ever made – I don’t say that lightly! Filled with a sweet coconut paste and golden raisins, these swirl buns are not only beautiful to look at, but are the perfect warm morning treat!
Curious about the behind-the-scenes of how I photographed the photos? Check out the video here!
The shape and assembling method of these swirl buns is inspired by Anna Wierzbinska’s Hazelnut Swirl Buns.

Everything you need to know about these swirl buns
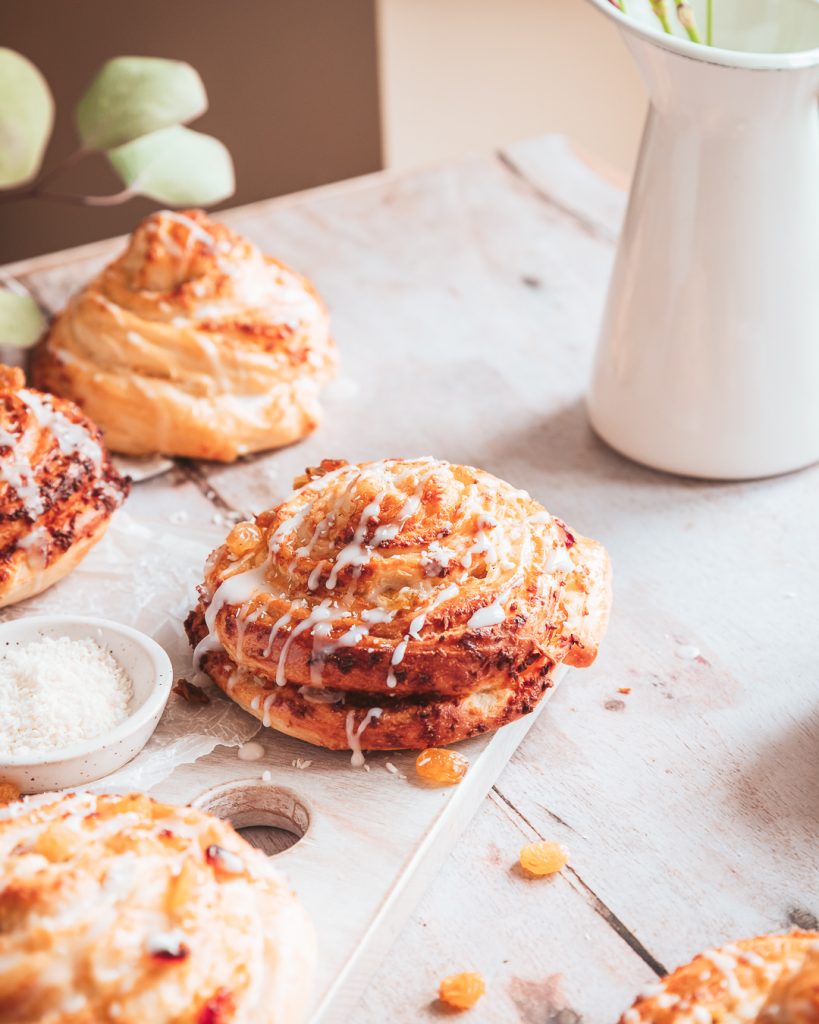
YIELD: This recipe makes 8 large swirl buns. Boy, these babies are big!
METHOD: These buns are SO EASY to make! The dough is kneaded, proofed, then assembled into the giant swirls before being baked! (more details below on the shaping method!)
TEXTURE: The coconut paste filling not only adds flavor, but since it’s quite wet, it makes the bread so fluffy. It pulls apart in the most beautiful bread threads.
FLAVOR: The dough in this recipe is an enriched dough meaning egg, sugar, milk, and butter are added to the dough. This creates a delicious brioche flavoured dough that is rich and sweet. If you’ve never tried the combination of coconut and raisin before, be prepared to be blown away! Golden raisins are the sweetest out of all raisin types, and quite plump and juicy!
LEVEL OF DIFFICULTY: EASY! If you’ve made cinnamon buns before, then you’ll find this to be very similar!

Ingredients & equipment to make Coconut Golden Raisin Swirl buns
INGREDIENTS:
- Bread Flour – The only flour you’ll need to make these swirl buns!
- Active or Instant Yeast – If you’re using active yeast, you’ll have to bloom it (aka activate it) before adding – check recipe notes. *ALWAYS check the expiration date of your yeast before using. For more info on the difference check out this article!
- Granulated Sugar – To give sweetness to the swirl buns.
- Eggs – This gives the bread it’s rich taste and soft texture.
- Milk – To combine all the dough ingredients. Can be substituted with plant-based milk or water.
- Unsalted Butter – The unsung hero of the bread dough. It makes the bread so SO good. You’ll also need this for the filling.
- Coconut Shreds – Make sure you get small coconut shreds and not large flakes or you’ll have a hard time forming the buns.
- Golden Raisins – If you can’t find golden raisins (also known as Sultanas) you can use other types, but this is the best because of it’s plump and soft texture.
special equipment:
Stand-mixer – I recommend a stand-mixer for kneading the dough for ease, but this can be done entirely by hand. Note, it will take longer.

Tips for making these swirl buns
TIP #1 – Check for proper gluten development with the window pan test! To ensure these swirl buns are fluffy, you’ll want to keep kneading the dough until it pulls cleanly away from the bowl. (This will take longer if kneaded by hand). To check that enough gluten has developed, grab a piece of the dough, and stretch it as thinly. It should be slightly transparent with enough elasticity so that it doesn’t tear.
Tip #2 – Proof overnight for even better flavor – After dough is kneaded it needs time to relax. With all types of enriched dough, it’s beneficial to let it rest overnight in the fridge. This enhances the flavor. Make the dough the night before, then shape and bake in the morning for breakfast!
TIP #3 – Roll out the dough in one direction – The dough can be quite fragile, especially if it was only rested for the minimum time. Roll out the dough in 1 direction at a time so it doesn’t tear.
TIP #4 – Don’t bush the egg wash over the filling cracks – When baked the egg wash will caramelize and cover the filling. This prevents the bun from fully rising and being airy. So only brush egg wash on the outer folds.
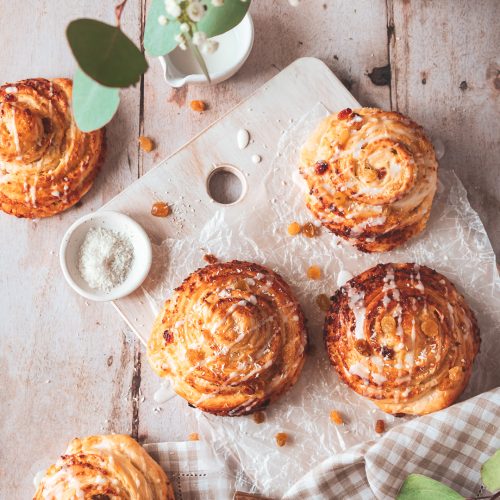
How to form swirl buns
It really is easier than it looks! Here’s how to form the swirl shape.
1. Roll out the dough – Roll out the dough into a large rectangle. Long side facing you.
2. Top with the filling – Just like making cinnamon buns, you’ll spread the filling all over the dough. Sprinkle raisins over the filling and press it in so the don’t move when folding.
3. Letter fold – Grabbing a short end, fold the dough into thirds just like a letter. Flatten it out a bit with the rolling pin.
4. Cut into 8 strips – Using a sharp long knife or pastry cutter trim the edges, then cut the rectangle in half, then half again, repeating until you get 8 strips.
5. Roll them up! – Roll each strip into a large spiral, and tuck the ends underneath before placing onto a baking tray.
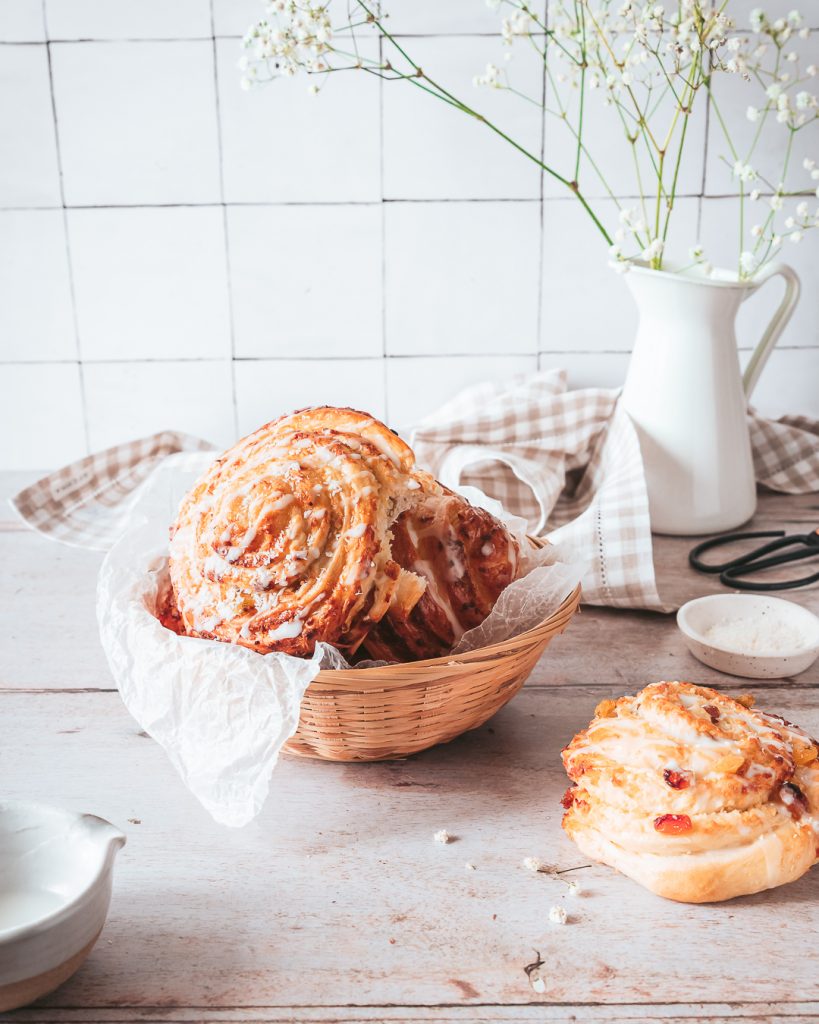
How to store Coconut Golden Raisin Swirl Buns
These Coconut Golden Raisin Swirl Buns are the best when enjoyed fresh out of the oven! But if you need to save these, wrap them in aluminum foil, before placing into an air tight container. To give them some oomf, heat them in the microwave covered with a towel to re-steam back some softness.
I hope you enjoy these delicious swirl buns! There are so many possible bun variations, so feel free to play around with the filling flavors!
Happy Baking! Sharon
Make sure to tag me on Instagram @whiskfullyso and leave a review below if you made this recipe. I hope you loved it! For more delicious ideas follow me on Pinterest.
Coconut Golden Raisin Swirl Buns
Ingredients
for the dough
- 500 g Bread Flour
- 8 g Active Yeast or 6g instant yeast
- 30 g granulated sugar
- 1 tsp kosher salt
- 1 whole egg , lightly whisked
- 240 ml whole milk (or plant-based milk or water)
- 40 g unsalted butter , softened at room temp
for the coconut golden raisin filling
- 20 g unsalted butter
- 40 g granulated sugar
- 30 g whole egg , lightly whisked
- 53 g golden raisins
- 50 g shredded coconut
for the glaze
- 95 g powdered sugar
- 15 ml milk or water
Instructions
for the dough
- Prep the Active Yeast - If using active yeast, proof it by sprinkling it over slightly warmed milk. Let sit for 5-10 minutes or until bubbling and frothy.
- In the bowl of a stand mixer combine, flour, salt, sugar, and yeast (only if using instant). Add in the whisked whole egg, and stream in milk (or milk/active yeast mixture). Mix together on low speed until beginning to hold together. Should be a shaggy form.
- Drop in the softened butter one tablespoon at a time and mix on low speed until the dough pulls away cleanly from the sides of the bowl. Approximately 10-15 minutes of kneading. More if kneading by hand. Check for gluten development by stretching a piece of the dough. The dough is properly formed when the dough can be thinly stretched into a transparent film without tearing.
- Transfer the dough to a work surface and roll into a tight ball. Place into a lightly oiled bowl, cover, and let rise somewhere warm for 2 hours or until doubled in size.
make the coconut golden raisin filling
- Melt the unsalted butter in a small bowl in the microwave. Stir in the granulated sugar, and add in 30 of whole egg (reserve the rest for egg wash). Add in the coconut shreds and golden raisins, and mix until a thick paste forms.
Assemble
- To chill overnight - Remove the proofed dough, and punch into it to knock out some of the air. Transfer to a work surface. Roll out the dough into a small rectangle then place onto a half sheet baking tray, cover tightly, then place in the fridge to chill overnight. The next day, roll out the dough gently into a 15 x 20” rectangle - long edge facing you.
- To bake same day - Remove the proofed dough, and punch into it to knock out some of the air. Transfer to a work surface. Roll out the dough gently into a 15 x 20” rectangle - long edge facing you.
- Prep a large baking tray by lining it with parchment paper. Using a flat spatula or the flat side of a spoon, spread the coconut paste filling over the entire rectangle. Then grabbing a short edge, fold the dough into thirds - like a letter. Press down slightly with a rolling pin, and roll out some more.
- Using a long sharp knife or a pastry cutter, trim the edges, then slice in half, then half again, repeating with each section until you have 8 long strips. Starting from the end closest to you, roll each strip into a tight spiral, tucking the ends under the bun. Place onto the prepped baking tray.
- Cover the buns loosely with some cling film or a kitchen towel and set them aside for at least an hour to rise one more time. They should be doubled in size and jiggle slightly when the pan is shaken.
- Preheat the oven to 350°F / 176°C and brush outside of the buns with the remaining egg wash, sprinkle with extra coconut shreds and raisins. Bake for 15-18 minutes covering with aluminum foil after the 12 minute mark to prevent burning. Remove from the oven, and let the buns cool on the baking tray for 5-10 minutes.
- While the buns are cooling, make the glaze by whisking together powdered sugar and water, adding more water if needed until of desired consistency. Drizzle over the cooled swirl buns and Enjoy!
Notes
- Whole milk can be replaced with plant-based milk or water.
- Active yeast or instant yeast can be used. Check recipe for correct amounts.


Read the Comments +