


Photographing with a beautiful backdrop can make or break the mood of a photo. Case in point, here’s a photo I took before I had a nice backdrop.
BEFORE

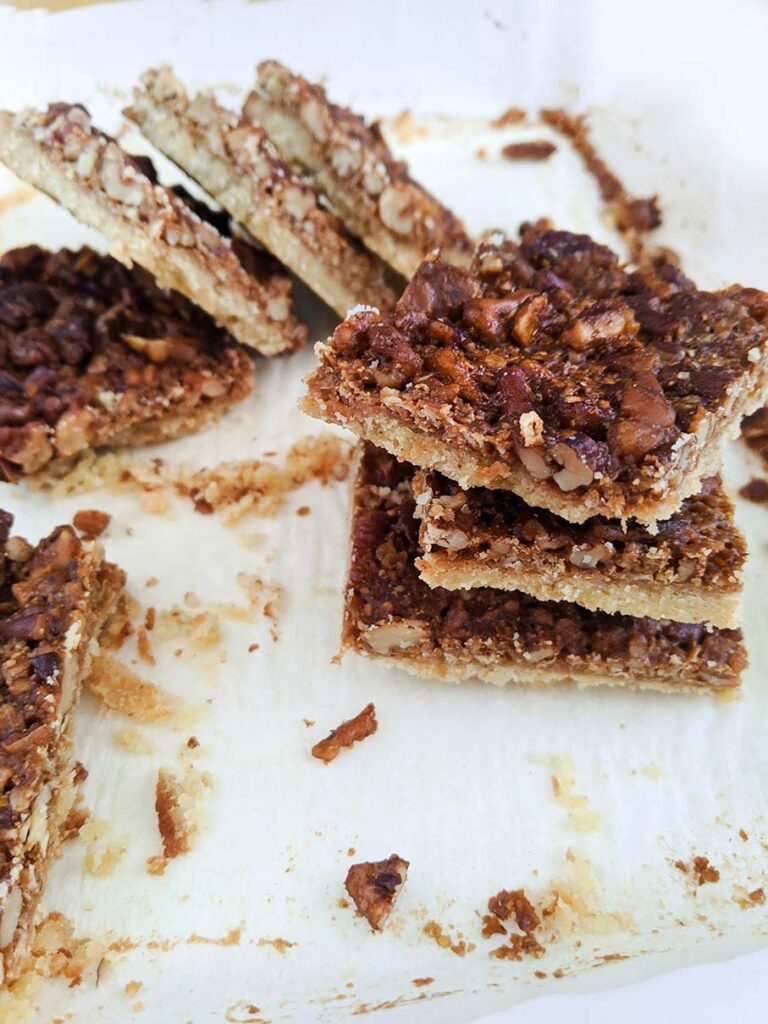
After
See the difference? Yeah, it’s HUGE. Not only does a backdrop add mood, but it’s essentially a blank canvas for you to create art (in this case food).
While you can buy your own backdrop, I actually prefer making my own, as I have more control over the final product and I can save $$$ (nice backdrops ain’t cheap). Keep reading below for how to make your own DIY photography backdrop!
Materials
I purchased all of my materials from Home Depot, and in total I spent less than $30; however all of these can be found at your local hardware store.
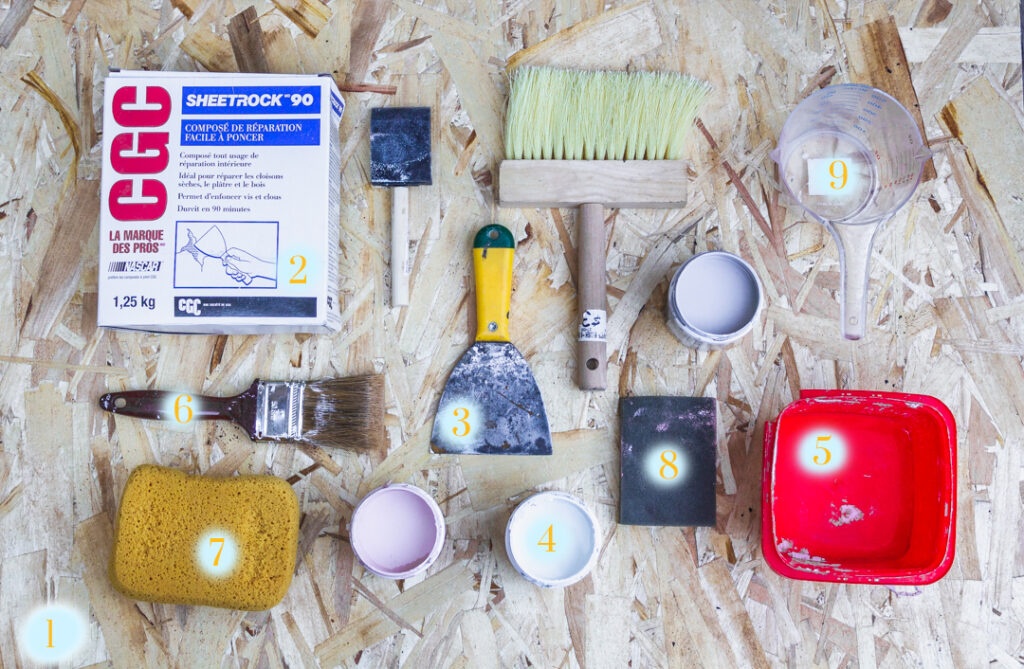
1.Wooden Board
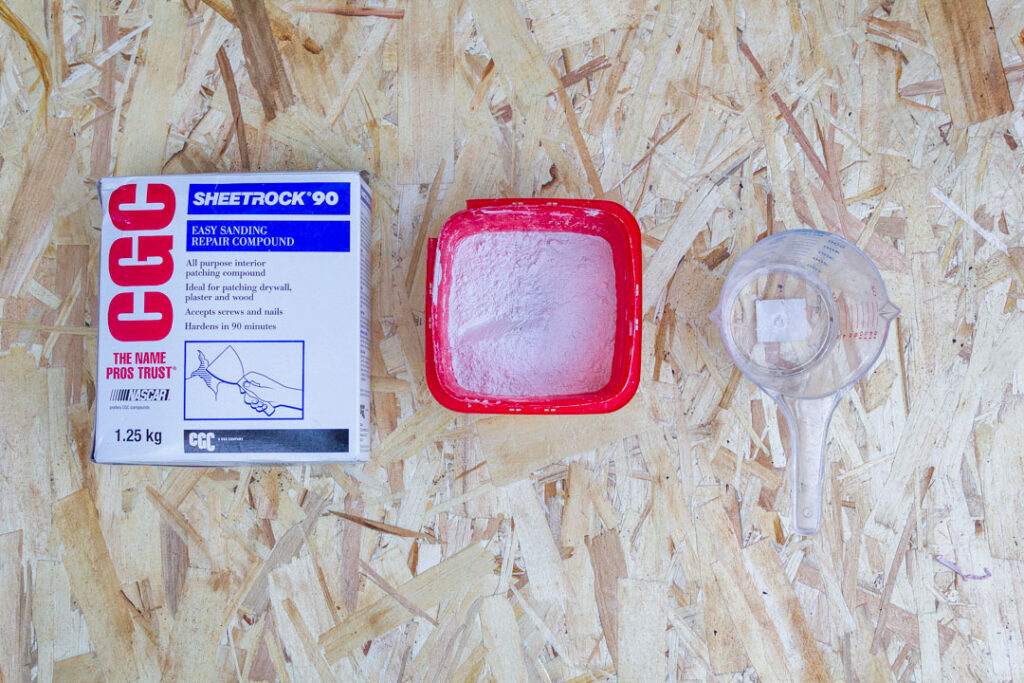
2.Dry Wall Compound: (Powder Form shown here; also available pre-mixed. Pre-mixed comes in pink, but will dry white.)
3.Plaster applicator
4.Paint Samples (FREE at Home Depot)
5.Bucket for mixing plaster
6.Brushes for painting
7.Sponges for painting
8.Sanding paper
9. 1/2 cup of water for mixing plaster (more if needed)
INSTRUCTIONS
Step 1: Selecting your wooden board
Size: No smaller than 2 ft x 3ft; or 4 ft x 4 ft or larger.
(Home Depot can also cut your board to your desired dimensions)
Thickness: 1/4 inch to 1/2 inch thick. *Less than 1/4″ and the board may warp and any thicker than 1/2″ the board will be heavy.
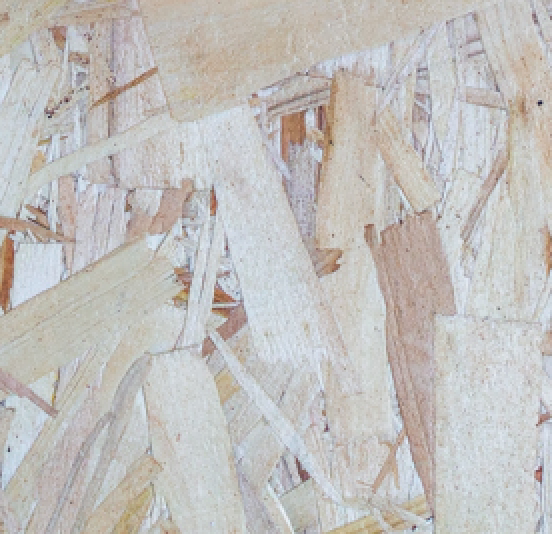
Tip: You can select either a textured wood board (pictured right) or a smooth board. It will depend on the final texture you want.
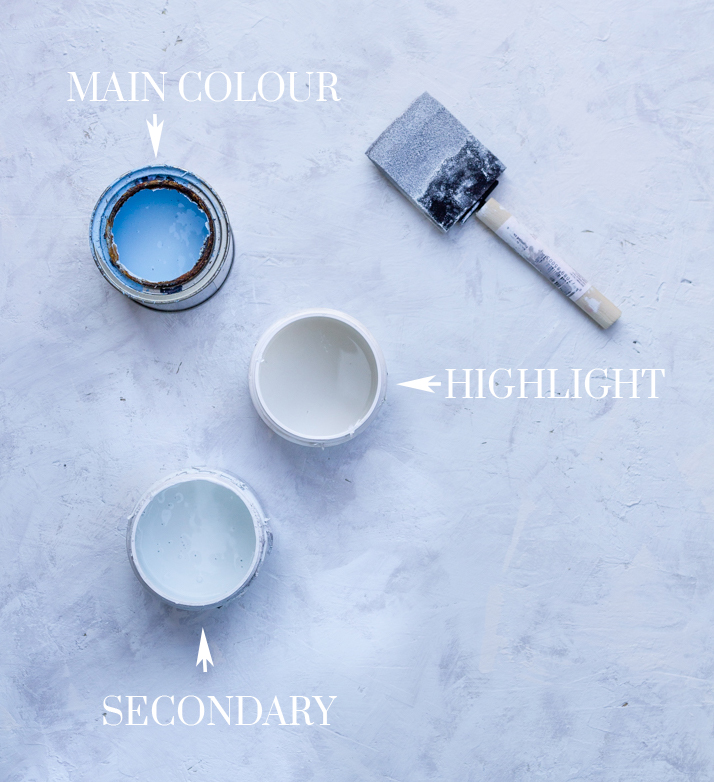
Step 2: Select your Paint
Tips for Selecting Paint Colour
1. Colour Variation: Choose colours that are further apart in contrast, this will give more depth to your board. As a rule choose 3 colours: 1 highlight; 1 medium tone; 1 shadow colour.
2. Matte Colour: Matte finishes are best for photography backdrops.
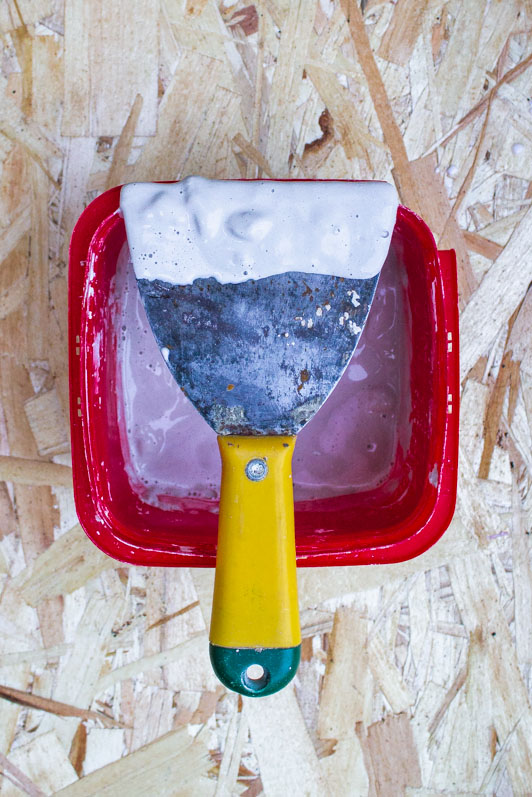
Step 3: Mix your Plaster
(If you’re using pre-mixed, you can skip this step.)
4:1 (Ratio of powder compound: water)
Mix 4 parts powder compound to 1 part water. Use the plaster applicator to mix the compound and water.
Add more compound or water, if necessary, until the mixture resembles a thick pancake mixture.
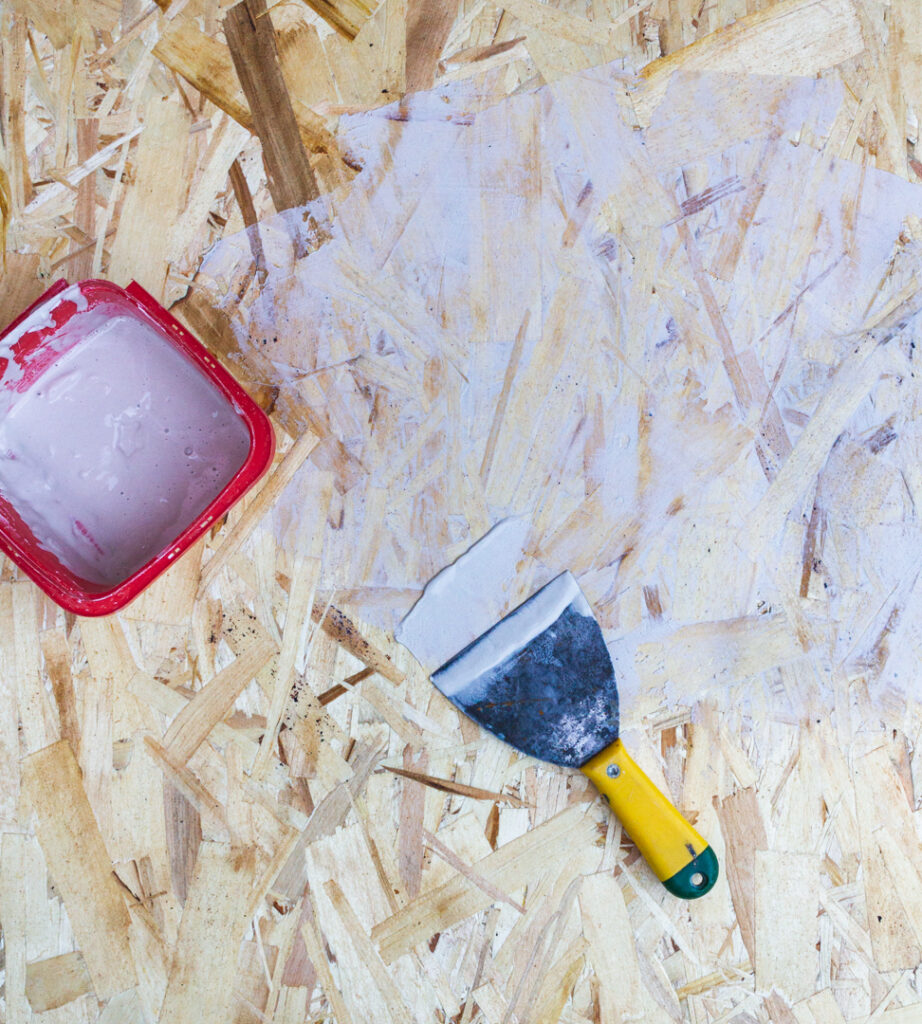
Step 4: Applying Primer Layer
By applying a thin layer of plaster first, we prepare the board for paint, this will prevent the paint from peeling.
Apply the plaster by spooning plaster mixture onto the applicator. Smear a blob of paster, then hold the applicator perpendicular to the board and use the hard edge to scrape off the excess.
Repeat smearing and scraping, until the whole board has been covered in plaster.
Let dry for a minimum of 1 hour.
Step 5: Applying Texture (Two Options)
Opt 1: Rustic Texture
If you want a textured board, apply a second layer of plaster.
Rather than scraping off the excess after smearing, leave the excess. Repeat this smearing motion applying the plaster in a “x” motion, until the whole board is covered.
Let dry for 24 hours.
Opt 2: Smooth Texture
For a smooth texture, take your sand paper, and sand down the board as well as the sides. This will even out any bumps.
Brush off excess dust with a dry brush.
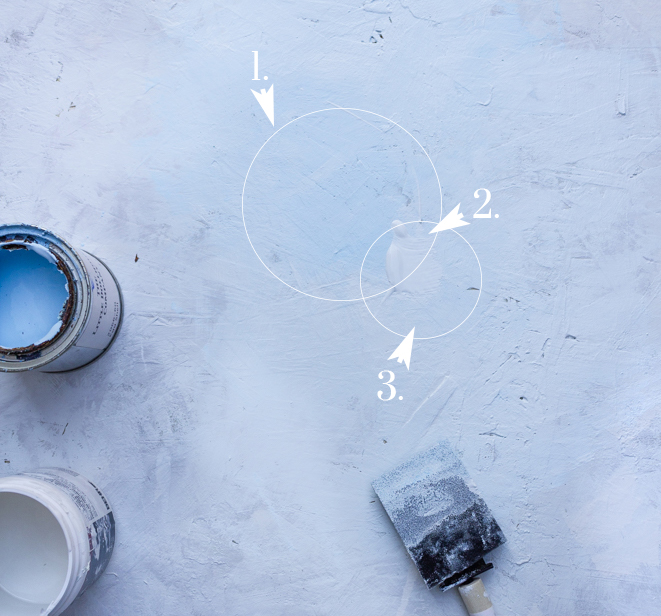
Step 6: Paint
(Paint sections of the board at a time as the paint applies and blends best when wet. If the paint dries, it can peel. Spritz a little water onto the board if it gets dry)
To Blend: Brush back-and-forth motion.
To fill or add speckle texture: Use a sponge brush, and “dab” the paint on.
*Don’t add too much paint at a time, or the colours will mix and you won’t get variation.
1. Add your main colour and using your brush, brush back-and-forth to distribute the paint.
2. Add a tiny amount of your highlight/lightest colour.
3. Add a little blob of your darkest/shadow colour and “blend” the main colour with the shadow by brushing back-and-forth.
4.Continue painting the board, sections at a time, until the board is covered.
Tip: If the paint gets too dark, grab a little of the light colour (step 2) and brush over the dark area to lighten it.
Finishing & Storing
Finish: Let the completed board dry for a minimum of 24 hours before using, to allow the paint to fully dry.
Store the board upright, as straight as possible to prevent bending. I like to separate my boards with large pieces of newspaper or drafting paper to prevent rub-off between boards.
Tips
1. Try it Out: Shoot with your board before deciding whether or not you hate/love it. The colours change slightly once dry, so don’t make any judgments until you try it out!
2. Seal to Protect: I chose not seal my board as all I need is a light wipe down with water to keep my board clean. However, if you’re shooting with oily saucy foods or food that may stain, seal your board with a finishing spray to protect the colour.
Show me your bakes!
Tag @WhiskfullySo on Instagram


Read the Comments +