


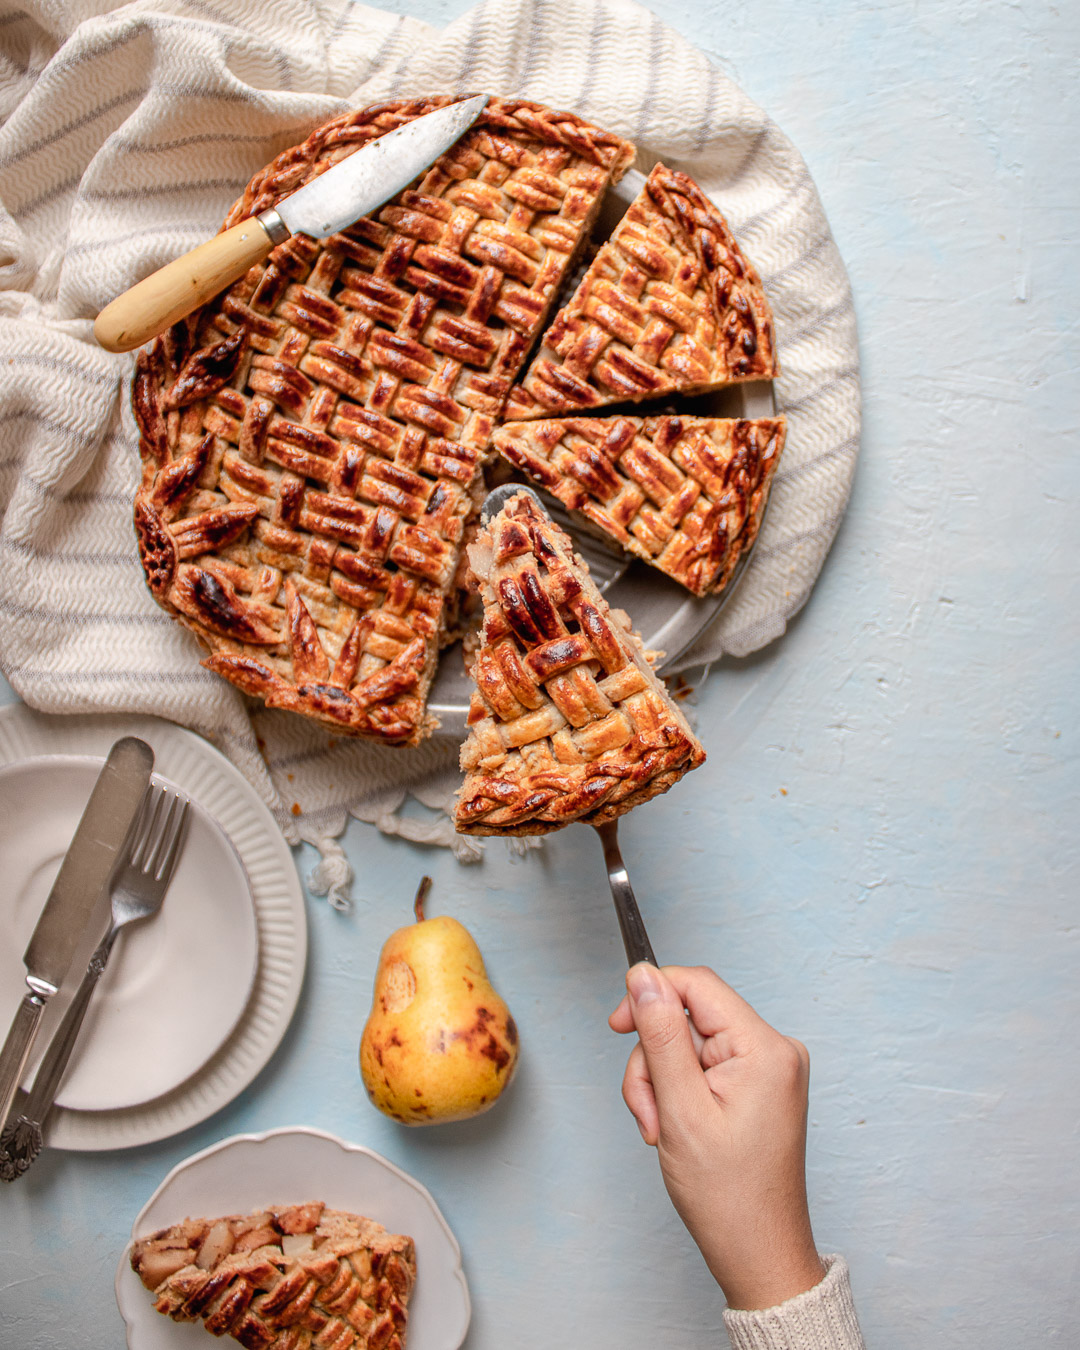


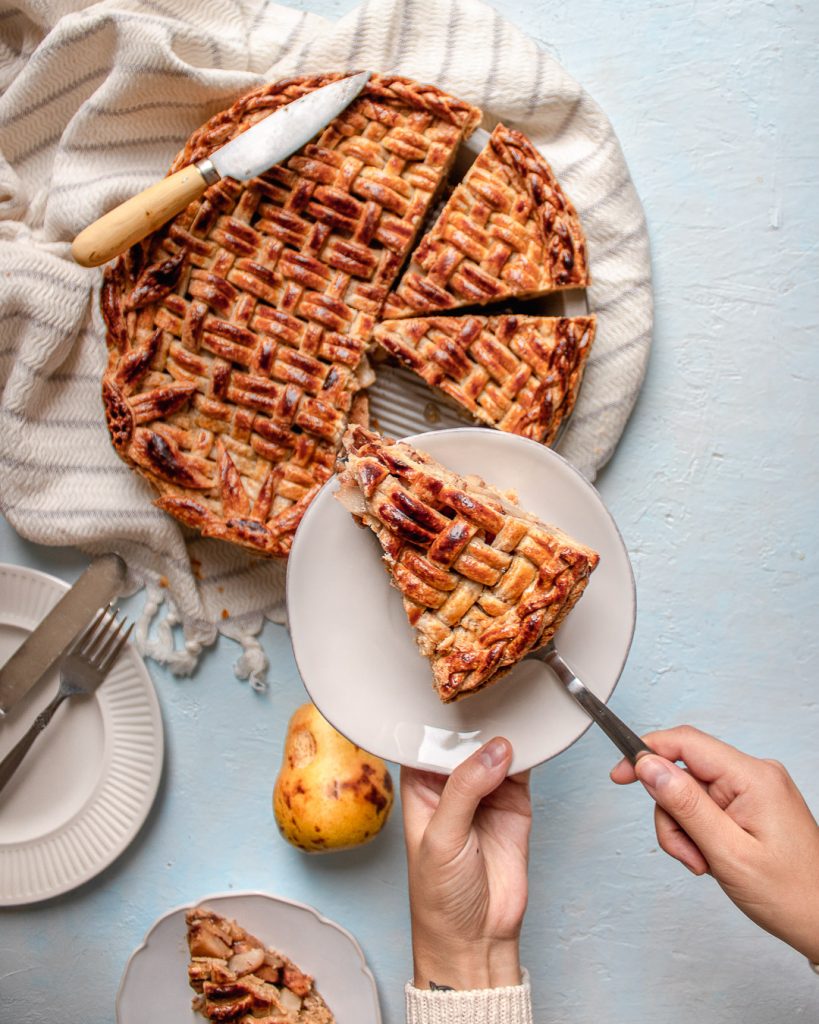
Apple pie gets all the credit when fall baking begins, but pears are an underrated superstar. When baked in pies, they take on a crisp fresh juiciness that when paired with chai spices is absolutely delicious! I use my go-to pie crust recipe, but you can use your favourite! Trust me! Once you go pear, you’ll be reaching for this fall-spiced chai pear pie again AND AGAIN!
What’s the Story behind this Fall Spiced Chai Pear Pie?
This pie happened by accident. No, I didn’t mistake pears for apples. I was baking an apple pie, but then I ran out of apples. I had one or two pears on hand, so I tossed them into the pie as well, because…who would notice? Yup, people noticed, they kept asking what kind of apples I used because they were fresh, juicy, crisp…and then I had to break the news that it wasn’t ALL apple pie. So there you have it, accidental pear pie, and once I committed to doing an all pear pie I decided to throw some delicious chai into the mix.
The filling is everything…
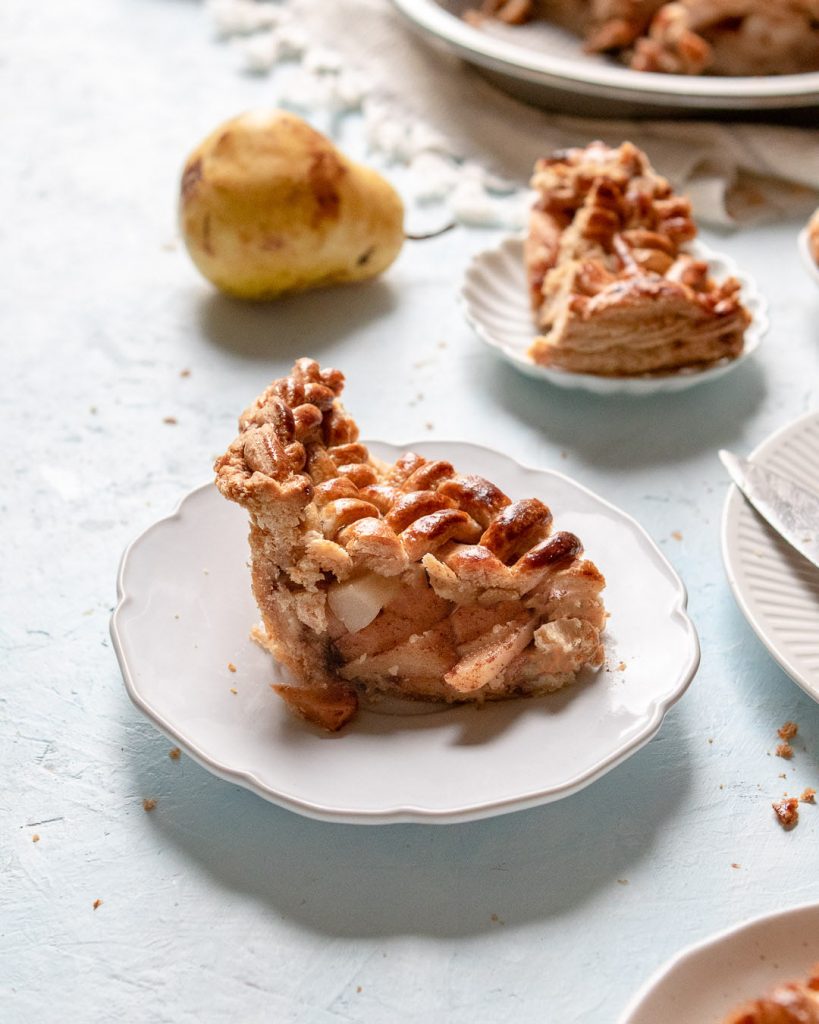
While I mostly eat pie for the crust (heh don’t judge), the filling is probably the most important, and ff the filling sucks…forget eating the rest of the pie. This fall spiced chai pear pie filling uses my favourite pear of all time: Bartlett Pears. They’re juicy, smooth and have almost a creamy buttery mouth-feel. Are you drooling yet?
How to Make Fall-Spiced Chai Pear Pie
To pack this pie with all the chai taste I like to cook the filling before baking. While this does take more time, ie. 15 minutes, it makes a huge difference. While you can bake raw pears, I find that by cooking them down with the spices all the juices are released. Letting the filling cool a little after enhances the chai flavour even more and the sauce thickens holding all the sliced pears together. So when you finally bake that pie and slice into it you get packed slices of pears held together by a glossy caramel-looking sauce.

Ingredients for this Fall- Spiced Chai Pear Pie
1 Pie Crust Recipe: I use my trusty pie recipe: it’s buttery, flakey & rich. Get the recipe here.
Bartlett Pears: While you can use whichever pears you can find, I HIGHLY recommend choosing these beauties. They’re crisp, juicy and have a fresh zing that goes well with the spices.
Brown Sugar: For that wonderful molasses taste, I use mostly brown sugar in this recipe.
Granulated Sugar (optional): If you like your pie sweeter, you can also add granulated sugar into the mix.
Cinnamon, Nutmeg, Cardamon, Ginger & Cloves: This spice mix is key to that chai flavour. Make sure you have the powdered version of each of these. Ginger may be the only exception where you can sub for freshly grated.
Egg Wash: A combination of 1 egg yolk + a little milk (evaporated works well in a pinch too) for that perfect golden crust.
Demerara Sugar (optional): This is totally optional, but I never make pie without this! I like to sprinkle generously on the pie right before baking for an extra crunch.

Tips & Tricks for Pie Success
Keep the pie cold. It may seem extra to chill the pie AND the filling separately and again assembled before baking, but by chilling each element and combined it prevents the bottom from getting soggy, and ensures a super flakey crust.
Cover the top. Top can easily start to burn before the insides have been cooked. So if you notice the top starting to char, remove it from the oven, cover with some tinfoil, and continue baking. Alternatively, you can cover it from the start and bake uncovered towards the end.
Pie Crust Cheat. If you don’t want to bother making your own pie crust, 2 frozen puff pastry sheets work great! Just make sure you defrost the sheets before rolling and using.
How To Bake Ahead
If you are making this fall spiced Chai Pear Pie from scratch, the filling and the dough can be made the night before. Even better because the filling will be really cold and the flavours will have intensified.
Or, you can bake the whole pie the day before. Day-old pie is really the best since the filling congeals and gets really thick. If you slice pie when it’s fresh and hot, the filling tends to slide all out.
And there you have it a Chai Pear Pie that may make you (temporarily) forget about apples or you may just decided to make both because MORE PIE!
Sharon
Fall Spiced Chai Pear Pie
Ingredients
- 6 Bartlett Pears peeled, cored & sliced into 1/4" inch slices
- 1/3 cup (65g) Brown sugar
- 1 tbsp (5g) Cinnamon powder
- 1/2 tbsp (3g) Nutmeg powder
- 1/2 tsp (2g) Cardamon powder
- 1/2 tsp (2g) Clove powder
- 1 tsp (3g) ginger powder
- 1/3 cup (67g) granulated sugar optional
- 1 recipe pie crust
- 1 small egg yolk whisked
- 1 tbsp milk
- 1 tbsp unsalted butter
Instructions
- Make the pie crust, and allow the dough to chill in the fridge while you make the filling.
for the filling
- In a large bowl add the 6 sliced Bartlett Pears, brown sugar, cinnamon, nutmeg, cardamon, cloves and ginger. Toss together with a wooden spoon to combine. Let rest of 10 minutes. Pour out all released juices except for 1 tablespoon.
- In a skillet over medium heat, melt the 1 tbsp of butter. Once the butter is almost melted and is foaming, add the pear spice mixture into the pan. Spreading the pears in an even layer cook for 10-15 minutes, stirring occasionally to prevent them from burning or sticking to the pan. The pears should be soft and any released juices should be thickened.
- Place the cooked pear filling back into the mixing bowl, and let chill in the fridge until at least room temperature.
to assemble
- Prep your pie pan if it IS NOT non-stick but buttering the insides and edges.
- Roll out the first disk of pie dough by first dusting the surface and the rolling pin with flour. Roll out the pie dough into a round disc that is approximately 1/4 inch thick. Place the first pie crust into the pan, by folding it in half then again (so into a quarter), so it is easier to transport, then unfold once it is over the pie tin. Lightly lift the edges of the dough to ease it into the pan. Lightly press the dough into the pan. Trim an excess with a knife or scissors so there is only a 1/2 inch overhang.
- Fill the pie with the cooled filling, making sure the filling is evenly spread. If there's too much filling let it dome in the middle of the pie.
- Chill the now fill pie again for another 15 minutes in the fridge. Roll out the second disc of pie dough. You can either lattice this second dough or roll the dough into another circle 1/4 inch thick.
- Create the egg wash by whisking together the egg yolk and 1 tbsp of milk. Lightly brush the edges of the bottom pie crust with the egg wash before placing on the top crust.
- Place the second crust on top of the filling and trim any excess so the edge of the top crust is 1/4 inch smaller than the bottom crust. Fold the edges of the bottom crust over the top crust and pinch to adhere. You can crimp the edges by holding an index finger to the outside of the crust and using the thumb and index finger of the other hand to push outwards on the inside of the crust.
to bake
- Chill the assembled pie for another 10-15 minutes in the fridge and preheat the oven to 400F. Brush the entire pie with egg wash and (optionally) sprinkle generously with demerara sugar. Place the pie on a baking sheet and bake for 20 minutes or until the top is just turning golden. Then lower the temperature to 375F, cover the top with aluminum foil and bake for another 30-35 minutes or until the filling is bubbly. If you want your pie really golden, uncover for the last 5 minutes and let the top char more.
- Let the pie cool for 10 minutes before slicing and serving.
Notes
- Don't want to make a homemade crust? Sub the pie crust for 2 frozen puff pastry sheets! Just let them defrost and come to room temperature before using.


Read the Comments +