


Styling Chicken for Food Photography! The first post in this new “How to Style...” Series! In this on-going series, I’ll be sharing with you how to style everything from fish, to stews, to pasta, cakes, flat foods, etc.
In the professional food styling industry, stylists do some CRAZY things to food. They use glue, chemical sprays to make food look appealing. YUCK. I promise there will be NONE of that! I’m a huge advocate for not wasting food, so all the tips/tricks I share will not prevent you from eating it afterwards!
Why is chicken so hard to style?
Oh boy, styling chicken can be tricky. Rotisserie or full turkeys are easier because they have that WOW factor, but what about plain ole chicken breast? Styling chicken or turkey (any light colored meat) is tough for the following reasons.
- It Looks Gross Raw – Unlike beef, chicken has no marbling or unique texture to show off.
- It’s Brown – This makes it automatically difficult to photograph and edit.
- It’s Plain – While drumsticks and thighs have a bit more visual interest with the bone, breast, even once cooked, can look plain.
But don’t fret! As with everything, there are some strict guidelines I always follow when styling chicken to ensure it looks beautiful no matter the recipe! I don’t use anything fancy, but there are some tools I recommend so you have more control. You can check them out here!
The recipe pictured in the photographs is adapted from Half-Baked Harvest’s Roasted Garlic Butter Chicken Recipe.
Tips for Styling drool worthy Chicken!
A little disclaimer…while the example I use in this post is Chicken Breast, these tips can be applied to any other Chicken or light coloured meat such as: Turkey, Rabbit, and some Deli Meats, etc.
Watch the video below to see in action how I styled chicken in this dish!
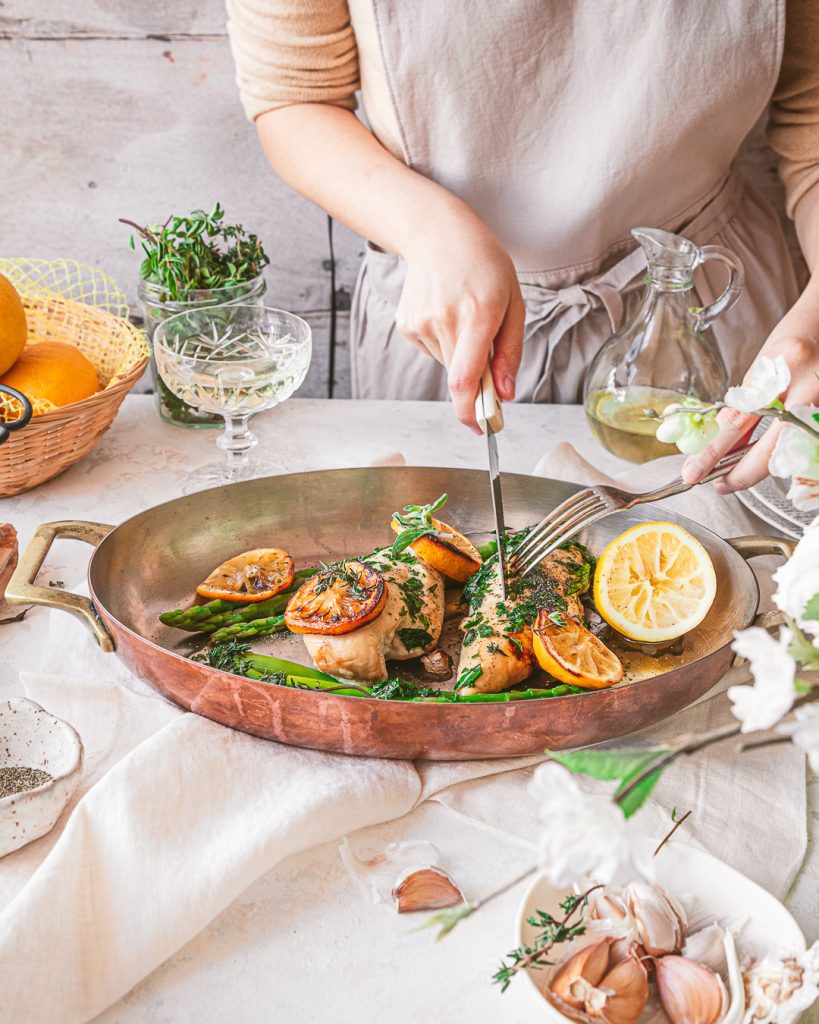
Tip #1 – Prepare your scene before
The reason this is my #1 tip is because no matter how beautiful you’ve styled a dish, it always looks most beautiful fresh! Chicken has a tendency to dry out really quickly, so setting up your scene and camera positioning beforehand means that you can start styling and shooting as soon as the cooking is done!
tip #2 – Cook all ingredients Separately
The reason I cook all my ingredients separately is so that I can have more control in the styling afterwards. In the case of this Roasted Garlic Lemon Chicken, I baked the chicken plain. This way, I could have control on the placement and look of the dressing/seasoning. If your meat needs to be marinated, that’s fine to cook together; however, er on the side of lightly marinated as you can always add sauce after baking. Also cook your supporting ingredients separately.
tip #3 – Cook until ‘just right’
There’s nothing more difficult to correct in Adobe Lightroom than a burnt piece of meat. The oranges, yellows and reds will be so hard to correct so ALWAYS undercook rather than charr. *If you’re photographing grilled meat, then obviously you would cook it more. Use your own discretion.
I cooked this chicken breast until the skin was just turning golden brown. For that extra crispy skin or golden brown look, I went back in with a blowtorch while styling, so I could control which areas would be darker.
TRICK – Cover the meat with some aluminum foil while baking to protect the skin. The steam from the covering will make it extra moist and juicy.
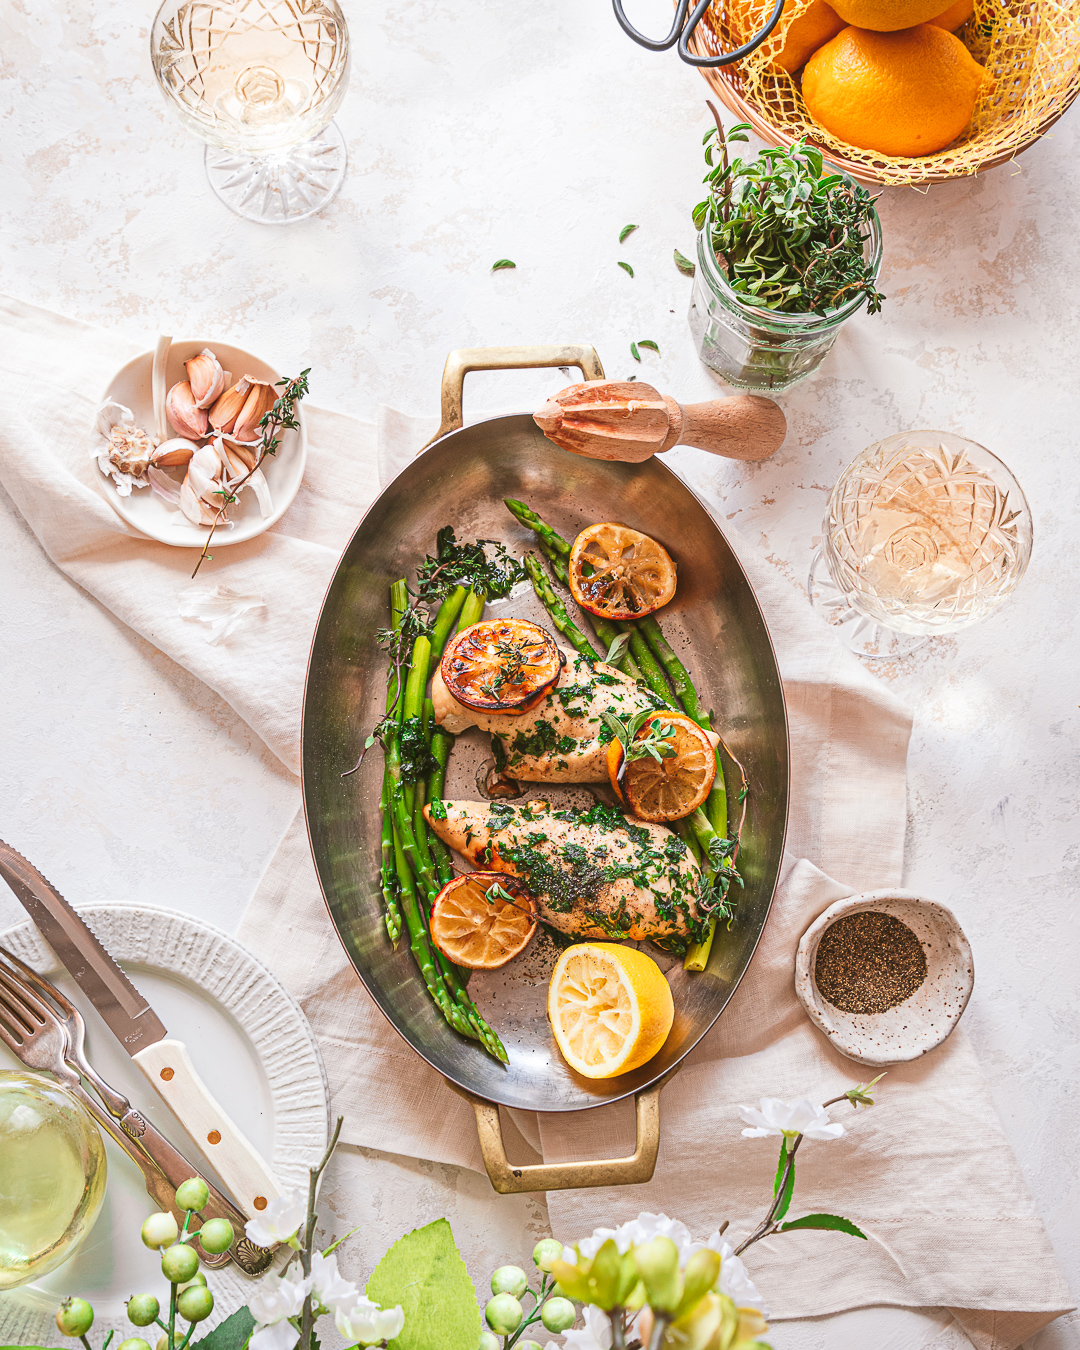
tip #4 – Style Chicken in multiples
Unlike large rotisserie chickens that, by size alone, are show stoppers, chicken breasts, thighs, and nuggets are better displayed in numbers. In this photo I chose a casserole dish to tell the story of a family dinner. Since I only have 2 pieces of chicken, it looks better together in one dish as it gives the impression of more than it actually is. Another option would be to use a sheet tray.
tip #5 – Elevate with props
Like I mentioned earlier, chicken by itself can visually be boring, so select props that have a bit of character! This bronze casserole dish is beautiful and instantly elevates the chicken to make it seem fancier! As always when photographing, the plainer the subject, the harder it actually is to style. Select your props thoughtfully and make sure each contributes to the story and makes it clearer!
In this photo, I selected vintage glassware to hint at a romantic night in. The dishes I chose are plain to avoid distracting from the casserole dish.
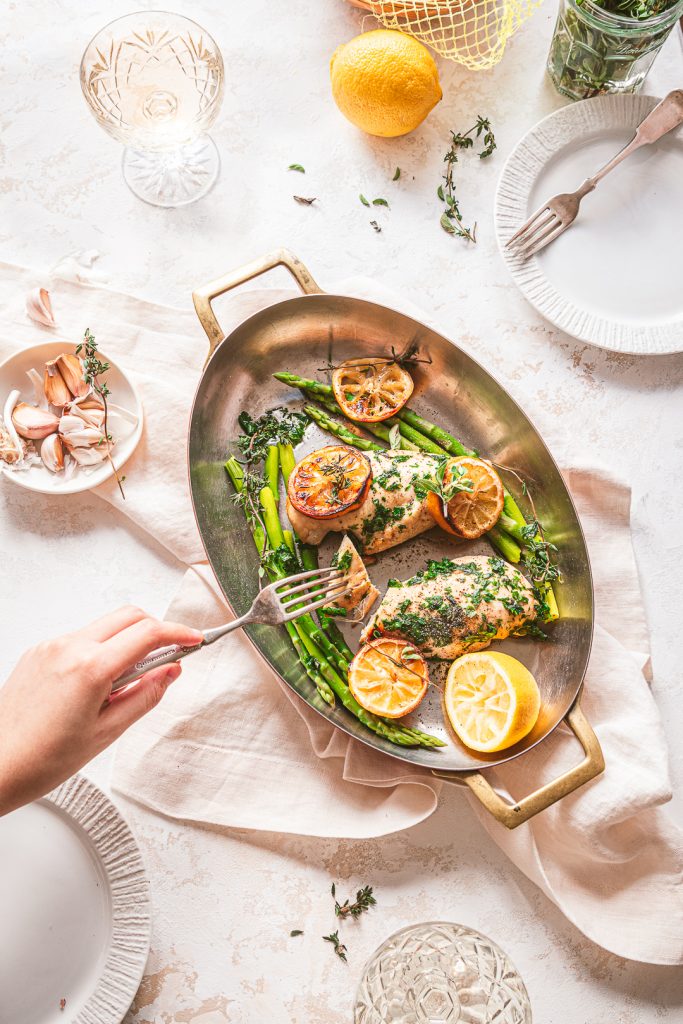
tip #6 – freshen it up
Since cooked meat is primarily brown and orange, adding herbs, bright fruits or vegetables livens up the scene. Keep in mind the story you’re trying to tell. If it’s a photograph of fried chicken, a well placed lemon or even a glass of cold beer can lift the image and tell an even better story. When in doubt, always reference the recipe ingredients as to what you can add as a prop to the scene.
tip #7 – make it juicy
Naturally chicken will get a little dry as you’re shooting, so I try to always make a dressing. This recipe had an olive oil based dressing which was perfect for adding moisture. If the recipe doesn’t call for a dressing, simply brushing melted butter can add shine. Stay away from using just oil or water over chicken as this can look greasy.
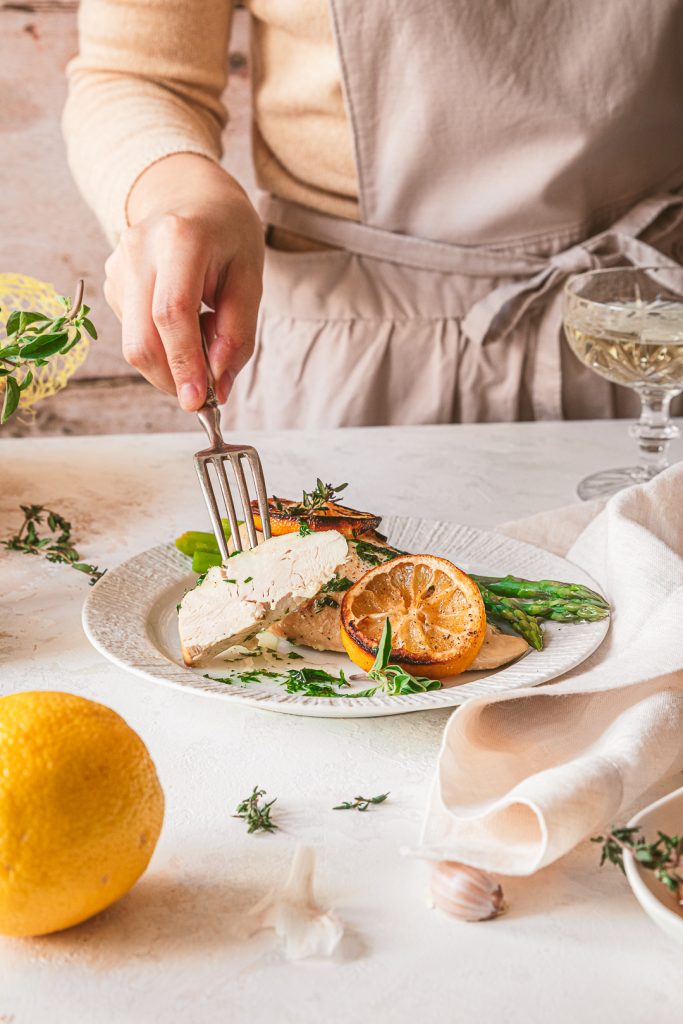
tip #8 – Always garnish last
This may seem like a no-brainer, but keep in mind that salt and pepper are best added at the very end so they aren’t covered up by other sauces or garnishes! I also recommend using freshly ground pepper and salt flakes so they actually show up on camera. Regular table salt is too small to be picked up by a camera when shooting flat lays or at wide focal lengths.
I hope you found this post helpful and that you feel less stressed about the prospective of styling chicken and meat in general! As food photographers we need to be able to make any food look beautiful, so take this opportunity to practice! Even if it’s just styling your dinner as practice!
Comment below if you have any questions or suggestions for what I should cover next in this series!
Till next time! Sharon
Make sure to tag me on Instagram @whiskfullyso and leave a review below if you found this post helpful. I hope you loved it! For more delicious ideas follow me on Pinterest.


Read the Comments +