


What better way to welcome summer than by baking with lemons!
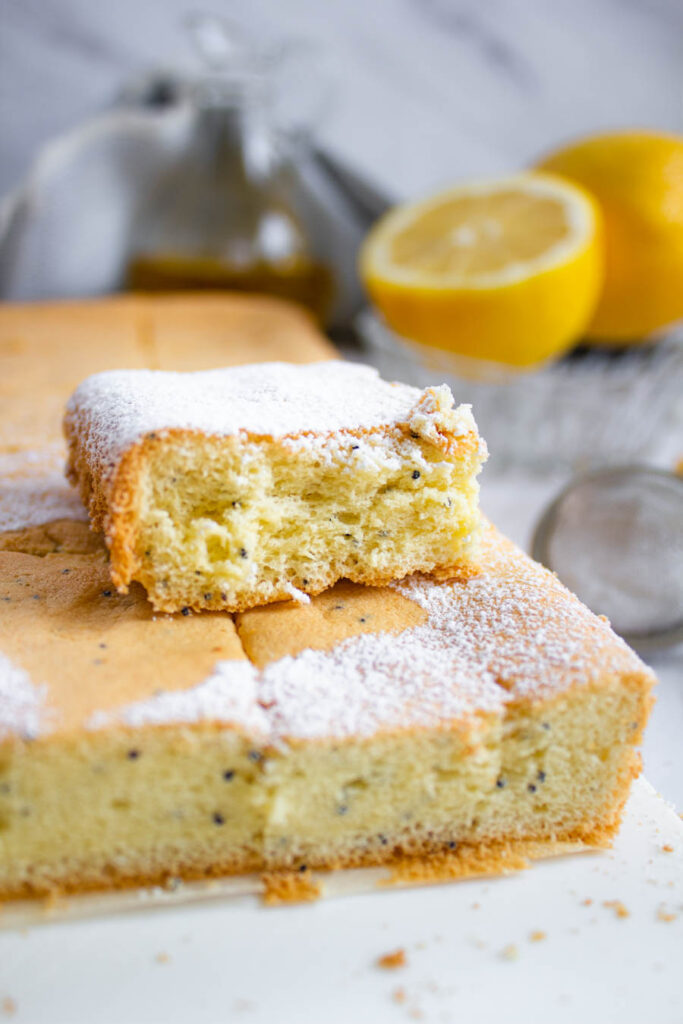
In Toronto this week, we finally had a couple days of sunshine and our garden is blooming. So what better way to kickstart summer than with some lighter treats? Don’t get me wrong, I love a fudgy brownie or a hot spiced pie, but my current mood is craving something refreshing. This cake satisfies ALL the cravings: It’s light, soft, springy, bursting with lemon and poppyseed flavour.
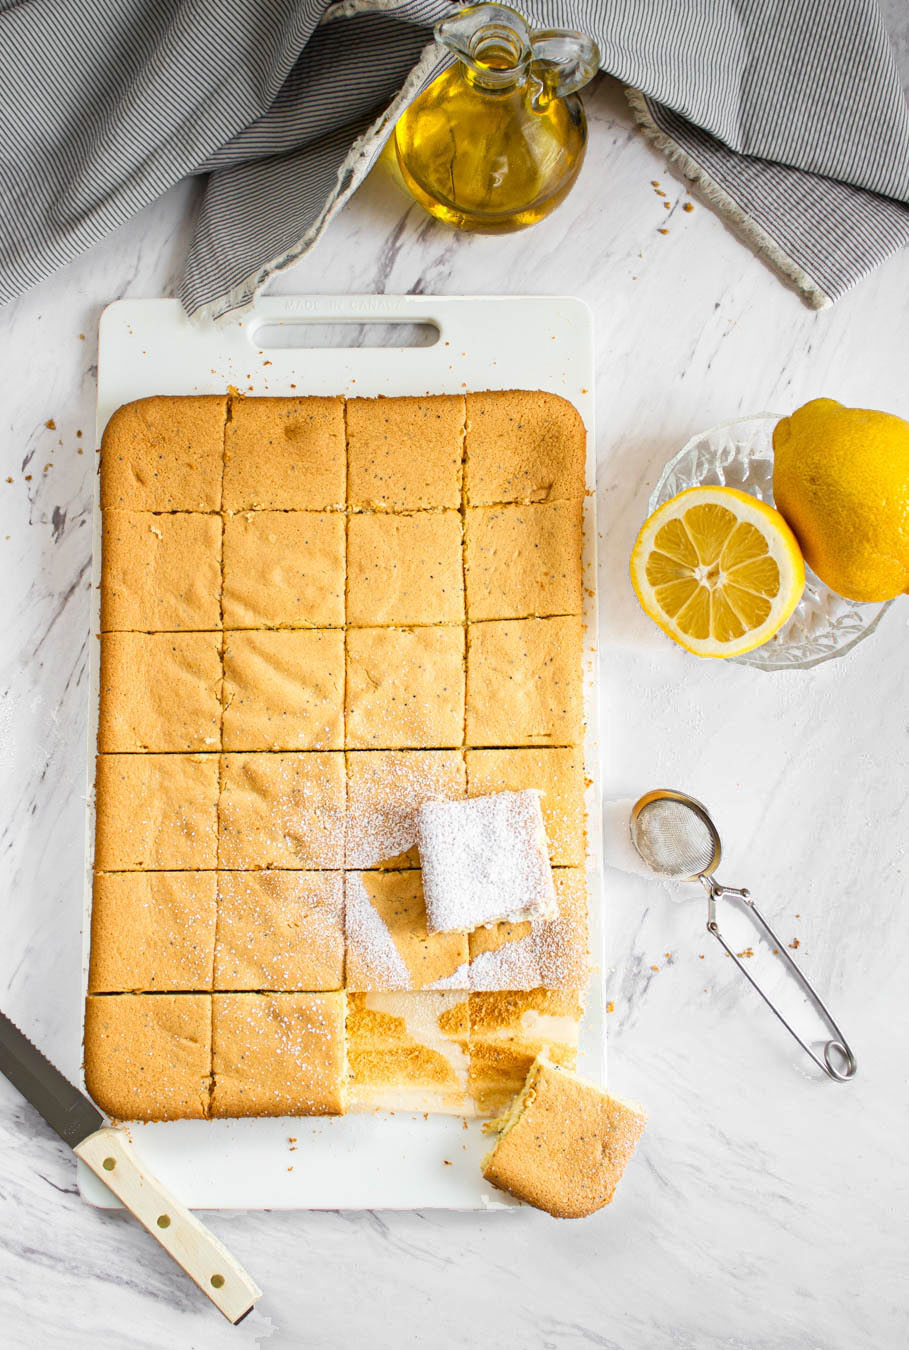
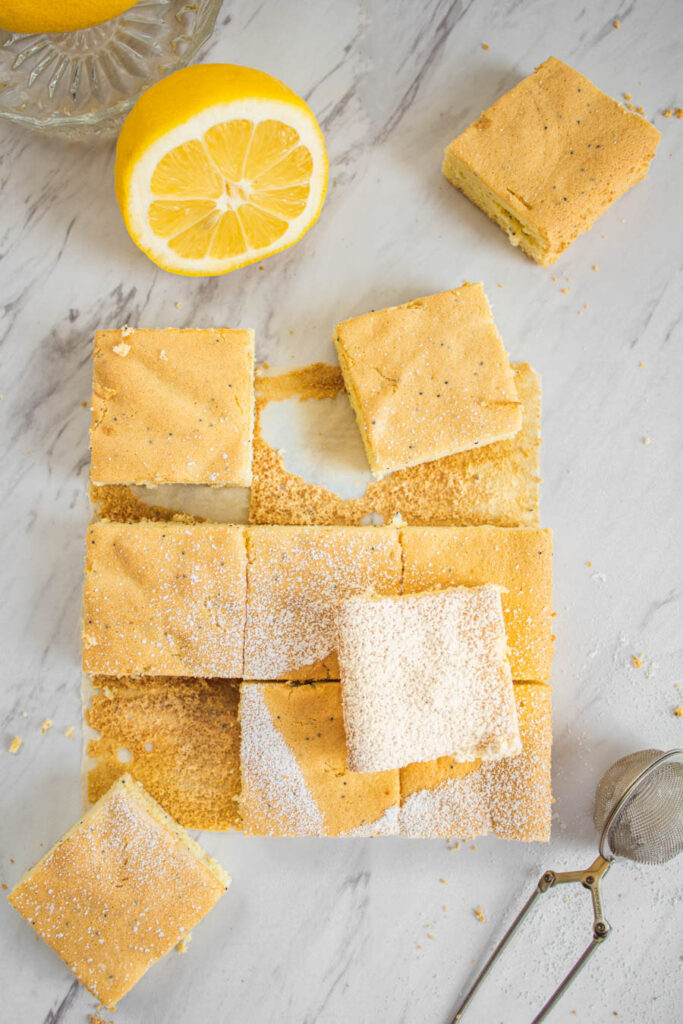
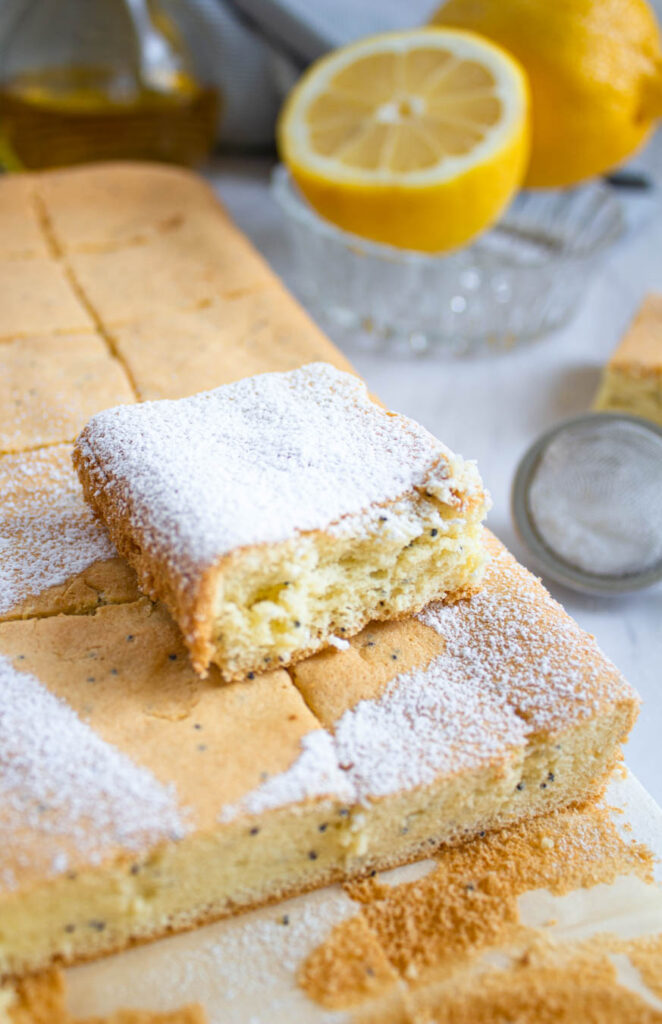
Normally I would combine these flavours into a quick-bread loaf, but now that I’ve made it in chiffon form it’s so elegant – perfect for sharing. This cake makes two 11” x 7” cakes that can be cut into two inch squares.
Chiffon verses Sponge Cake
Different from a sponge, which is dense, sturdy and great for tiered cakes with decoration, a chiffon is meringue based and a bit trickier to handle than other types of cakes. This cake gets its springy texture from the whipping of eggs whites to form a meringue which is later folded into a separate mixture of eggs yolks and other ingredients. A chiffon cake looks best simple and naked. Since the cake is so light, it’s not ideal covered with heavy buttercream frostings as it can weigh the cake down.
Ingredients for Lemon Poppy Seed Chiffon Cake
Cake Flour: Softer and finer, this flour will make the cake light and fluffy. All-purpose flour can be substituted, but will affect the texture.
Baking Powder: Since this cake is delicate, baking powder gives it the oomf it needs to rise.
Castor Sugar: Castor sugar is finer than granulated and will incorporate seamlessly into the egg whites. Granulated can be used, but should be finely ground in a food processor before using.
Vegetable Oil: No butter here! This secret ingredient makes the cake moist and tender.
Egg Whites + Yolks: Crucial to the meringue, you’ll need both whites and yolks to make this cake.
Buttermilk: Not only does it add a tangy flavour, the fat in milk gives additional moisture.
Vanilla Extract: Crucial in any cake, don’t skimp on the vanilla extract for flavour.
Lemon Juice: Lemon juice serves a double purpose here as a stabilizer in the meringue and to add flavour.
Poppy Seeds: The star ingredient, these poppy seeds will give a nutty undertone to the cake.
How to Trouble Shoot a Meringue
The process of making a meringue can be a bit frustrating at times, and if not done correctly can lead to a myriad of structural problems and large air pockets. I know this sounds really daunting and hard, but trust me, once you understand the process and armed with the following tips it’ll come out perfect.
Grease-free Mixing bowl: It’s down to little details with this cake, starting with how clean your mixing bowl is. Any traces of oil or grease can affect the structure of your meringue.
Room Temperature Egg Whites: Egg whites whipped at room temperature will form stiff peaks faster and better than cold whites. When you separate the white from the yolk, the egg can be cold, but once separated let both come to room temperature
Add a Stabilizing Agent: You’re spending so much time whipping those eggs whites it would be a shame if they collapsed. To prevent this, add an acid such as lemon juice or cream of tartar to stabilize the mixture.
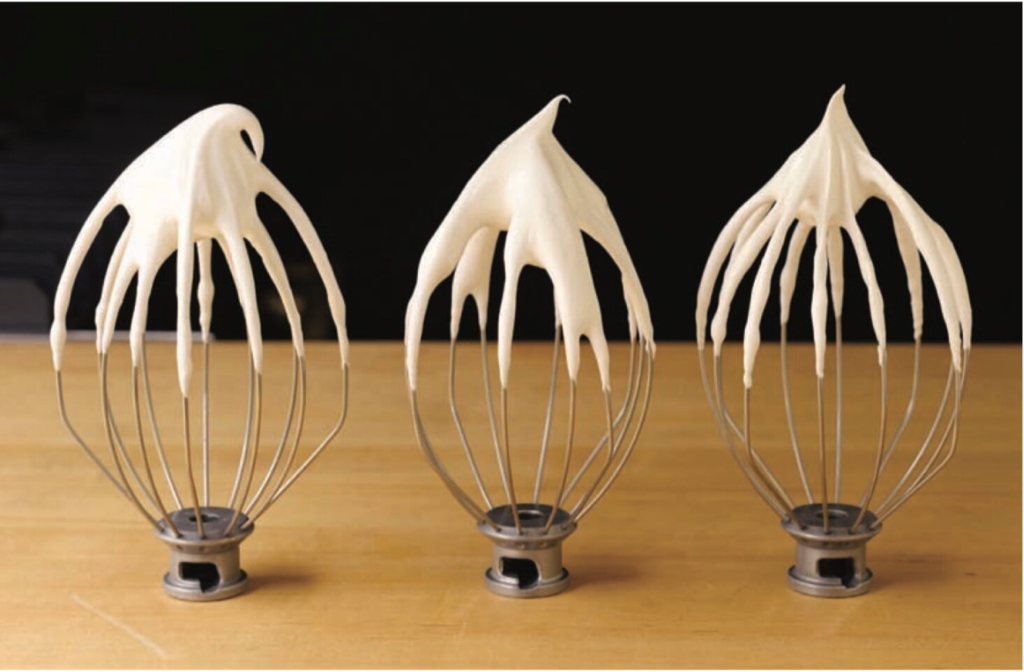
Achieve Soft Peaks First: Add the sugar too soon before the protein molecules in the egg whites have unfolded, and you won’t get the well -aerated foam structure needed for a thick stable meringue. Make sure the eggs whites have soft peaks first.
Add Sugar in Tbsp Increments: It’s important to add the sugar in small increments to slowly introduce the eggs whites to the sugar. The sugar needs to completely dissolve into the egg whites to achieve a thick glossy smooth finish. Scrap down the sides of the mixing bowl at least once to ensure all the sugar has been incorporated.
Achieving Stiff Peaks: You can check if the meringue has reached the “Stiff Peak Stage” by rubbing the mixture between your thumb and forefinger. The meringue is ready when you don’t feel any sugar granules and when held upside down doesn’t pour out or slide.
Don’t Over Mix: Over mixing past peak stage will have the opposite effect. The egg whites will look chunky grainy and clump together like cottage cheese. Yuck.
Tips for a Perfect Chiffon Cake
A common issue with chiffon cake is collapsing either while baking or during cooling. Here is how to avoid this.
Fully Folding: When adding the egg white mixture into the egg yolk mixture, fold carefully but also thoroughly. Avoid pressing into the egg whites or it will deflate the built-up air.
Use an Un-greased Pan: In this case, we want the cake to cling to the sides of the pan as this will help the cake gain height. Otherwise, it will collapse. Only grease the bottom of the cake so it is easy to remove.
Cool Upside Down: The cake needs to completely cool upside down so it stretches downwards rather than collapsing. Prop the cake upside down with the rims of the pan on two rectangular blocks of aluminum foil/ cling wrap etc. Make sure only the rims of the pan are touching the items.

Sparkling Rosemary Ginger Lemonade
Ingredients
- 2½ cups granulated sugar
- 1 cup water
- 1 cup lemon juice , freshly squeezed
- zest from medium-large 1 lemon
- 1 branch rosemary large
- 3 tbsp grated ginger add more or less depending on desired "spicy" level
- 3 large slices of ginger , outer skin peeled
- 1 bottle sparkling water , as needed to serve
Instructions
- In a sauce pot, combine all the ingredients (except the rosemary brand and sparkling water) and bring to a boil over medium heat.
- Lower to a simmer and continue stirring, until the sugar is completely dissolved. Cook for another 3 minutes until it reaches a thickened syrup consistency.
- Let cool for 5 minutes then strain into a clean glass jar, then add in the rosemary, and 3 large slices of ginger. Seal and chill in the fridge for a minimum of 30 minutes.
- When ready to serve, spoon at least 3 tbsp of the lemonade sugar syrup (add ice if desired) and pour in sparkling water into your desired drinking glass. Decorate with rosemary branches and lemon wedges.
Notes
Show me your bakes!
Did you make this recipe?
Tag @WhiskfullySo on Instagram


Read the Comments +