


FACT: My family can survive without sweets, but we can’t survive without bread. We eat it every morning, that’s 8 slices A DAY.
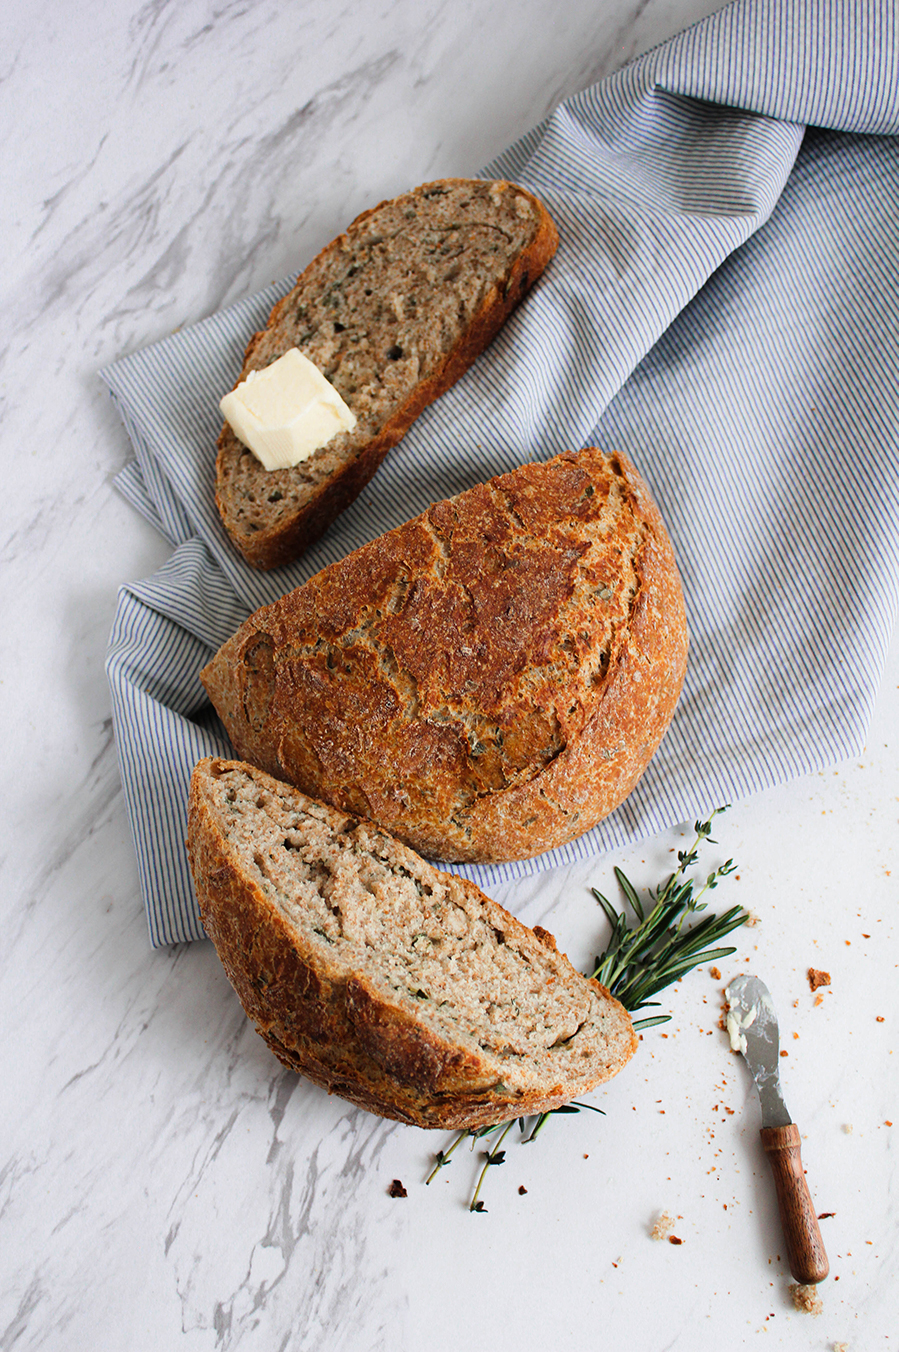
The Easiest Rosemary Thyme Dutch Oven Bread
I was on a quest for the most crusty, chewy and fragrant bread, but most recipes seemed too complicated for a bread novice, took too much time (my family wanted the bread, now), and required tools I just didn’t have access to at the moment. I was frustrated at how easy most recipes made it seem, but when my first batches failed, I started to think those recipes left out crucial tips that most first-time bread makers wouldn’t know.
Don’t worry if you don’t have a stand mixer, this recipe is so simple it’s meant to be done by hand. The proof time may seem long, but the longer the bread proofs the better it tastes. Since the prep time is so quick, I prep it the night before, and in the morning it’s ready to bake. TA-DA! Fresh bread in the morning! I’ve outlined how to hand knead this dough below along with helpful tricks to make homemade bread a reality.
Equipment You Need to Make No-Knead Bread
Dutch Oven: Using a Dutch Oven is ideal to trap all the steam in the wet dough and help the crust remain cool longer, thus allowing the bread to grow taller. If you don’t have a dutch oven, don’t fret! Below are some options:
Cast Iron Pan (2 needed): Cast iron is amazing as a heat conductor, and it can also withstand the high temperatures needed to make this bread. You’ll need one for the top and one for the bottom
Oven-Safe Pot: Make sure that your pot can withstand up to 450°F including the lid. If the lid isn’t oven safe, you can cover the top with a baking tray or aluminum foil.
Two Tall Cake Pan or Trays: Your bread will rise significantly in the oven, so make sure the cake pans or trays are at least 5 inches in depth to accommodate your baked bread.
Ingredients For Rosemary Herb Bread
Bread Flour: You may be wondering, can I use All-Purpose flour? Technically, yes; however, your bread may turn out more dense in the centre. Bread flour is best because of it’s higher protein content (11-13%) to create gluten. Gluten gives bread dough elasticity and its characteristic airy “chew”.
Rosemary + Thyme: I would like to say these herbs are optional, but they take bread to another level.
Salt: You can never have enough salt. Don’t be afraid to liberally salt the top of your dough before baking.
Active Dry Yeast: The underdog ingredient, yeast will make or break your bread. Baking with expired yeast will mean the bread will not rise. If you do not have yeast you can substitute for Fresh or Instant Yeast.
Water (room temperature): Water will active all the ingredients and is needed to form gluten. Most importantly, in the baking process will produce steam to rise the bread.
I share in depth about the four stages of gluten development in this post. The dough is ready when you can stretch a small portion into a thin “membrane’ without it tearing. Be careful not to overwork the dough or it will have the opposite affect.
Tips and Tricks for Making No-Knead Bread
How do I knead the dough? And How Long?
- Sprinkle 1-2 tbsp of dough on a flat surface (this prevents the dough from sticking to the surface) and remove the dough from the bowl it proofed in.
- Knead the dough by pushing down into the centre with the heels of your hands and away from your body.
- Fold the dough in half (folding from the part furthest away and toward you, pressing down). Using the heels of your hand, push the dough outwards, stretching the dough and lengthening it. Turn the dough 90° and repeat.
*If the dough begins to stick to the surface add more flour. - Continue kneading, folding, stretching and turning the dough until it is smooth.
Where should I store my bread when proofing?
Bread needs moisture and heat to rise. I like to keep my proofing bread, in-an oiled bowl, covered, and near the stove or nearby a window with lots of sunlight. During colder temperatures, you can preheat your oven to 150°F, once preheated turn off, and let your bread proof in the heated oven.
How do I store the baked bread?
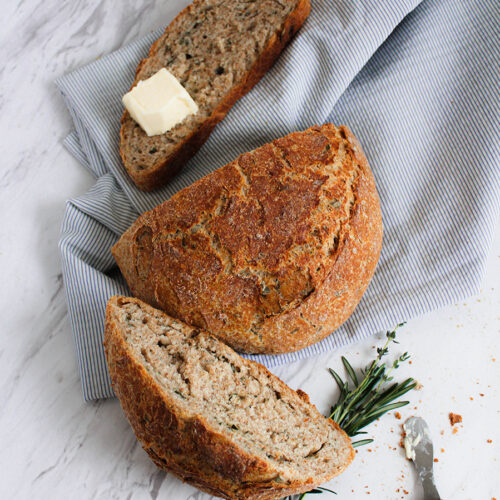
Bread is best fresh, but can last up to 2 months when frozen. To do so, first let the loaves cool to room temperature then slice each loaf. Wrap the bread and place them in re-usable bags/containers. When you’re ready to eat, pop them in a toaster or oven to reheat.
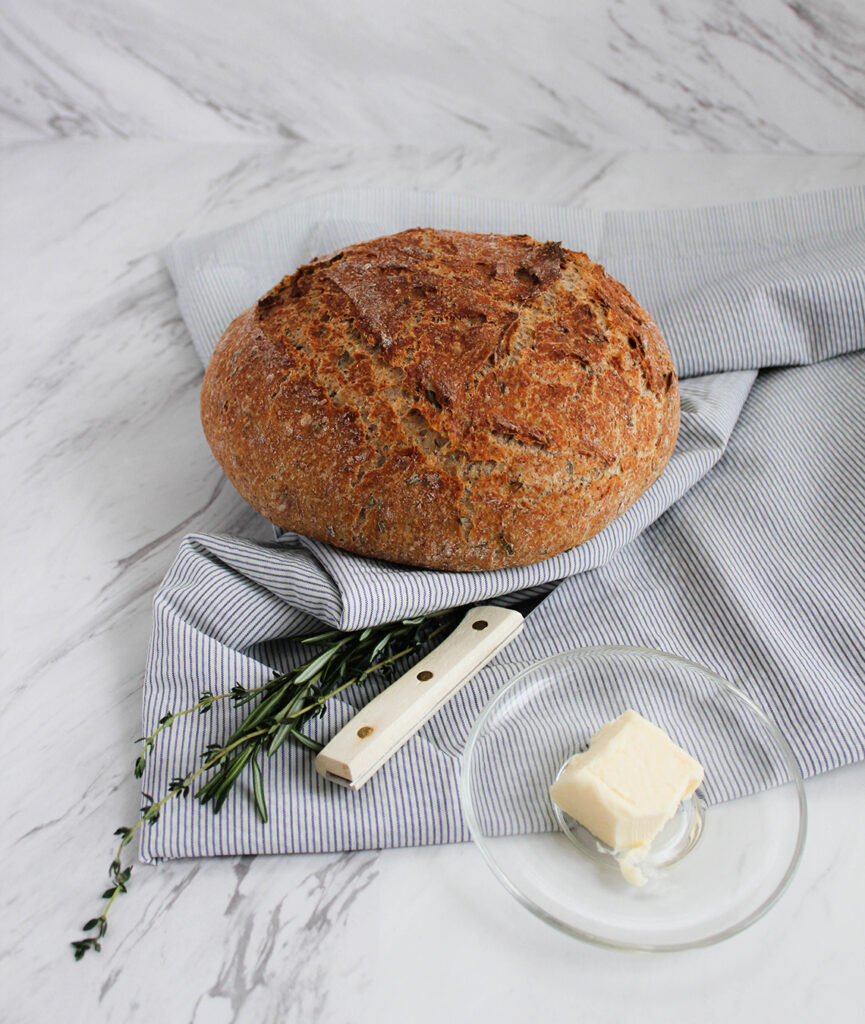
No-Knead Rosemary Thyme Bread
Ingredients
- 1 cup water warm
- 1/2 tsp active yeast
- 3 1/2 cups bread flour
- 1/4 cup rosemary roughly chopped
- 1/4 cup thyme roughly chopped
- 1 tsp kosher salt reserve half for later
- 1/2 tsp olive oil
Instructions
Proof The Yeast
- In a large bowl, pour in the warm water. Sprinkle the yeast over the surface and let it sit for 5–10 minutes, until foamy.
For the Dough
- Once the yeast is foamy, add the flour, rosemary, thyme, and salt to the bowl.
- Use your hands to mix until all the water is absorbed and the dough becomes wet and sticky and holds together as a shaggy mass.
- To fold, pull the outer edges of the dough up and into the center, turn 90° then repeat until you have made a full rotation twice.TIP: If the dough is too dry, add water 1 tablespoon at a time.
- Continue forming the dough, until a small piece can be stretched without tearing (refer to notes on gluten development).
- Drizzle olive oil into the bowl and swirl to coat. Place the dough into the bowl, cover with plastic wrap or a towel, and let it proof in a warm place for 6 hours, or overnight for best results.
- The well-proofed dough should double in size and not spring back quickly when poked with a finger.
Preheat The Oven
- At least 30 minutes before baking, preheat oven to 450°F (230°C) and place your dutch oven inside to preheat.
Bake Prep Options
- If you proofed for 2 hrs at room temperature, gently tip out the dough, onto a sheet of parchment paper, and form it into a smooth circle. Dust the top with flour.
- If you proofed overnight in the fridge, allow it to rest at room temperature, covered, for 30 minutes. On a lightly floured surface, gently tip out the dough, onto a sheet of parchment paper, and form it into a smooth circle.
Bake
- Liberally dust the top of the dough with flour. Use a sharp knife to score a slash across the surface of the dough. Sprinkle with salt.
- Carefully, remove the preheated dutch oven, and place your parchment paper with the dough inside. Cover with the lid and bake for 40 minutes. Then, remove the lid and bake uncovered for an additional 20 minutes, or until the crust is crackly and golden brown.
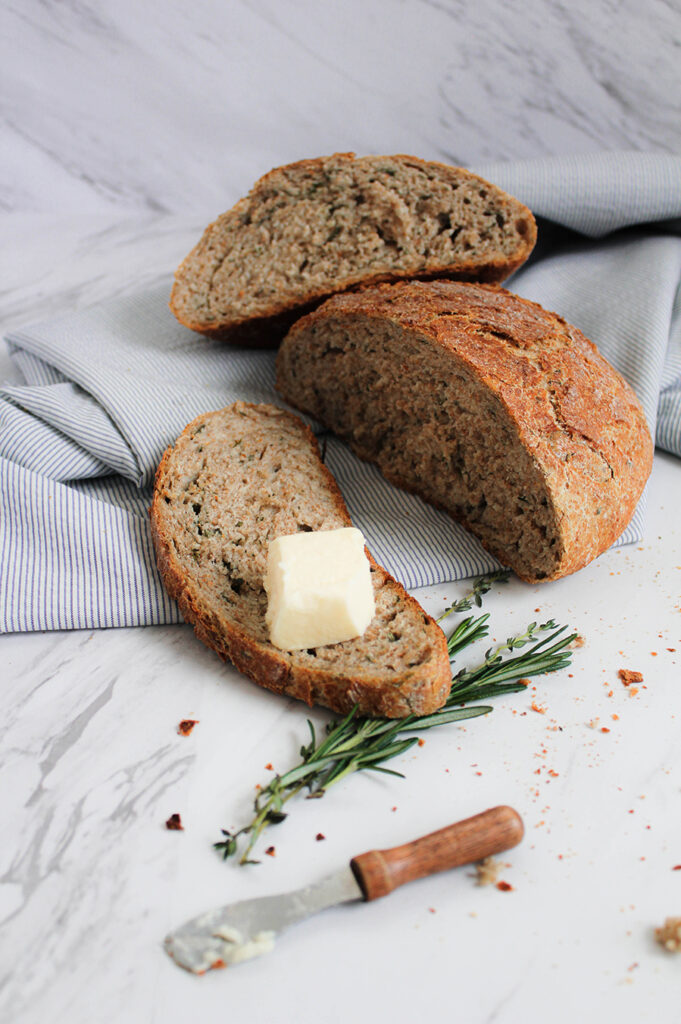
- Lift the bread out of the dutch oven, using the parchment paper and transfer to a wire rack to complete cool before slicing and serving.


Very Good recipe, probably better when I have FRESH herbs to include. FYI, I find it easier and more effective to first stir the chopped herbs into the flour–result in better distribution, I think.
Hi Bill,
So sorry for responding to your comment so late! For sure, nothing beats fresh herbs, but I’ve also tried dried ones when I’m in a pinch – so that’s always an option 😄 Thank you for your amazing feedback, I’ll have to make that edit to the recipe!
Happy Friday,
Sharon