


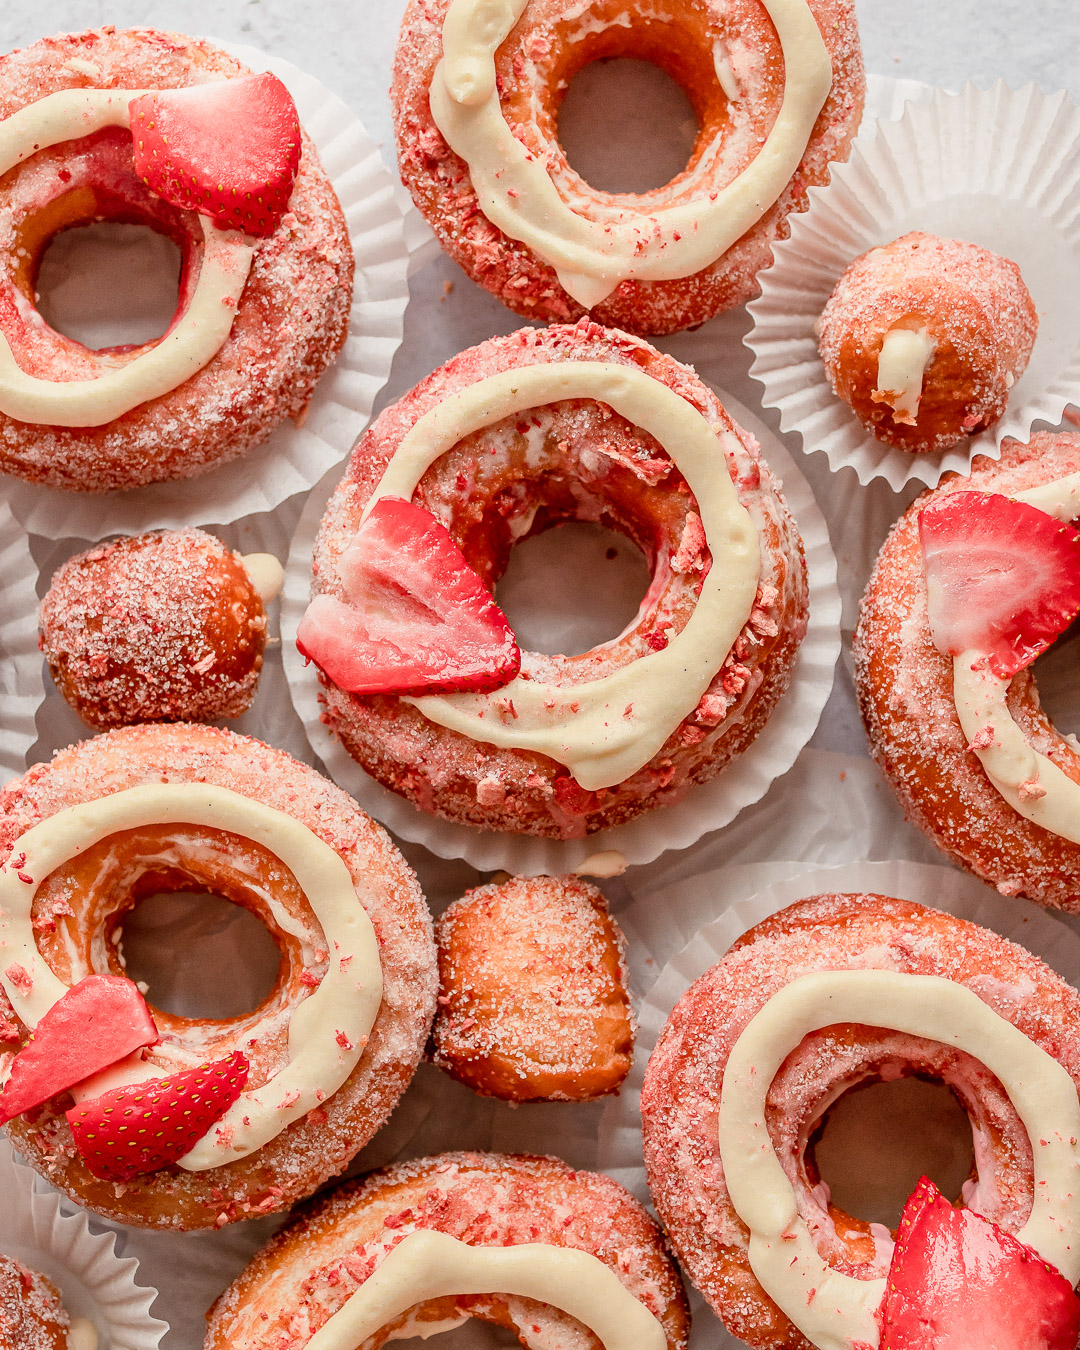


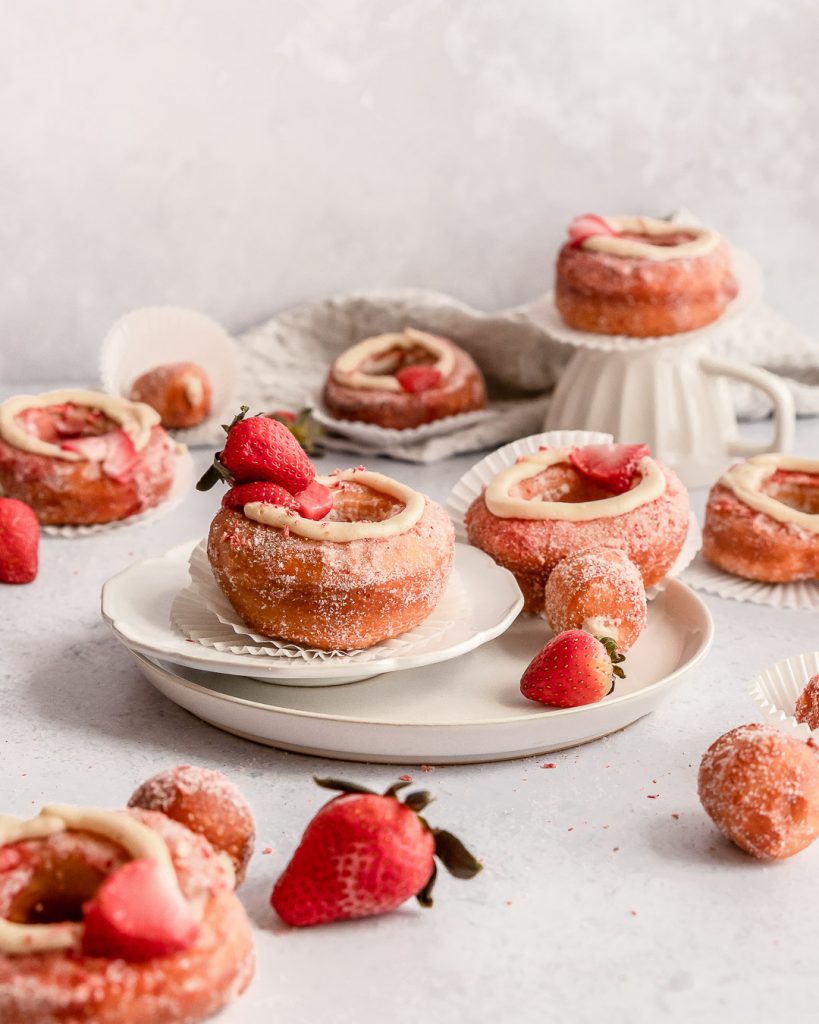
These Strawberry Vanilla Bean Cronuts, made famous by Dominique Ansel, are a pastry must try! My cronuts are filled with a homemade strawberry jam, and creamy vanilla bean pastry cream.
This recipe is adapted from Bruno Albouze’s Cronut recipe, a highly experienced chef who worked at one of the top hotels in Paris. You can watch him make his here!

firstly…what are cronuts?!
Cronuts are a cross between a croissant and a donut. Sounds pretty genius right? All of New York thought so too when celebrate pâtissier Dominic Ansel first unveiled this new wonder at his namesake bakery in Soho, New York. Combining the two, the cronut has all the flaky buttery layers of a cronut, but is fluffy and airy like a donut! It’s also fried and can be filled with a varieties of creams and jellies!
This is one of my favourite pastries I ever tried when I lived in New York City, so I’m SO happy, that I can finally re-create a piece of NYC in my home kitchen 🙂
the details in these Strawberry Vanilla Bean Cronuts
These Strawberry Vanilla Bean Cronuts have 4 components:
1) Flaky cronut dough;
2) Strawberry Jam;
3) Vanilla Bean Pastry Cream; 4) Strawberry Sugar.
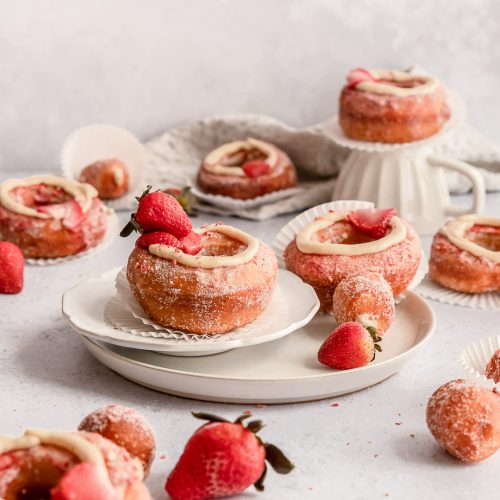
YIELD: This recipe makes 8 cronuts and 8 donut holes.
METHOD: Just like making croissants, cronuts are laminated (a.k.a Tourage) then following the donut-making process, they are cut and fried before being filled!
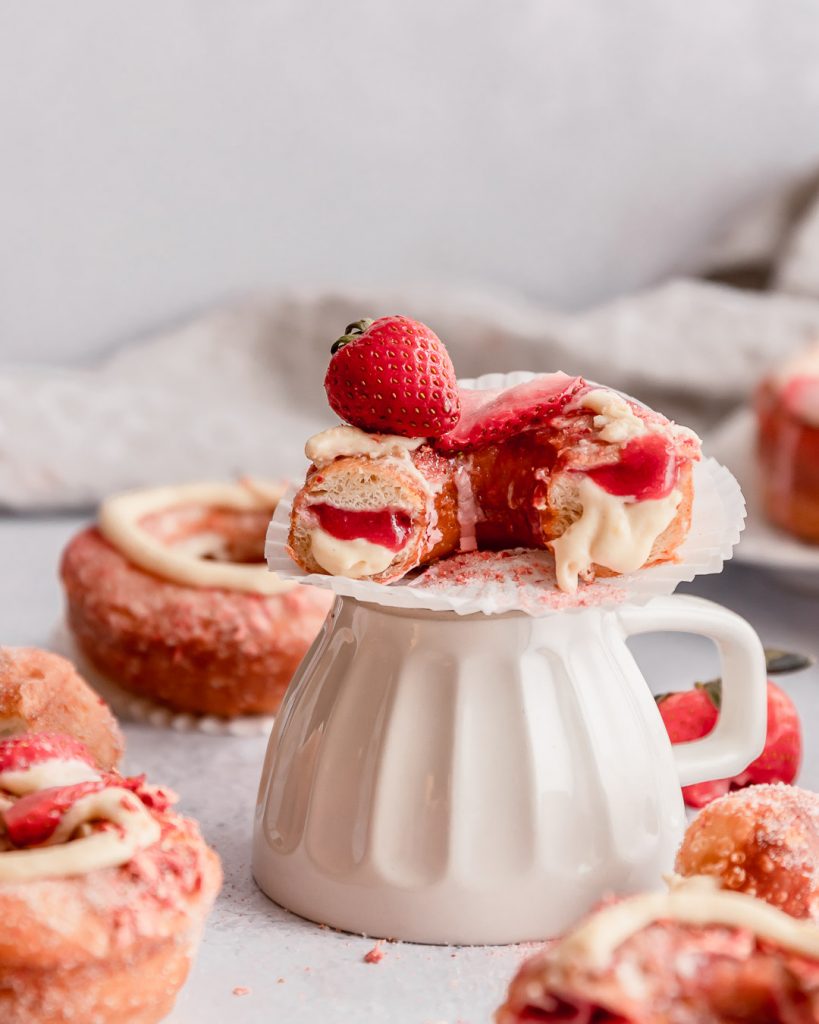
TEXTURE: Crunchy and flaky like croissants, with an airy honey-comb interior, with an airy fluffy bite, like donuts. Let’s not forget the creamy pastry cream. YUM.
FLAVOR: Strawberry Vanilla Bean! The pastry cream is strictly vanilla, but is paired with a homemade jam!
LEVEL OF DIFFICULTY: Advanced – if you’ve never tried laminating pastry before, this recipe will be very challenging. However, this can be made with frozen puff pastry, so you can still enjoy these delicious donuts for half the time and without all the laminating challenges!
Before you run away screaming, I PROMISE, this Strawberry Vanilla Bean Cronut recipe is worth every hour, and you’ll feel like the greatest baker at the end. I break down each step WITH videos and my top tips when laminating pastry!
Ingredients & equipment for making cronuts at home
for the cronut dough
Bread flour – bread flour has a high gluten percentage which will ensure a fluffy AND airy cronut.
All-purpose Flour – Less gluten percentage, and will make sure your cronuts are flaky AF!
Instant Yeast – To help activate and rise the dough! Active yeast can also be used, just increase the amount by half. Also bloom the yeast in the water (or milk) before to activate it.
Egg Whites – The protein in egg whites creates a crispier dough when baked or fried.
Water (or milk) – To hydrate and combine all the dry ingredients.
Unsalted Butter – To enrich the dough and give it flavour.
for the tourage (a.ka Lamination)
Softened butter – Unlike making croissants, softened butter is used when making cronuts. A traditional butter slab can be used as well, but I found that softened butter was easier to work with.
for the strawberry jam
1 recipe of my home-made strawberry jam. Find the recipe here!
for the vanilla bean pastry cream
Whole Milk – The base of the cream.
Granulated Sugar – To add sweetness.
Egg Yolks & Whole Eggs – To thicken and add richness to the cream.
Vanilla Paste – If you have real vanilla pods I recommend using those! Vanilla paste and extract are also delicious!
All-Purpose Flour & Cornstarch – To thicken and hold the pastry cream together.
SPECIAL EQUIPMENT: Besides a rolling pin, and baking pan. You will need a silicone baking mat or parchment paper. I recommend a silicon baking mat so the cronuts don’t stick. You will also need a Bismark Piping tip. This is a long point piping tip specifically for filling desserts. Get the tip here!
What is Tourage (aka Lamination) ?
Tourage (pronounced “tour-ahhh-ge”), also known as lamination, is the process of folding and rolling butter into dough over and over again to create super-thin layers. This gives croissants their signature honeycomb interior structure and their fabulously flaky texture.
I’ve made a LOT of pastries, so here are my top tips for a successful lamination:
1. Do not under knead the dough – The dough needs to develop enough gluten (elasticity) so it can be rolled and stretched without tearing. If the dough tears, the butter will spill out and you may loose flakiness. Knead until it passes the “Window pane Test” – when the dough can be stretched into a thin transparent film without tearing.
2. Keep the dough cold – Just like making pie, butter should be kept as cold a possible! Chilled butter is much more pliable when chilled. If you find your dough warming as you perform the lamination, let it chill for a bit before continuing.
3. Flour your work surface – Super important to prevent tearing as the dough will stick as you roll it out.
4. Roll in one direction – Also to prevent tearing, always roll only in one direction. Alternating direction to ensure the dough is evenly worked.
5. Be Patient! Lamination can be tricky the first time, so take it slowly! If your dough is not rolling out, let it chill in the fridge to relax before continuing.
TIP! If your dough does tear, patch the hole with a sprinkle of all-purpose flour and continue.
Making Cronuts, an overview.
Patience is very important when creating any laminated pastry. To make the process manageable it can be broken down into 5 major parts and over the span of 3 days.
DAY 1:
Part 1 – Make the Cronut Dough
This can be done the night or day before lamination. Make the cronut dough, let it proof. Then refrigerate for at least 1 hour or (ideally) over night. This allows the gluten to relax and deepens the flavors of the cronut dough.
DAY 2:
Part 2 – Tourage (lamination)
This is when you create all those flaky layers! You will need to complete one (1) lock in turn to lock-in the butter, then three (3) single turns. For a total of 55 buttery layers!
Part 3 – Make Fillings
While the laminated dough chills, make the strawberry jam, and vanilla pastry cream. It’s best to make these the day before frying so they can thicken.
DAY 3:
Part 4 – Fry & Fill
On the third and FINAL day (WHOO!), you’ll cut the donuts and proof them a final time. Then fry these babies up, fill, and enjoy the most delicious donut you’ve ever had!
Step-by-step instructions to make Strawberry Vanilla Bean Cronuts
DAY 1: Part 1 – Make the dough
#1. assemble dough ingredients
I recommend using a stand mixer to do all the heavy work. It is possible to do it by hand too, but will take longer.
Note: Don’t let the yeast touch the salt. When water is added the salt can reduce the performance of the yeast.
#2. Knead the dough
You’ll want to knead the dough until it pulls away cleanly from the sides of the dough and all the butter (this is not the lamination butter) is incorporated into the dough. At this point you’ll want to check the dough for gluten development.
Windowpane Test – Tear a piece of dough and stretch it as thinly as possible. It is properly kneaded when you can stretch a thin transparent film without tearing.
#3. Proof the dough
Let the dough proof until doubled in size! Then punch out all the air, roll into a log, and freeze. Freezing for 15 minutes stops the fermentation process. You’ll then chill the dough (ideally overnight) so the dough flavor develops.
DAY 2 : Part 2 – Tourage
#4. Smear the butter
This is where the fun begins!
1. You’ll first roll out the dough into a long rectangle.
2. Then you’ll smear the entire surface with softened butter.
#5. Lock in the butter
To lock in the butter, you’ll perform a single turn.
1. Fold the rectangle into thirds. Just like folding a letter or brochure.
2. Chill the dough for another 30 minutes so the butter firms up.
#6. 1st Single Turn
Just like the lock-in step, you’ll fold the dough into thirds.
1. Remove the dough, turn it 90 degrees and roll out (Don’t forget to rotate)
2. Perform the folding like the previous step.
*You should be folding in the other direction if you rotated correctly.
#7. 2nd & 3rd single turn
1. Repeat the step above two (2) more times.
2. Chill for at least 20 minutes in-between.
3. After the 3rd round, chill for one (1) hour.
#8. Shape
1. Now roll out into a larger rectangle, 16″ L x 8.5″ W x 0.5″ H inch / 42 x 22 x 1.25 cm rectangle. This will be the final shape from which you will cut the doughnuts.
2. Chill the dough overnight once more!
Part 3 – Make Fillings
These fillings can be made up to two days before! To save time, you can also use store-bought Strawberry Jam.
Day 3: Part 4 – Fry & Fill
#10. Cut out Donuts
I use a 3.5 inch round cookie cutter and a 1.5 inch smaller circle cutter for the center.
1. Cut out 8 doughnuts
2. Place on a baking tray lined with a silicone mat (easiest to remove donuts) or parchment paper.
3. Let proof covered for 90 mins or until doubled in size! Make sure they are proofed or you’ll loose the flaky layers!
4. Chill for 30 mins so they are easier to handle when frying!
#11. FRY!
To Fry:
1. Fill a 2 quart pot for canola, grapeseed or any other frying oil.
2. Heat to 350°F / 190°C, then fry 1-2 donuts at a time. Don’t over crowd your pot or you won’t be able to flip them!
3. Fry each side for 1-2 minutes until golden.
4. Remove and place on paper towels to cool.
#12. Fill Donuts
To Fill:
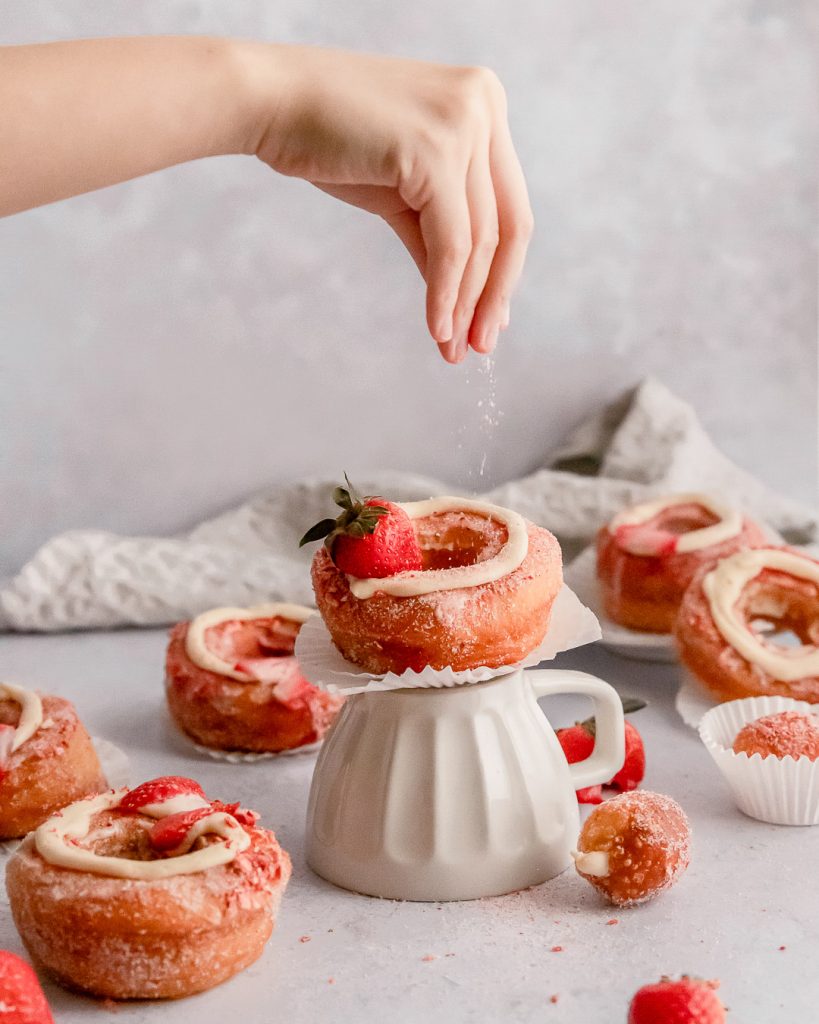
1. Once they’re mostly cooled, give them a good roll in the strawberry sugar!
2. Fill the donuts first with the strawberry jam, make sure you lower the piping tip deep enough!
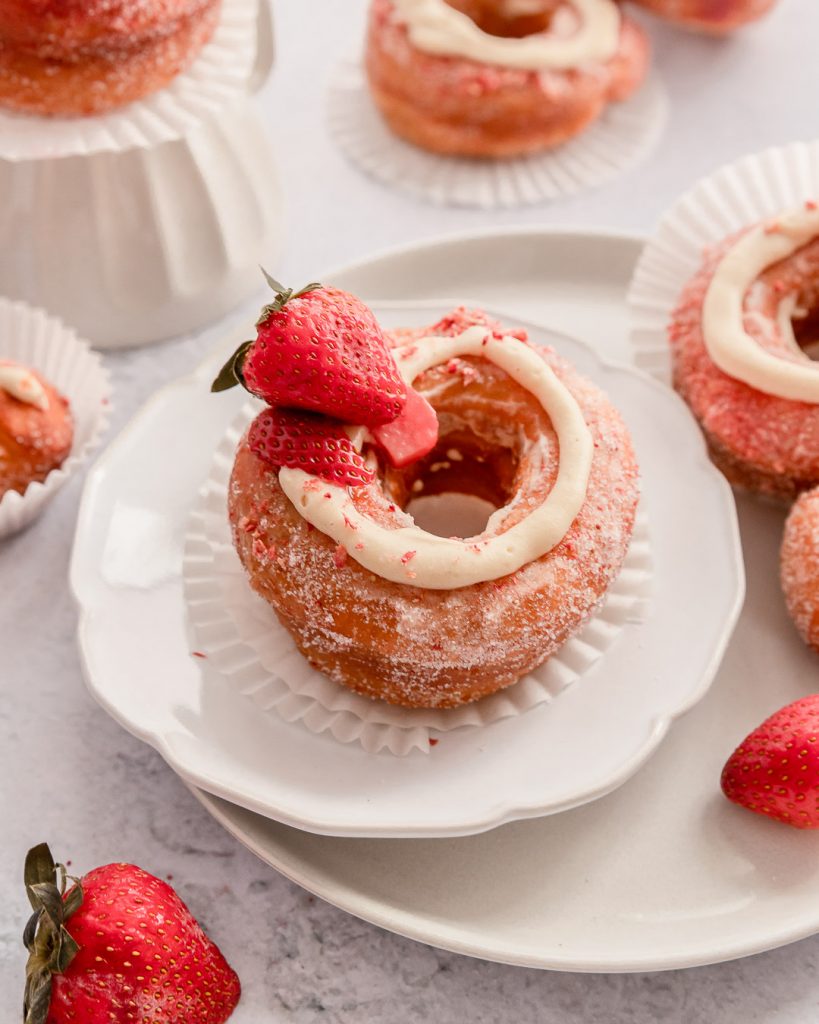
3. Fill the jam halfway, then top off with the vanilla bean pastry cream!
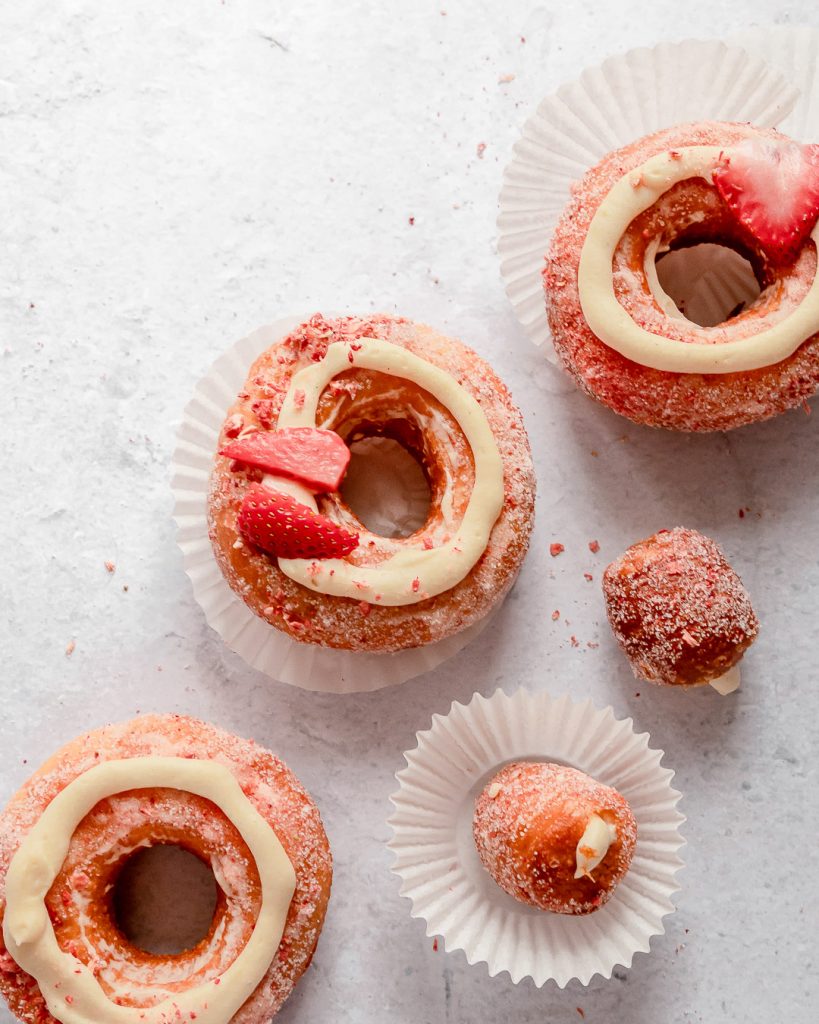
4. Top with more pastry cream and strawberries!
How to store cronuts
You made it to the most easiest part eating the dang thing!
These cronuts are best enjoyed the day of, and longest within 1-2 days. Any longer and they’ll be soggy. Still delicious, but you’ll miss out on the insane texture of the laminated layers!
YOU DID IT! YOU DID IT! I’m BEYOND proud! I hope you learned a lot throughout this process, and even if the Strawberry Vanilla Bean Cronuts didn’t turn out perfect, I guarantee they’re still delicious.
See you in the kitchen next week!
Sharon
Make sure to tag me on Instagram @whiskfullyso and leave a review below if you made this recipe. I hope you loved it! For more delicious ideas follow me on Pinterest.
Strawberry Vanilla Bean Cronut
Ingredients
for the cronut dough
- 250g bread flour
- 250g all-purpose flour
- 15g instant yeast (or active yeast)
- 12g kosher salt
- 40g granulated sugar
- 65g egg whites (approximately 2)
- 190g water or milk
- 100g unsalted butter cubed, softened at room temperature
for the tourage (lamination stage)
- 125g unsalted butter softened
for the strawberry jam
- 1 recipe for homemade strawberry Jam
for the vanilla bean pastry cream
- 250g whole milk
- 50g granulated sugar
- 20g egg yolk (approximately 1)
- 50g whole egg (approximately 1)
- 3 g vanilla paste (or extract)
- 15g all-purpose flour
- 15g corn starch
for the Strawberry Sugar
- 50g freeze dried strawberries crushed into a fine powder
- 67 g granulated sugar
to fry
- canola oil, palm oil, or grapeseed oil
Instructions
DAY 1: Make the Cronut Dough
- In the bowl of a stand mixer (or a large bowl), pour in dry ingredients together: flours, sugar, salt, and instant yeast (make sure the salt does not touch the yeast). Stream in the water (or milk).
- Mix all ingredients together on low speed until combined. Once the dough begins to hold together, add the cubes of butter one at a time. Lower the stand mixer speed to low to avoid overworking the stand mixer. Keep mixing (5-10 minutes) until the dough pulls away from the sides of the bowl cleanly. You'll need to scrap down the side of the bowl and reposition the dough hook every once in a while.
- Once the dough has begun to pull cleanly away the sides of the bowl, perform the gluten window check by tearing a piece of dough and stretching it as thin as possible. It should stretch and not tear. The final temp of the dough should be 75-80°F / 25-27°C.
- Make a tight ball and transfer the dough in an oiled bowl, cover with a wet towel or plastic wrap and let rise in a warm area for 90 minutes or until dough has doubled in size.
- Turn out onto your work surface and punch down the dough to remove air. Press into a long oval, and fold both top and bottom edges into the center. Then roll into a log with the center seam facing down. Flatten, cover and place on a small baking tray/plate. Freeze 15 min on each side to slow down fermentation process – keep refrigerated for an hour or up to 12 hours prior lamination.
DAY 2: Tourage (lamination) & Pastry Cream
- INFO - Give 3 single turns (Letter fold). The first turn gives 7 layers. The second turn gives 19 layers. The third turn gives 55 layers.This is the process of folding the butter into the dough in 3 Single turns. After the initial lock in of butter, the first single turn creates 7 layers, the second turn gives 19, and the third gives a final 55 layers.
- LOCK IN BUTTER - Remove the chilled dough, and place on a lightly floured surface. Roll out the dough into a 7''x 22” inch / 18x55cm rectangle. (Roll only in one direction at a time to prevent tearing.) Spread the softened butter evenly over the dough using a spatula. Fold the dough into thirds, like folding a letter. Lightly press down all the edges to prevent the butter from spilling out. Cover and chill for 30 mins into the fridge so the gluten can relax.
- FOR SINGLE TURN - Remove the chilled dough, and place back onto your floured surface. Turn 90 degrees, and roll out the dough, again to 7''x 22” inch /18x55cm. Brush off any excess flour and fold like a business letter again giving the second single turn. Cover and chill for 30 minutes.
- Repeat the above step 2 more times for 3 single turns (not including lock-in step). After the third single turn, cover and chill for an hour.
- FINAL TOURAGE STEP - Remove the chilled dough, flatten and roll out into an even 16" L x 8.5" W x 0.5" H inch / 42 x 22 x 1.25 cm rectangle; cover and chill overnight.
for the strawberry jam
- Combine the sliced strawberries and granulated sugar in a small saucepan. Let rest for 15 minutes to macerate so excess water is released. Pour out all the released water except 2 tbsp. Heat the macerated strawberries on medium-low heat and stirring occasionally, cook until bubbling. Once bubbling, mash the strawberries with the side of your spoon. Simmer for 5 -7 minutes until thickened. Once thickened, let cool, before straining into a jar. Strain out all the seeds by pressing the jam through with a spatula. Cover and chill in the fridge until ready to use.
for the vanilla bean pastry cream
- Beat egg yolks, sugar, flour and cornstarch together. In a small saucepan, bring milk and vanilla to a light boil, then remove from heat.
- Temper the egg yolk mixture with ¼ of the hot milk, then pour back into remaining hot milk whisking vigorously to prevent curdling.
- Turn the heat back on to medium-low, and bring to boil. Cook the custard for 2 minutes whisking swiftly until thickened and ribbon-y.
- Transfer the custard into a clean bowl, cover with plastic wrap (making sure the plastic wrap touches the surface of the cream to prevent a skin from forming. Cool and chill until ready to use. Beat chilled custard prior using.
DAY 3: Cut, Make Strawberry Sugar, Prep Fillings, Fry & Fill.
- TO CUT - Remove the chilled dough, and place on a lightly floured work surface. Using a 3.5'' / 9cm diameter round cutter, cut 8 circles. Make a hole in each circle using a 1.2'' inch /3cm cookie cutter. Arrange cronuts and donut holes on a tray lined with a silicone mat. Save scraps for next batch or cut into samples to fry.
- Cover cronuts loosely with plastic wrap and let proof for about 90 minutes or until it reaches 1.4''/ 3.5cm in height. For better handling, chill proofed cronuts in the fridge 30 minutes prior frying.
prep fillings & fry
for the strawberry sugar
- Combine crushed freeze dried strawberries and granulated sugar in a bowl.
prep fillings
- Remove the vanilla bean pastry cream from the fridge, and whip up to stiff peaks. Spoon into a pastry bag prepped with a Bismark piping tip.
- Remove the strawberry jam, and spoon into a piping bag prepped with a Bismark piping tip
to fry the cronuts
- Fill a 2 Qt/2L pot with frying oil and heat to 375ºF/190ºC. Drop the cronuts and donut holes into the pot one at a time, making sure not to crowd the pot. Fry proofed cronuts for a few minutes on each side until lightly golden. Remove from the oil, using a fish spatula or slotted spoon so the oil can drip off. Transfer onto a baking tray lined with paper towels.
to fill
- Let cronuts cool slightly until able to handle. Roll the cronuts in the strawberry sugar. Fill the cronuts halfway with the vanilla bean pastry cream at four injection points. Top up each filling point with the strawberry jam. They are filled when the jam pools on top. Top with more vanilla bean pastry cream and strawberry slices. ENJOY!
Notes
- If making the dough from scratch is daunting, frozen puff pastry works too!
- Store-bought Strawberry jam can be substituted as well.
- The dough can be assembled by hand however will take significantly longer. I recommend kneading the dough on a flat surface for better leverage.
- The pastry cream and jam can be made up to 2 days ahead of frying day.
- Once fried, the donuts are best enjoyed on the day of for optimal crunchiness.


Read the Comments +