


What if I told you that 6 Guidelines can lead you to Successfully Style and Photograph Cookies every time?! You’d probably be doubtful, and think, “it’s too good to be true.” But I’m here to show you that by following these 6 guidelines, you’ll no longer be anxious about styling cookies, you’ll be EXCITED!
This is part 5 in my “How to Style…” series where I show you how to style everything from chicken to brownies! Part 4 was 5 Tips to Better Your Brownie Photography game, read that post here.
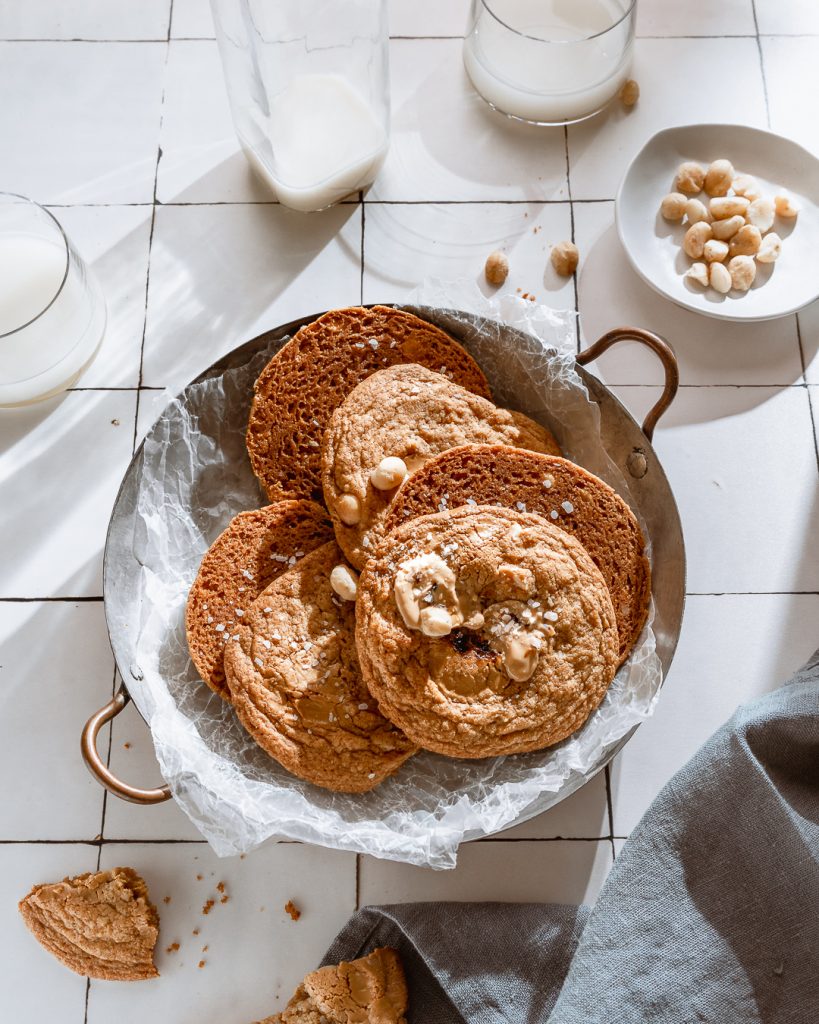
The recipe pictured in these photographs is my Caramelized White Chocolate Macadamia Nut Cookie – a delicious sweet and salty cookie with plenty of crispy chewy edges.
why Guidelines are key when styling cookies
I want you to consider these tips as a framework you can then adapt and apply to suit your photography work flow and style. I don’t want you to read this post and then think it’s the only way to approach styling/photographing cookies.
This method is currently what I use to ensure that I make the most out of every shot, while still giving me creative freedom to explore.
Here’s a summary of the guidelines in the acronym “C.O.O.K.I.E” to help you remember. (Giving myself a pat on the back for coming up with this one HEH)
- (C)apture every step
- (O)bserve from every angle
- (O)ptimize the ingredients
- (K)now the Story
- (I)nclude Motion when possible
- (E)levate its texture
In case you’re wondering what tools you’ll need for styling, you can check out my tool-kit here!
#1 – Capture every step
Even before you begin styling and photographing the cookies, take a moment to think about what aspect of the cookies you want to highlight.
Maybe you want a photo of someone scooping the raw cookie dough onto the pan, or a shot of flaky sea salt being generously sprinkled.
Maybe you have no ideas. Whenever you’re stuck on composition, look back at your recipe steps. Each step is an opportunity for a photo. Whenever I’m shooting a recipe for the blog, I’ll always take one photo for each step (or every major step) that way I’ll have plenty of options for Instagram and the recipe post.
#2 – Observe from Every Angle
Now we’re on to shooting! Similar to the guideline above, not only do I capture the major steps, I also get a shot of the cookies from every angle.
- Flatlay – this is when you’re looking down at the subject.
- Straight On – This is when your camera is pointed directly towards the subject.
- 45 Degree Angle – This is between a flat-lay and a straight-on. Either angled down or angled up towards the subject.
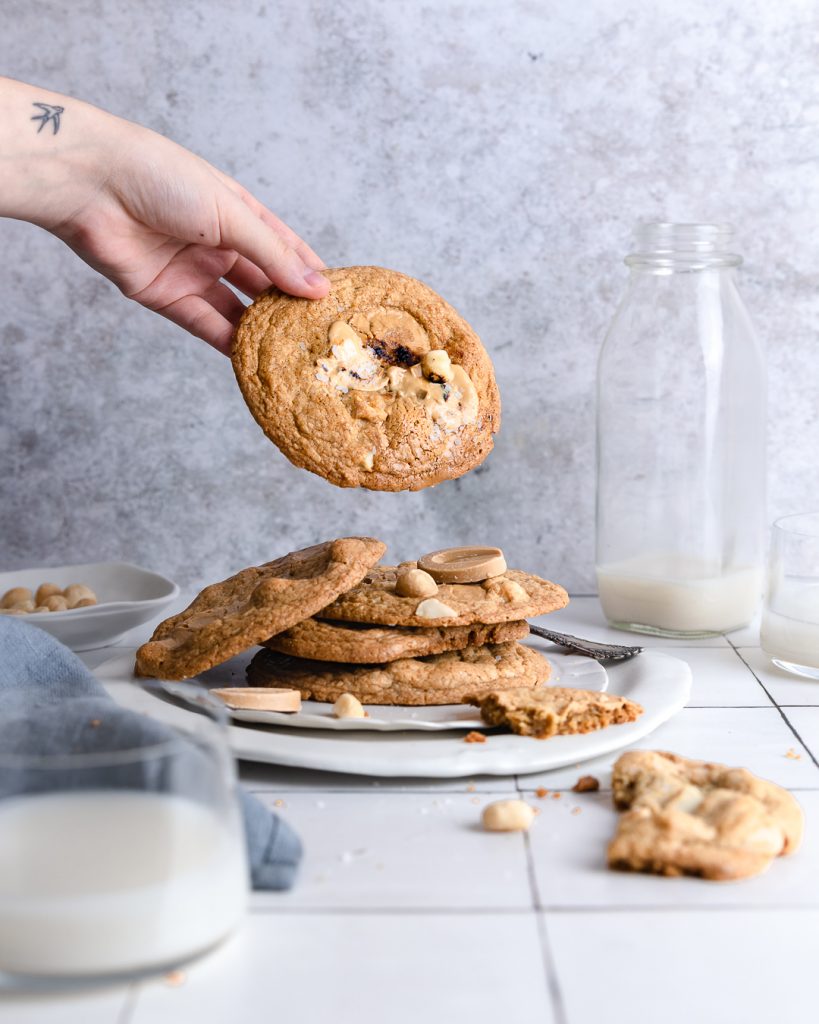
By capturing the cookies from every angle, I can play around with different compositions and highlight the cookies at the best angle possible. For example, I know that cookies look visually delicious in a stack, so I always get a stacked shot when photographing cookies.
#3 – Optimize the Ingredients
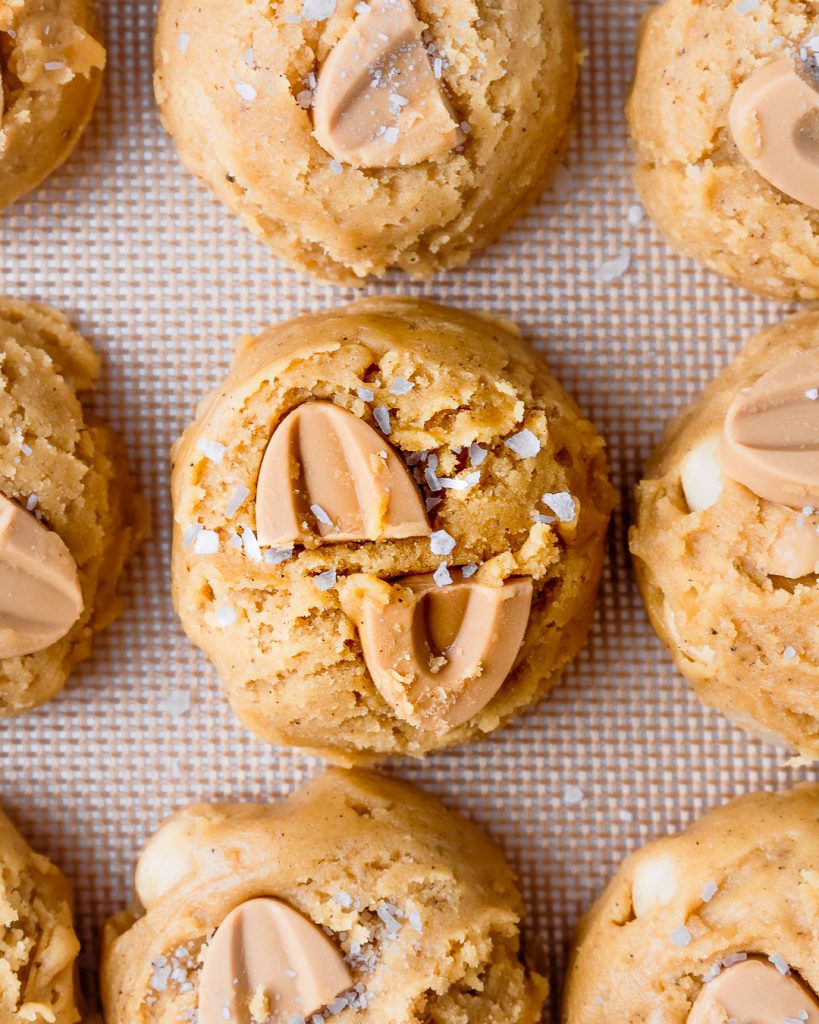
Here’s where you have to problem solve a bit. Cookies in flatlays can look a little boring, so consider ways in which you can create depth and interest on the surface of the cookie. Look to your ingredients for inspiration, and don’t be afraid to add them as props into the scene!
With these Caramelized White Chocolate Macadamia Nut Cookies, I strategically placed some Valhrona chocolate discs onto the surface of the cookie, before it baked and after to make them look more interesting. I also scattered macadamia nuts around the scene to hint to the flavor of the cookies.
#4 – Know The Story
Whenever I’m in doubt about how to compose a scene, or even what props to add, I’ll refer back to the story.
I had planned to photograph these cookies on a simple baking tray, but it just wasn’t working with the milk and glasses. So I went back to the story which was “to convey a sense of community through the act of sharing cookies”. I swapped the baking pan out for this copper pan, and arranged the cookies like one would in a basket and instantly the mood was much cozier.
#5 – Include motion when possible
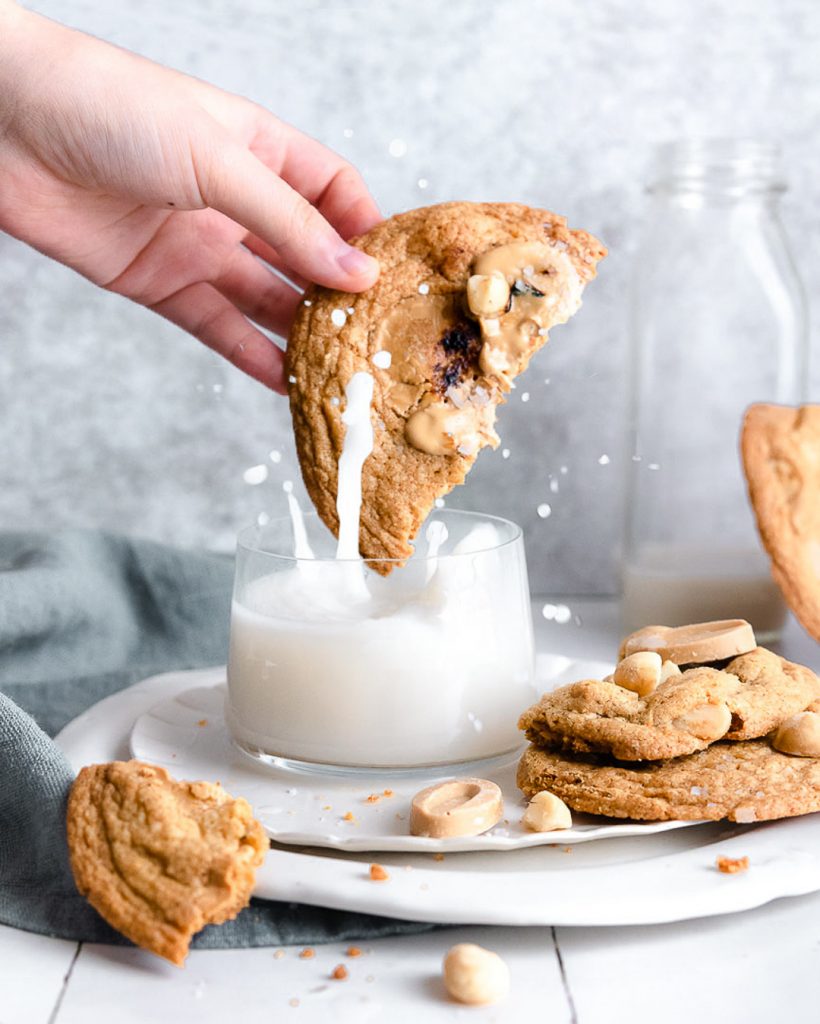
Whether it is implied movement by the placement of props or actual movement – sprinkling, dusting, pouring. I always look for ways to add movement and motion.
Movement or “food in action” will always be more enticing than static food. Not only is it effective, but the viewer will instantly crave the recipe. Most people can relate to the refreshing sensation of eating a cookie that’s been dunked into a glass of cold milk.
#6 – Elevate the texture
This one ties into guideline #3 – Optimize the ingredients. Throughout the shoot constantly ask yourself, “How can I make this look better?”
I lightly torched the puddle of chocolate to emulated the “caramelized” taste the cookies had, and of course I sprinkled a bunch of course flaky salt.
As a bonus: another way to elevate texture is by selecting props and backdrops that CONTRAST the texture of the subject. For example, smooth with rough or colourful verses neutral. By doing so, the main subject won’t be lost amongst all the props.
I’m excited to see how you use these guidelines when you style and photograph cookies, and I encourage you to leave a comment below about what you learned or any questions you may have!
Till next time! Sharon
P.S. I’m always opening to hearing what you want me to cover next in this series, so comment below!
Make sure to tag me on Instagram @whiskfullyso and leave a review below if you found this post helpful. I hope you loved it! For more delicious ideas follow me on Pinterest.


So helpful, thank you Sharon. I especially love the splash shot!
Thank you so much Onna! I’m so happy to hear that you found this post helpful 🙂