


If there is one thing that stresses most people when learning food photography & styling, it’s ice cream. A dessert that’s pleasing to all, but once the camera comes out, it becomes a high maintenance queen, that melts away in minutes.
Good news is, pesky ice cream can be tamed, and today’s post is all about How To Style Ice Cream & Cold foods That Melt.
This is part 6 in my “How to Style…” series where I show you how to style everything from chicken to brownies! Part 5 was 6 Guidelines You Need to Style & Photograph Cookies, read that post here.
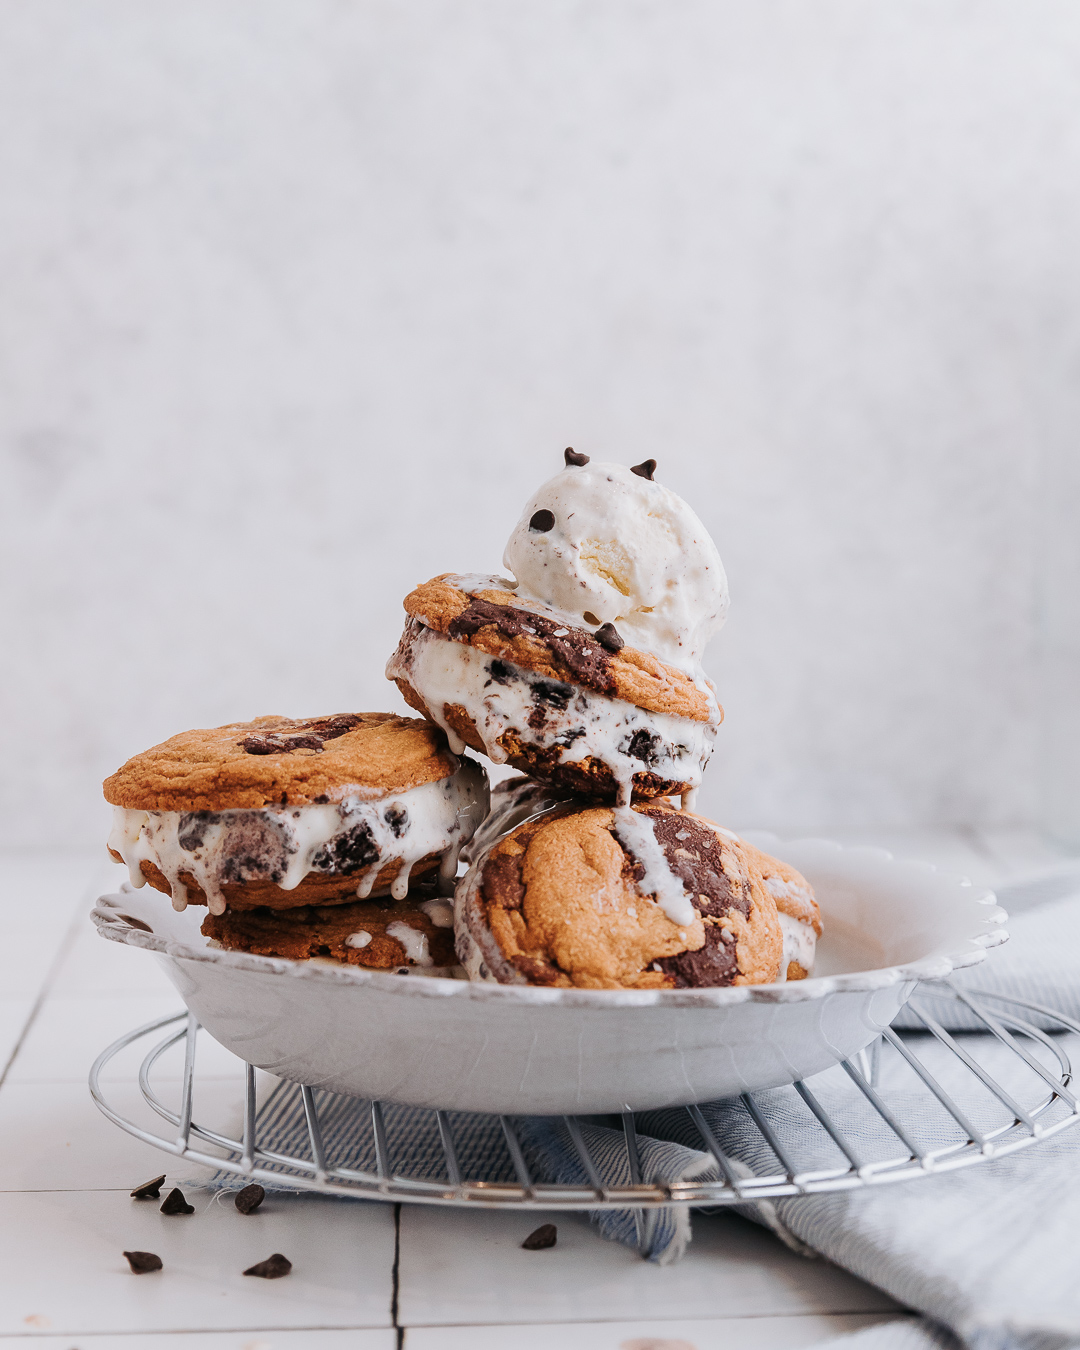
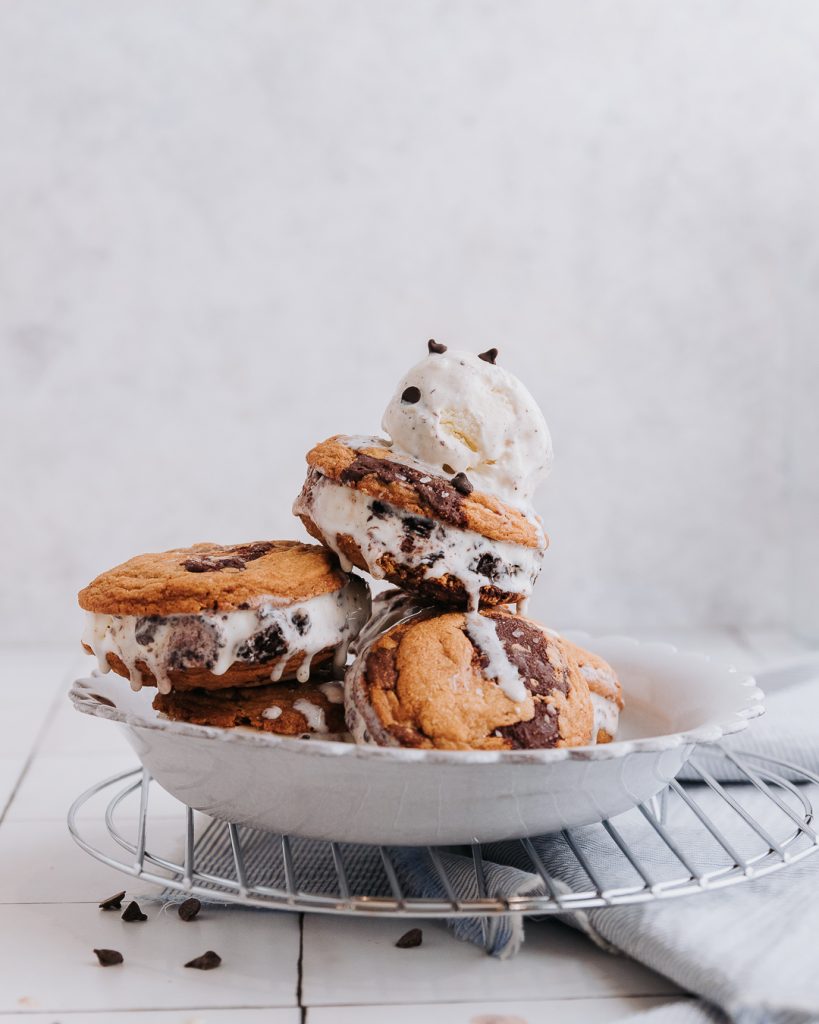
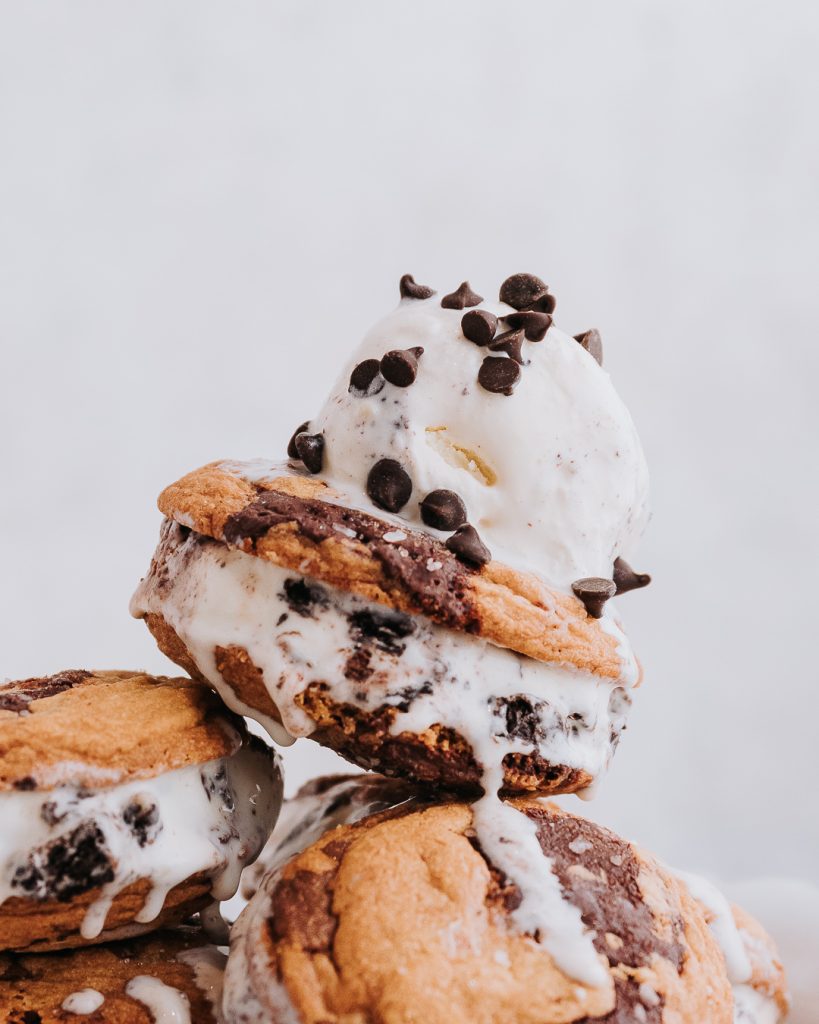
*NOTE* – The recipe featured in the images in this post are a Classic Chocolate Chip Cookie Ice Cream Sandwich.
The key to styling ice cream & melt-y foods
Styling ice cream and melt-y foods comes down to two crucial factors.
- Method
- Equipment
Firstly, method. Ice cream is SUPER finicky and you have to approach it with confidence and a game plan. Regardless of your method, make sure it works for you. It should be simple enough for you to remember, and it can vary depending on your photography style.
Secondly, equipment. Normally, I’m a firm believer that the tools don’t make the photographer, but in this case, the right tools can make a huge difference. Not only can it speed up your work flow, but it allows greater control for taming the drippy drops.
Some of my favorite tools are: 1) Syringes & Droppers for adding sauce and extra ice cream; and 2) A cookie scoop for getting the perfect scoop of ice cream.
In case you’re wondering what other tools I have in my styling kit, you can check out my tool-kit here!
How to Style Ice Cream and other cold foods that melt.
Above is a little video showing 3 tips for styling ice cream.
#1 – A Melt Proof Game Plan
You probably know by now, that i’m a huuuge advocate for planning, and this is especially true when styling ice cream.
Once the main ice cream (subject) comes onto the scene, it’s go-go-go, and you really should only be focusing on pressing the shutter button at that point. I recommend planning out which shots you want to take, and having a general idea of how you want the images to look. This connects to point #2.
#2 – Mock it Out
Once you’ve got a basic shot list, or maybe even a mood board for what you want your images to look like. The next step is to select your props, and set it all up. This saves you so much time, because while your ice cream stays frozen in the freezer you can test out the lighting and make sure all the props look good together.
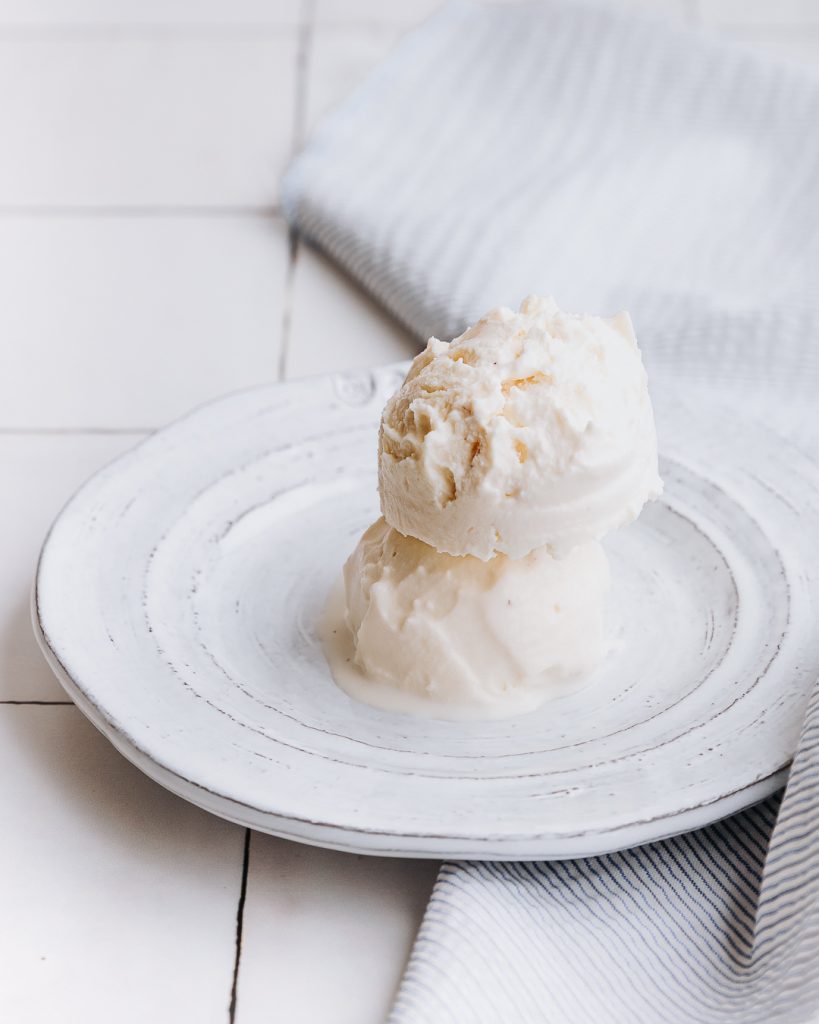
#3 – Pre-scoop your ice cream.
Whether your photo has scoops of ice cream or, in this post, ice cream cookies, always pre-scoop and pre-freeze your ice cream so it stays as frozen as possible. For these ice cream cookies, I prepped them the night before so they had plenty of time in the freezer to harden. If your scene features scoops of ice cream. Here’s how to get the most perfect-looking scoop.
- Pre-freeze a large baking tray with chunks of ice to keep all your scoops extra cold as you make them.
- Let your ice cream slightly thaw for 10 minutes so you get a creamier and less chunky scoop.
- Run your scoop under hot water so it can cut through the frozen ice cream.
- Use a cookie scoop to ensure perfectly round scoops that also release easily. Make sure you pack the ice cream in so you get a dense tight scoop.
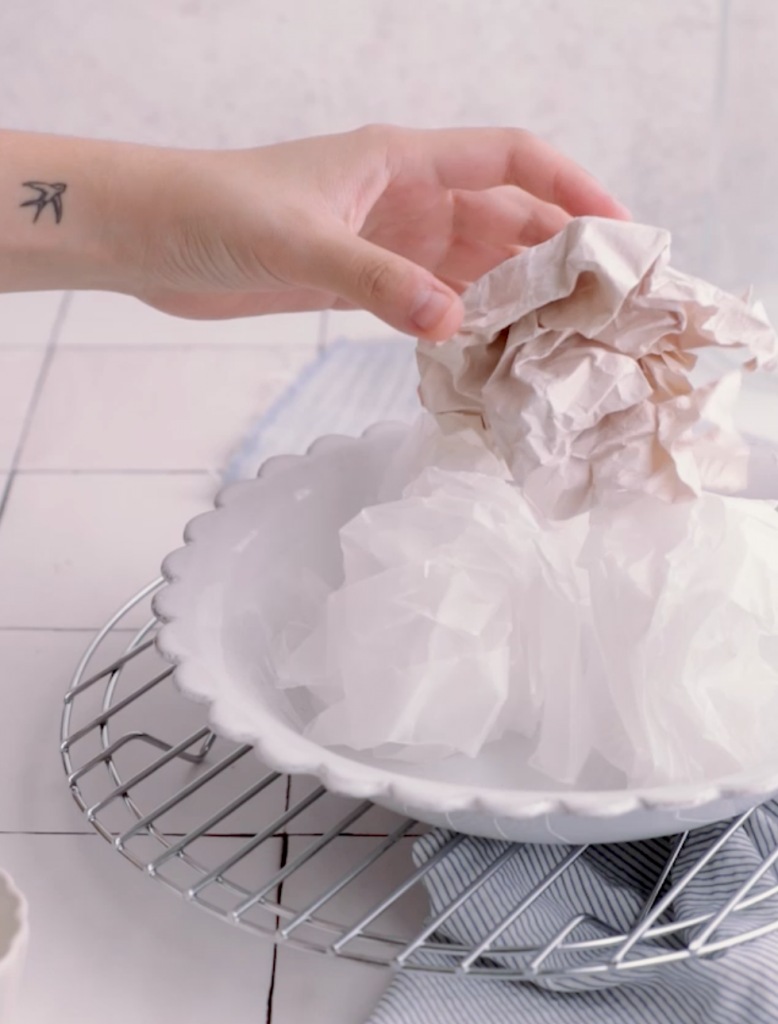
#4 – Use Stand ins
Once you’ve got all your non-ice cream subjects all set up, you’re ready to bring in the stand-in. The stand-in can be balls of scrunched up paper, paper towels, etc. Anything at all as long as you can manipulate it to look like your subject. The stand-in is super important, so you can decide how you want to place your ice cream. It’s also helpful in selecting the focus point in which your camera will aim at. If you’re shooting on autofocus this isn’t essential, but when you’re doing drippy or pouring shots of sauce onto your ice cream, manual focus will be your friend.
#5 – You’re ready to shoot
Once you’ve got the prop styling, lighting, and camera settings all figured out, you’re ready to begin shooting! If you’re photographing in the summer time, you’ll have to work quickly since the ice cream will melt almost immediately. I recommend having heavy duty towels on hand for wiping any heavy drips, and having the AC or a fan on to keep the working area cold.
I swear by this method for how to style ice cream and most cold treats, and I hope you’re able to take at least one tip from this blog post.
Let me know in the comments what your process is for styling ice cream or if there’s anything you particularly struggle with when photographing ice cream.
Till next time! Sharon
P.S. I’m always opening to hearing what you want me to cover next in this series, so comment below!
Make sure to tag me on Instagram @whiskfullyso and leave a review below if you found this post helpful. I hope you loved it! For more delicious ideas follow me on Pinterest.


Read the Comments +