Natural light verses artificial light. Both are amazing for food photography, but which is the best?
Every good competition needs categories, so I’ll be comparing the two light sources in four (4) different categories:
- 1) Level of Difficulty
- 2) Equipment Costs
- 3) Creative Freedom
- 4) Quality of Light
Lastly, I’ll wrap things up with a good ole fashioned pro and con list, so you can decide which one is best for you!
firstly…what is natural light and what is artificial?
Natural Light in food photography means…
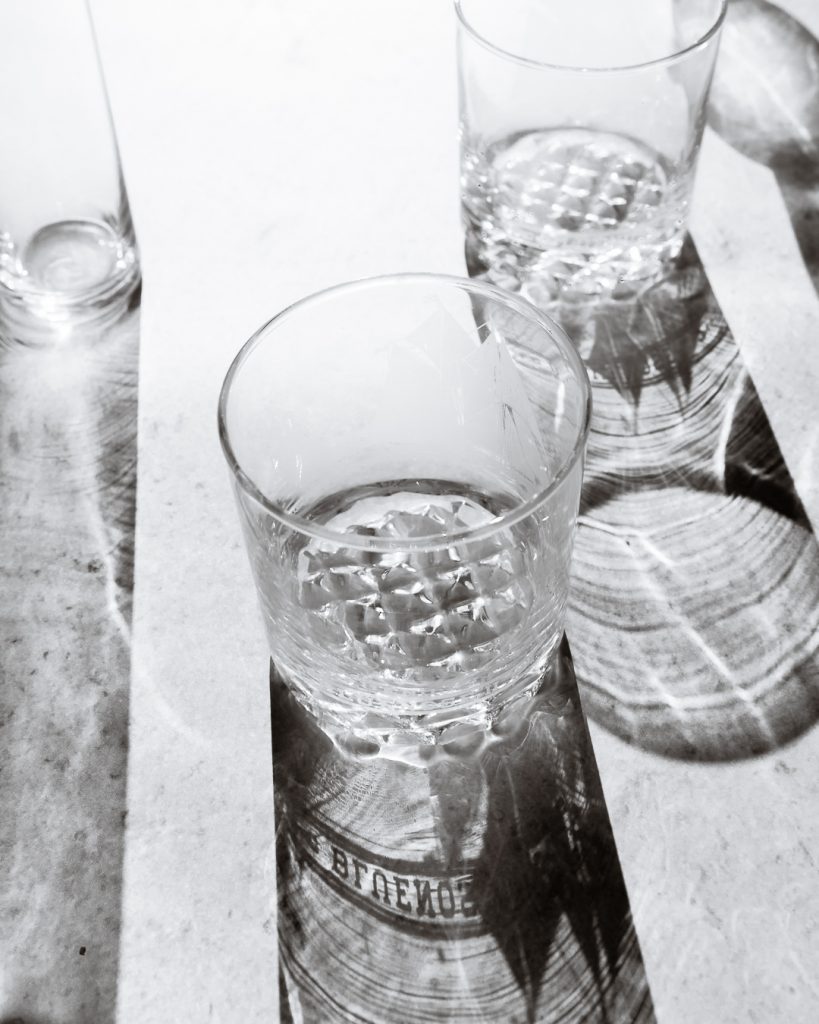
that you use only “natural light sources” to bring brightness to your image. A natural light source would be the Sun! In fact, it’s the most common natural light source for food photographers. Other natural light sources are: fires, and candle flames, fireflies, lightening, etc.
artificial light in food photography is…
any electric or “man-made” light source” such as lamps, overhead ceiling lights, or photography strobe lights, etc.. Essentially any light that does not come from a natural earth source. If you’ve gotten a yearbook photo taken, it was probably with artificial light! You’ll recognize those big light umbrellas!
Category 1: Level of Difficulty
Ranking system: 1 out of 5 (1 being easiest; and 5 being most difficult)
Natural light – 2 / 5
I’m giving natural light a low difficulty ranking of 2/5.
Natural light is the easier of the two to learn because chances are you’re only using 1 light source: the sun. When learning food photography, there are so many things to learn, so having fewer options makes things easier for you. What you get with the sunlight that day, is what you get.
The only reason i’m not giving it a 1/5 is because while it is easier to pick-up, you do need to become a master light manipulator and problem solver when dealing with bad weather on shoots days.
artificial light – 4 / 5
I’m not going to sugar coat it, artificial light is hard. With artificial light, you are CREATING and manipulating the light, so this requires a more technical understanding and slight physics to really be able to craft the images you want.
That being said, once you get a handle on the basic concepts, it becomes like (most skills) second nature, and you’ll have so much creative freedom.
WINNER – natural Light
Category 2 : Equipment Costs
Ranking system: 1 out of 5 (1 being most affordable; and 5 being most expensive)
Natural light – 1.5 / 5
Natural light is VERY affordable. When I first started food photography, the total cost of my equipment came to $200. So, it’s very possible to create beautiful imagery on a budget.
Here are my gear recommendations for food photography on a budget! I also DIY-ed all of my backdrops – tutorial here!
Artificial Light – 4.5 /5
This ranking was a little tricky, because artificial light in food photography can be affordable, but also bleed your wallet dry. There are tons of gear options available from affordable to top-of-the-line professional.
If you’re just purchasing the minimal artificial light gear, then you can keep the spending under $200. However, if you’re looking to expand into videography, and product photography, then note that you could easily spend $400 on just one light alone.
WINNER – natural Light
Category 3: Creative Freedom
Ranking system: 1 out of 5 (1 less options; and 5 for total creative freedom)
Natural Light – 3 / 5
Don’t get me wrong, natural light is amazing, but as you become more familiar with it, you’ll start to hit some limitations.
- You can’t manipulate the location of the light, or how it moves.
- You don’t have control over the quality of light
As you become more skilled as a photographer, you’ll want to be able to have more control over your image. Unfortunately, with natural light there’s only so much you can control.
Artificial light – 5 / 5
Without a doubt, artificial light wins this category. You have total creative freedom from how bright the light is, to where it’s shining from, and what it looks like on camera. You don’t have to arrange your schedule around the weather and you can photograph at any time of the day.
WINNER – artificial Light
Category 4: Quality of Light
Ranking system: 1 out of 5 (1 bad quality; and 5 for best quality)
Natural Light – 3.5 / 5
Natural light is not terrible by any means, but as your eye becomes more attuned to noticing light, you’ll find that photographing food in natural light can be frustratingly inconsistent.
Your shooting schedule is reliant on the weather, and if you live somewhere with cold winters, you won’t get much light during those months. Natural light also changes very quickly, so editing a collection of images to have similar lighting can take hours.
Artificial Light – 5 / 5
Remember, you have complete control here! Many photographers find that when they switch to artificial their images become tack sharp. this is because the light is more intense and consistent.
WINNER – artificial Light
Final Summary – PROS AND CONS
I was hoping this wouldn’t end in a tie…but clearly there is no “best”.
Which one is best for you, really depends on your photography needs and where you are in your journey. I was natural light’s biggest advocate, until winter came and I lost hours of shooting time due to cloudy days and early sunsets.
Below is a little summary, to help you decide!
Natural Light:
PROS:
- Easy to learn
- Very affordable
- Can be done anywhere as long as you have sun
CONS:
- Shooting schedule is dependant on the weather
- Light problem solving skills is a must
- Inconsistent results due to the nature of the sun
Artificial light:
Pros:
- Full creative freedom
- You can photograph anytime of the day
- Consistent results every time
- Faster work flow
Cons:
- Difficult to learn without prior knowledge of photography
- Equipment can be very expensive
- Requires a studio or larger space to work
I hope this comparison of natural light verses artificial light helps you decide which is right for you and your food photography. If you have any questions or discoveries, leave a comment below or send me an email!
Till next time! Sharon
Make sure to tag me on Instagram @whiskfullyso and leave a review below if you found this post helpful. I hope you loved it! For more delicious ideas follow me on Pinterest.



Great guide!