


Food Photography Equipment on a budget…is it possible?! I won’t sugar coat it, Food photography, is an expensive career and hobby! From the actual hardware gear, to software subscriptions, props, backdrops, and even studio rentals, expenses will mostly likely be the largest portion of your financials when you’re first starting out.
HOWEVER, the camera DOES NOT EQUAL beautiful photos. It’s the photographer who creates the images. Even if you have the most fancy camera and lens, if you don’t know how to use it, it’ll be like a novice piano player who buys a Steinway thinking they’ll then be able to play like Mozart -unlikely.
*This post contains affiliate links which means that I may receive commissions for purchases made through these links. However, please know that I only provide links to products that I actually use and wholeheartedly recommend!
But wait…? What If I want to invest now and get the fancy gear?
A completely valid question! But here’s another perspective. If you’re learning about photography and cameras for the first time, I DON’T recommend buying the most expensive camera or gear because you don’t know your style or photography needs yet! Some photographers shoot lifestyle food photos, this requires very different equipment from say, someone who photographs up-close magnified shots of food.
If you’re just starting out, there is so much for you to learn about photography, and the best way to learn is from scratch! It would be a complete waste of money to purchase a camera just because you see a famous photographer using it, only to find out it doesn’t have the features you want!
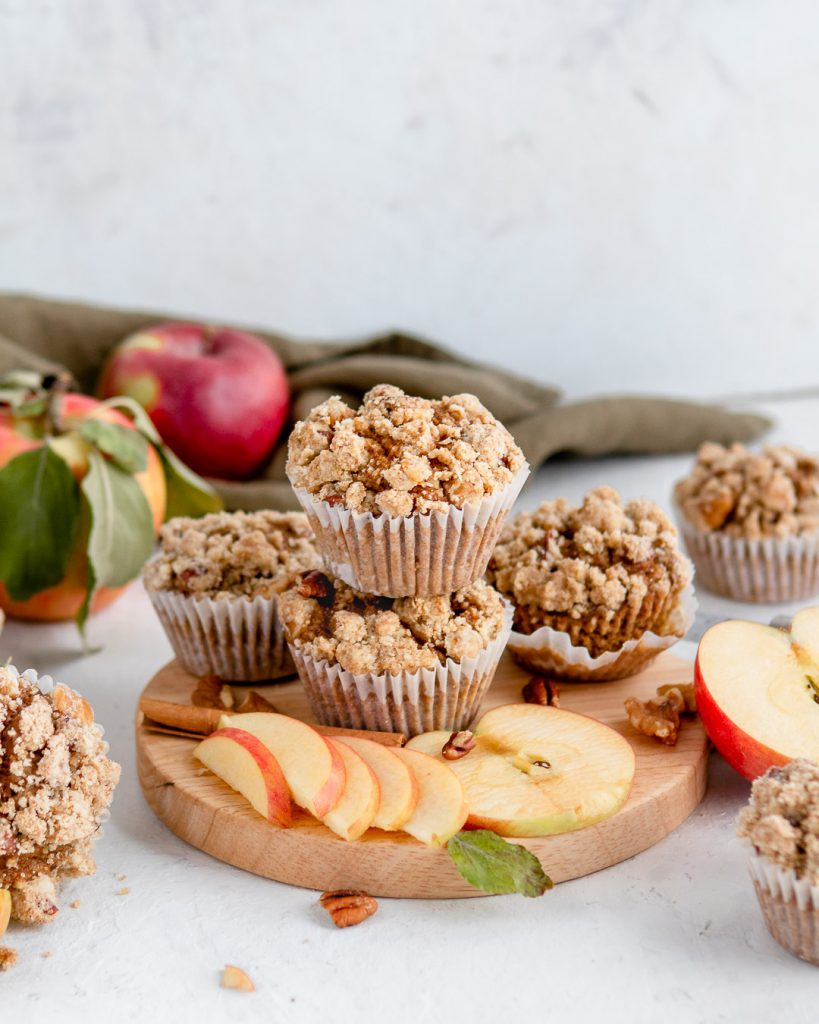
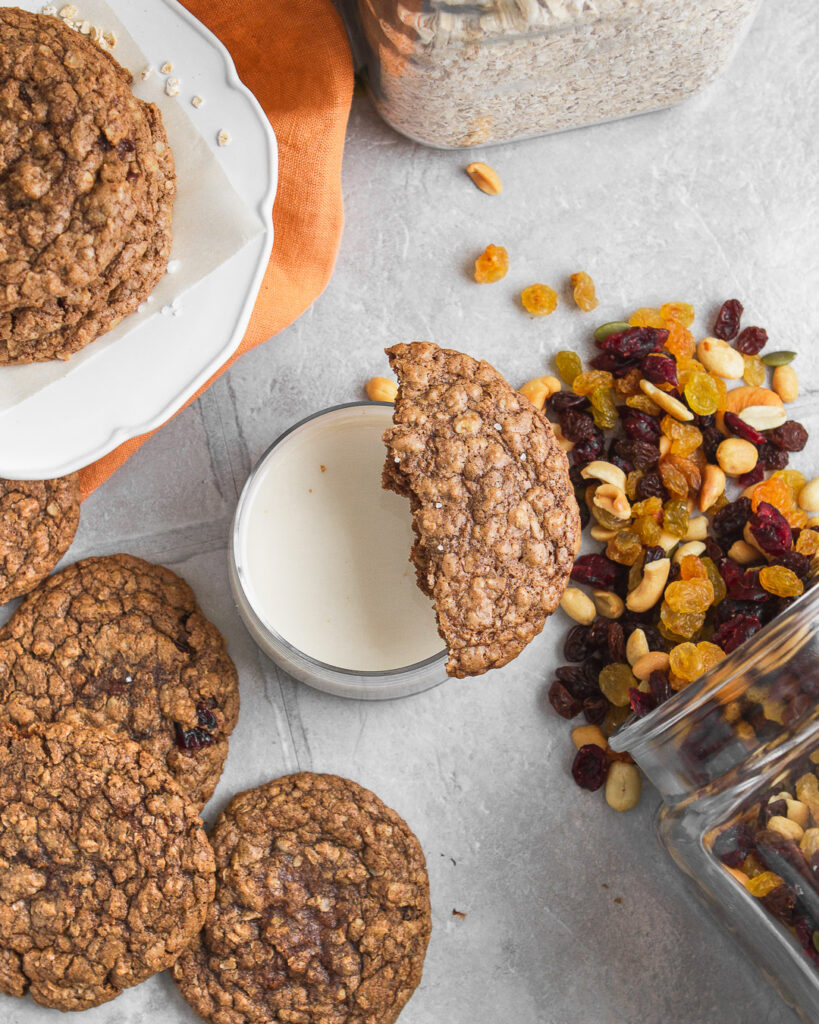
PROOF that you don’t need fancy gear for beautiful food photography
This photo was taken 5 months into my food photography journey, was shot on the Canon Rebel t2i, and with only a zoom kit lens. I also only used backdrops I painted myself! So it really isn’t the equipment that makes photos beautiful, it’s how YOU style, craft light and manipulate the camera settings.
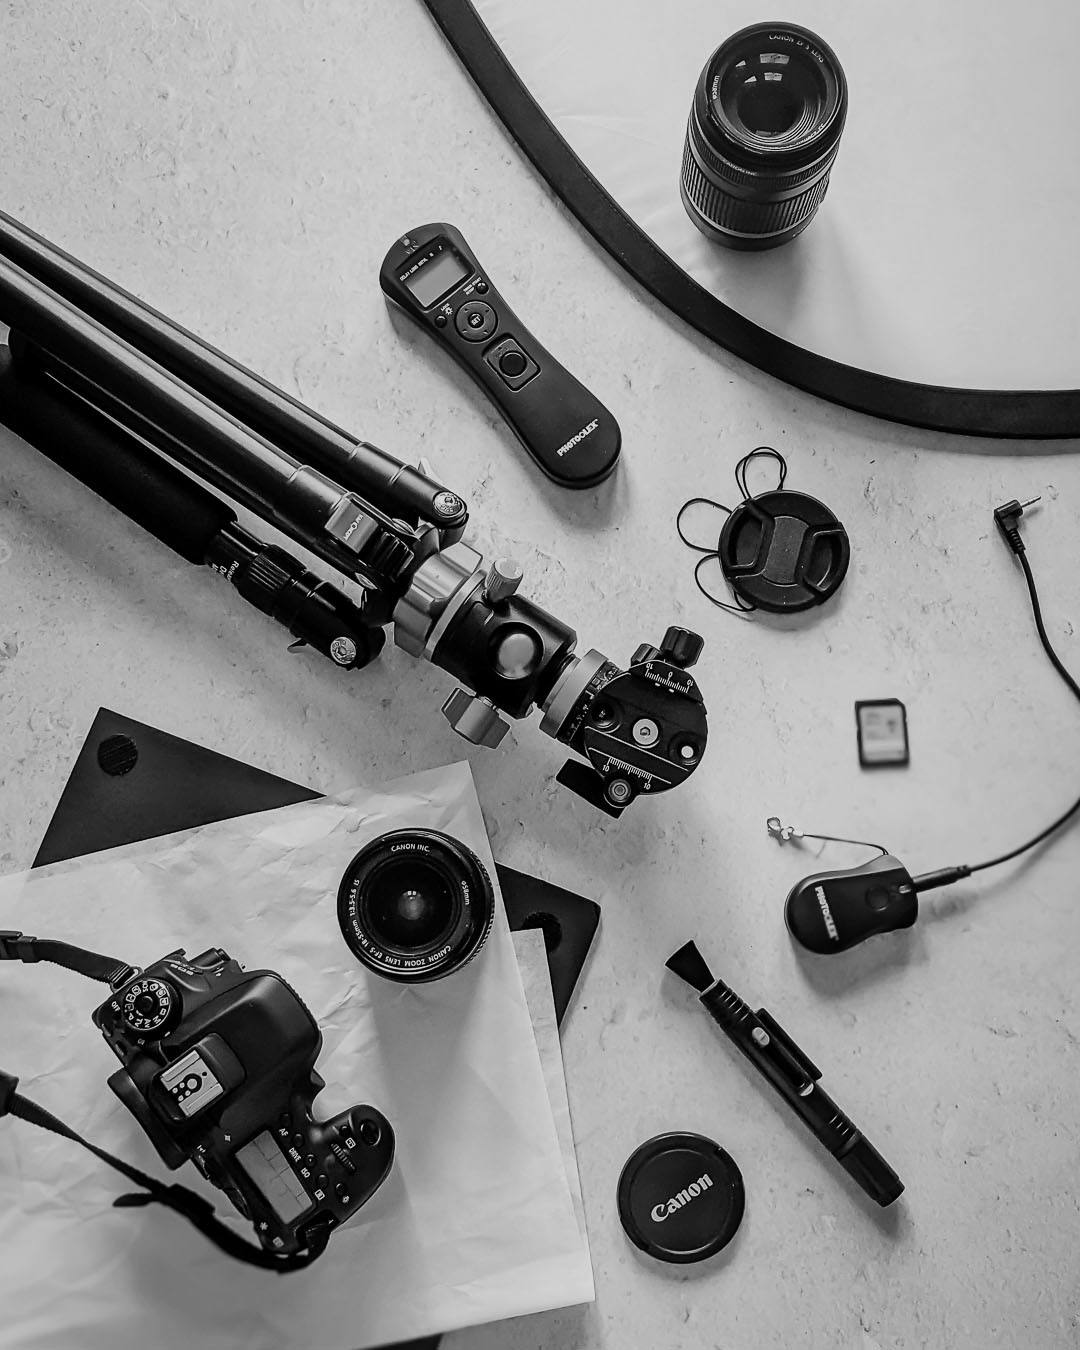
Here’s what you’ll need to get started!
All the products mentioned below are very affordable and are exactly (or similar) to what I used when I started my photography journey.
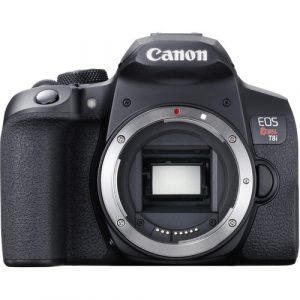
#1. Camera Body
The most important tool in your tool box is your camera! My first camera was this Canon Rebel t2i Camera. This was my dad’s camera so I didn’t need to purchase a DSLR. It’s so old that when it finally died from overuse it was discontinued! To keep your spending low, purchase second-hand, the price will vary depending on the condition, but there are so many options. I highly recommend any of the Canon Rebel Series for anyone starting out! Here’s what I recommend – Canon Rebel T8i
- Capable of shooting 4K video
- Swivel Touchscreen (the swivel is a GEM!)
- 800 shots per battery charge!
My personal preference is for Canon products, however Nikon or Sony has some amazing DSLRs in the lower price range.
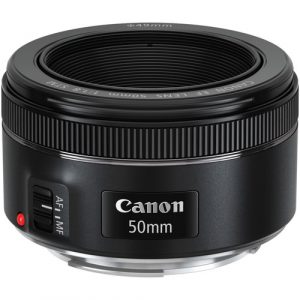
#2. A Lens
Notice how I didn’t say lenses? When you’re first starting don’t you need to invest in a bunch of lenses! Heck, my first lens was a zoom lens that came with the camera! You’ll notice in the camera suggestion above, I only recommended the body, this is because this Canon 50mm Lens is better suited for food photography.
Why I recommend this lens:
- 50MM focal length is wide enough for overhead flatlays.
- Goes down to f1.8 aperture so you can get shallow depth of field (shots where the background is blurred).
- Super affordable!
- Kit comes with a lens cover (protects the lens and prevents UV glare) and a dust pen to clean the lens (never wipe it without special cloths!)
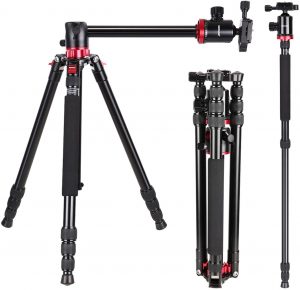
#3. A tripod
I included a tripod in this list, because I consider it an essential – even on a budget. A tripod, is KEY for eliminating shake and getting sharp photos! While there are fancy ones with ball joints and over head arms, I recommend getting a tripod with at least these 2 features (even as a beginner).
Key Features:
1) Holds a minimum weight of 5 pounds – You don’t want your camera falling into a cake – been there, don’t want to go back!
2) Has an overhead arm – I consider this a key feature, because overhead shots are the #1 most captured food photography shot. Having a tripod that has an overhead arm, vastly streamlines my workflow, and means I can adjust my scene without having to climb up on a ladder and hold up my camera to check.
Here are 2 tripods I recommend, Amazon Basic (under $50) and one with an over head arm Neewer 2-in-1 Camera Tripod (Under $150 – I HIGHLy recommend this one!)
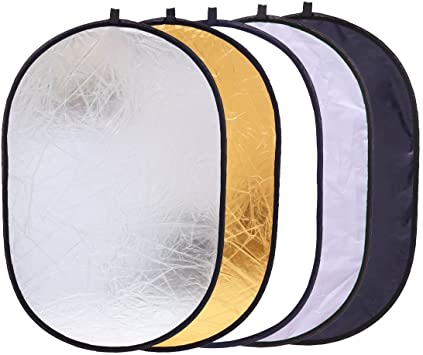
#4. Diffuser
When shooting with natural life, this will be your #1 light manipulator. Especially on bright sunny days or even in the winter with harsh blue light. Most diffusers come with a removable liner that has 4 different finishes (white, black, shiny gold, and shiny silver). They come in a variety of shapes and sizes, but I recommend getting 1 large one at the very least! Here’s the diffuser I have!
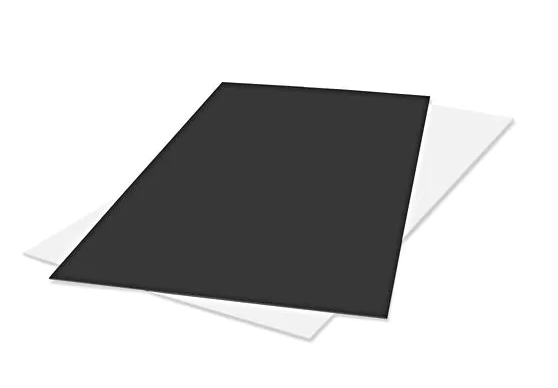
#5. Reflectors
Second to diffusers, reflectors play an important role in shaping light. They are most commonly white or black. White is for brightening shadows, and black is for adding depth and shadows to a scene. While the diffusers (above) come with the reflector lining, those are difficult to hold up since they’re flimsy.
I recommend using either white or black card stock! For larger reflectors, white or black foam core boards are perfect! And they’re under $5! I recommend getting them at your local craft store since the ones on Amazon are sold in bulk.
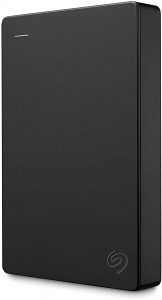
#6. Hard Drive & Cloud Storage
I’ll spare you the sad story, but basically in the beginning I was not properly organizing and backing up my files. This all led to one tragic day where I lost the photos from one of my best photos shoots. Lesson learned – get a hard drive or cloud storage (iCloud or Google Drive) and consistently backup your work!
I recommend getting one with at least 2 TB, and some kind of protection so if you accidentally disconnect it will be less likely your files will be corrupted. This one by Seagate I swear by! For the most affordable option, I would go with cloud or Google Drive storage!
#7. A backdrop
Here is where you have some options. My first backdrops were all DIY and made with either stick on tile or hand painted. The image above was shot with grey tiles that I stuck onto a foam board that I bought from Home Depot for $1.99 each!
Affordable Backdrop Options:
1. Stick on Tiles – Great for a faux marble or concrete look, and vary in price from $1.99 to $3.99.
2. Coloured Card Stock and Paper – Paper is an amazing food photography backdrop. My friend Carina Yu, shoots stunning photographs all with the use of paper! Check out her work here!
3. Slab Tiles – Also a great affordable option from a home renovation store! I don’t recommend buying real marble or stone since that would be the same price as buying a professional backdrop if not more!
4. Hand Painted – This will cost a little bit more, around $30, but it’s such a good investment since you can custom what you want! For more details on how to paint your own, check out my tutorial here!
5. Bed sheets or Fabric – Linen bedsheets or even all white bed sheets create a beautiful soft background, best of all you probably already have them!
6. Vinyl – Yes! Vinyl backdrops are affordable! These are my most recommended since they’re easy to clean and store! My favourite affordable brands are: CLUB Backdrops & CBL Backdrops These are a little bit more of a splurge, but totally worth it!
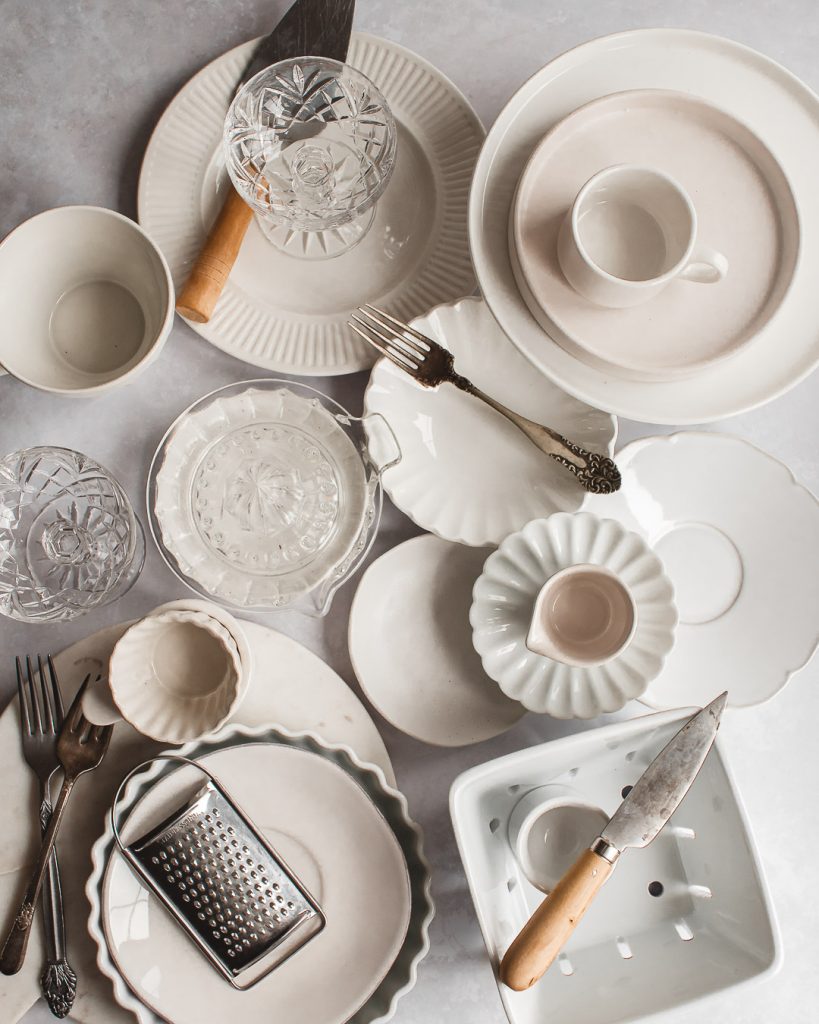
#8. Props
Food photography wouldn’t be possible with at least some props, and they don’t have to be expensive! Antique shops, Etsy, and e-bay are my best friends as well as my grandparents house! For an in-depth post about which props are essential, check out this post about 10 essential food photography props!
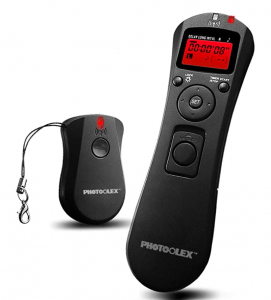
#9. Remote Trigger
Now this is OPTIONAL, depending on the types of photograph you want to create, but most food photographers will want to capture motion: drips, dusting, pour shots, etc. A remote trigger will be your best friend for achieving those shots, and I recommend getting a wireless one. While wired remotes are the cheapest (under $15), most can’t shoot on high-speed continuous and it’s easy to get tangled in the wire.
This wireless remote is by far THE BEST $50 I ever spent, and is my favourite tool. I can set a timer, shoot far away, and not feel rushed.
Wireless Remote $ (NOTE – This one does not have highspeed continuous or timer settings): Amazon Remote Trigger
Wireless $$ (This is the one I have! They also have one for Nikon): PhotoOlex Canon Remote Trigger
And there you have it! Beautiful food photography IS possible on a budget! If you have any questions about gear or cameras, leave me a comment, and I’ll get back to you!
Till next time! Sharon
Make sure to tag me on Instagram @whiskfullyso and leave a review below if you found this post helpful. I hope you loved it! For more delicious ideas follow me on Pinterest.


Read the Comments +