


*DISCLAIMER* this post contains affiliate links which means that i may receive commissions for purchases made through these links. however, please know that i only provide links to products that i actually use and wholeheartedly recommend!
The long awaited Food Photography Gear Guide post! I was hesitant to share this post, because I know some people will immediately purchase everything and expect their photos to be instantly better, but the people have spoken, and so here we are 🙂
a word of caution before you buy
Everything you see here was not purchased overnight, and I always do thorough research to make sure that the gear suits my needs before buying. You should do the same, to make sure the gear is appropriate for the photos you want to be taking.
I firmly believe in waiting to upgrade equipment until you’ve proven to yourself that you’ll stick with it. Remember: you don’t need high-end gear to take beautiful photos.
LASTLY, I’ll be updating this post, as I get new gear, so this list will always be current! As always, if you have any questions about the gear below, please leave a comment and we can chat!
More gear guides…
If you’ve just started your food photography journey, here’s a post sharing budget friendly gear. This is the kit I had right at the beginning!
If you’re looking for video gear: here’s a gear guide for filming content with your phone, and another post here, with film gear for DSLRs.
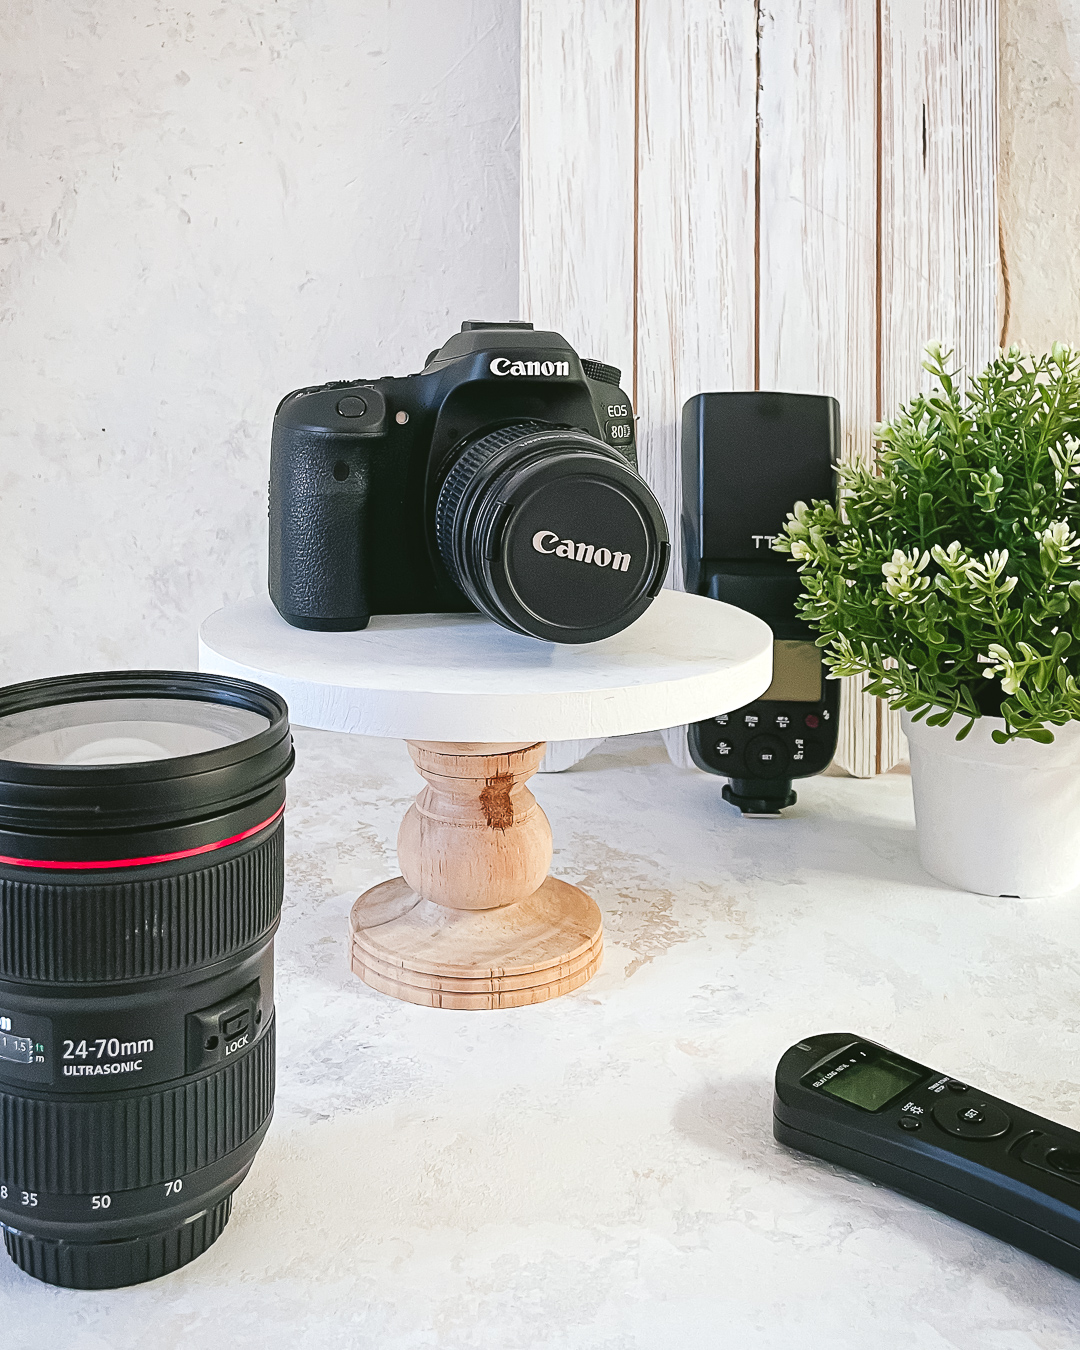
My Camera & Lenses

The first camera I used for food photography was a Canon Rebel T2i; however, it’s no longer on the market – that’s how old it is! I highly recommend any of the cameras in the Canon Rebel line, especially this Canon Rebel T7, if you’re just beginning food photography. Very budget friendly and a great entry DSLR.
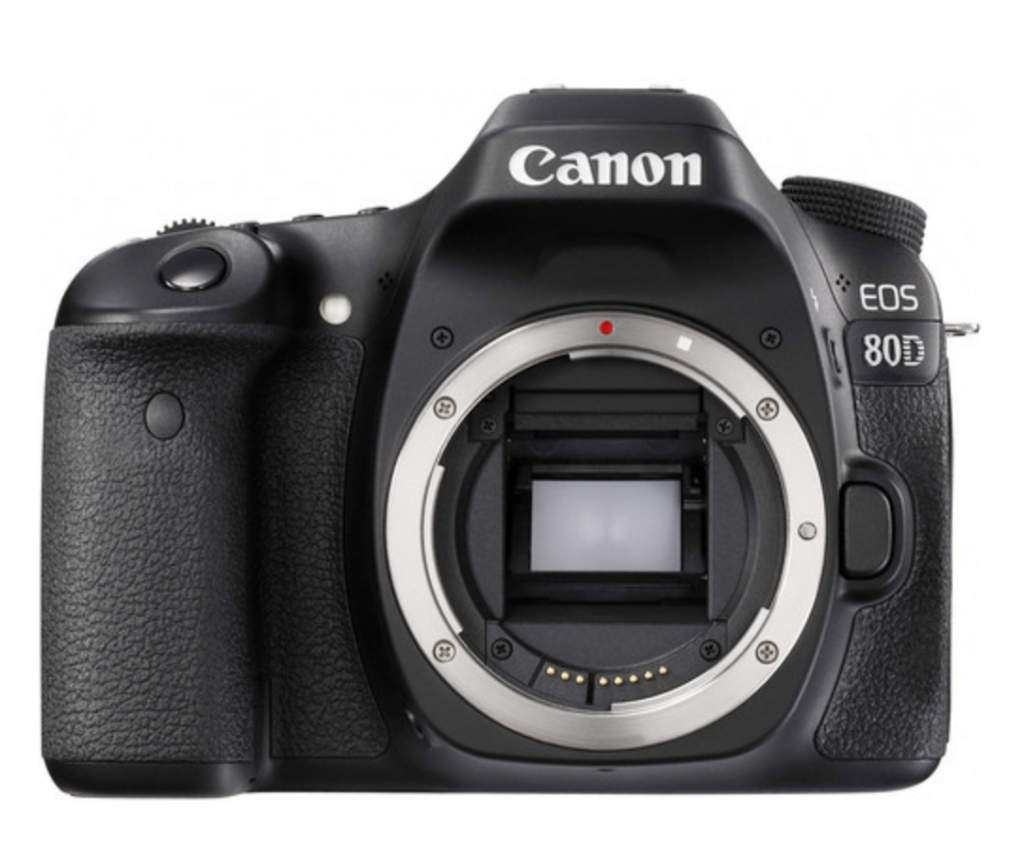
Since Fall of 2020, my main camera is now this cropped sensor Canon 80D. While it isn’t full frame, it’s still compatible with a wide range of higher end lenses from Canon’s RF line and other brands like Sigma and Tamron. Just keep in mind that cropped sensor cameras “crop” the effect of lenses, but for my needs, it doesn’t affect my work on a daily basis.
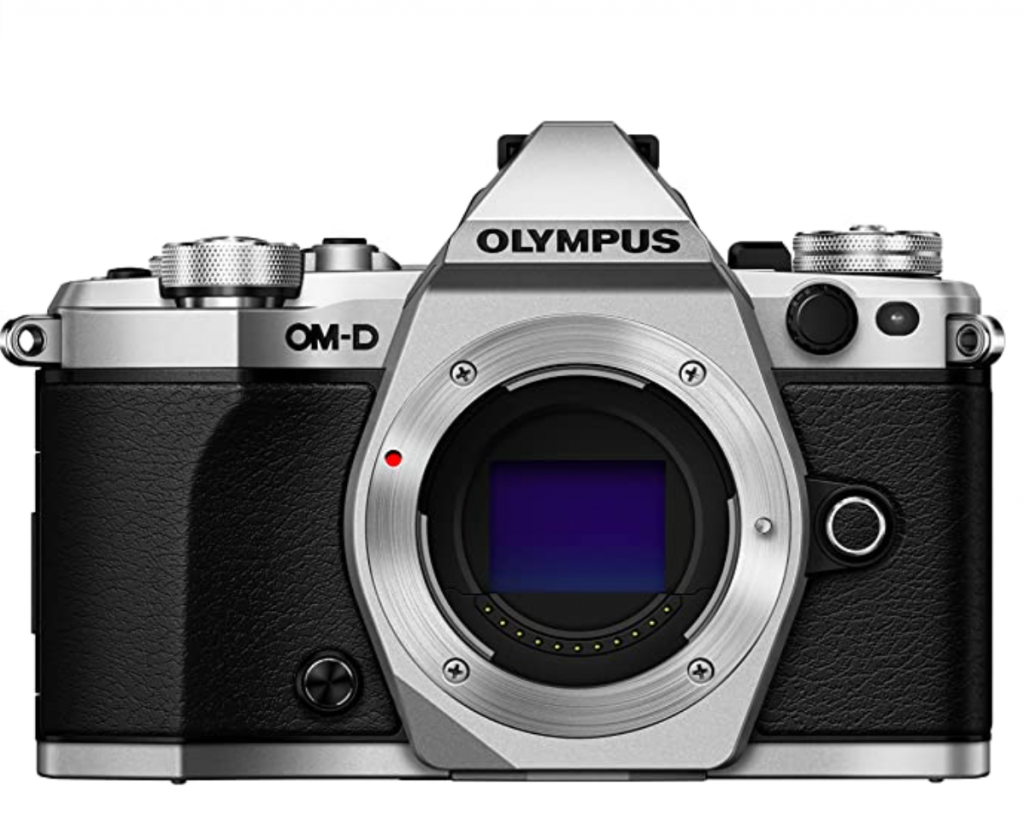
My secondary camera is this Olympus OM-D E-M10 Mark II. I love the old-fashioned look of this camera. It’s extremely light weight, so It’s my go-to when traveling, and taking lifestyle photos. I also used this when my previous Canon Rebel camera broke down, and it was great for food photography even though it’s not a DSLR!
Camera Lenses
For large scenes and flat lays, I still use this 18-55mm zoom kit lens that came with the Canon Rebel camera, and for straight-ons, 45 angle and video filming I use the 24-70mm f2.8 zoom lens. I know the price tag for this lens is jaw-dropping, but it’s THE BEST investment I’ve made.
Recently in Fall of 2021, I invested in a Macro lens. I know a lot of people recommend the Canon 100mm, but instead I chose to go with this Tamron 90mm. Since my camera is cropped, with this lens, I get the same effect as a 100mm, and the price point is much friendlier. *Note* They have two options, one for Nikon and one for Canon.
This may seem trivial, but if you’re like me and you want to protect your hard-earned lenses, I use this UV filter on top of my camera lens to block out harsh blue sunlight reflections and protect the lens if I were to drop it. Not that I ever have, but IF I did it would be safer.
Additional Camera accessories
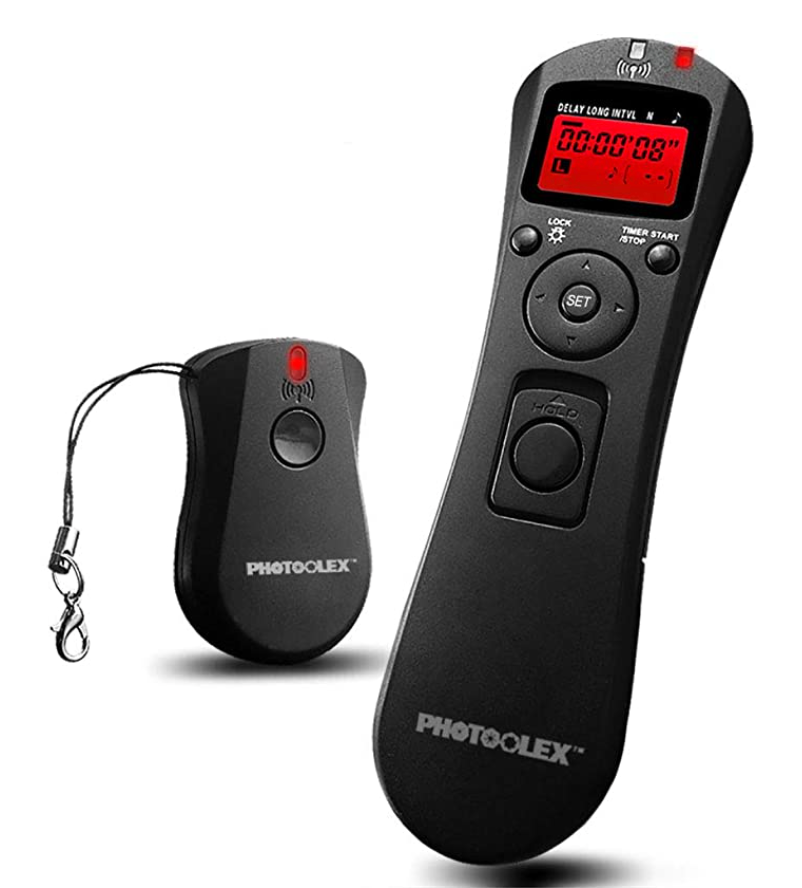
Besides my camera body and lenses, I also use a remote trigger. This remote, can take single, continuous, and timed photos. This is great for when I need to capture high-speed motion shots while being far from the camera or simply to take a photo without shaking the camera when I push the button.
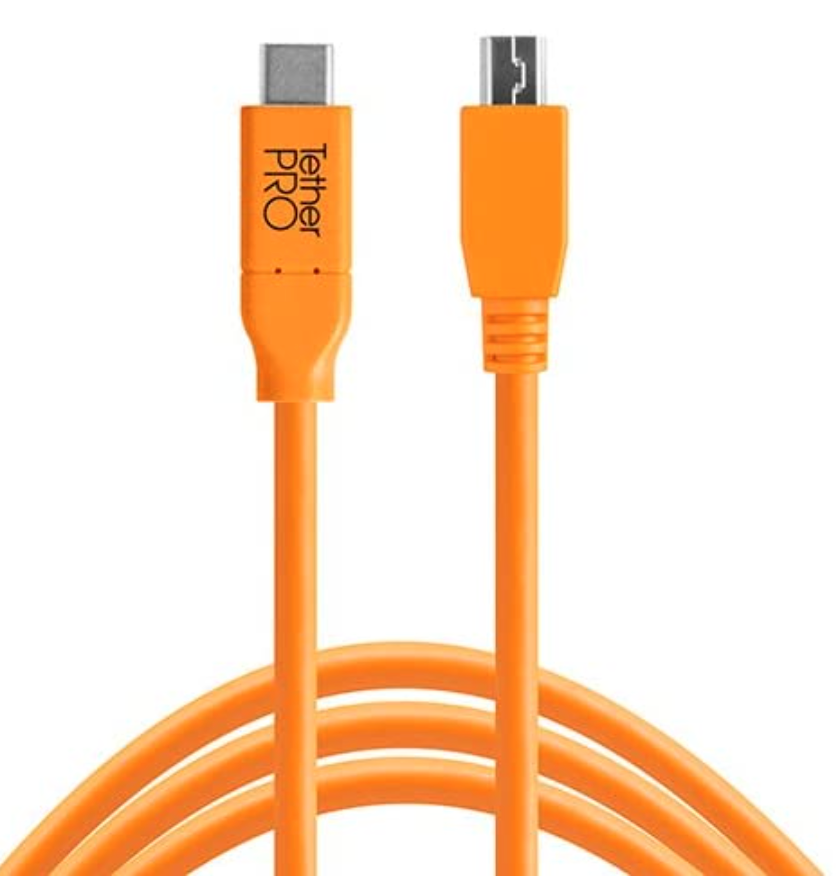
I’m a big advocate for tethered capture, because I can make sure the lighting and composition is spot on, and make edits to photos immediately. To tether, I use this long USB cord, and either 1) Canon’s Utility Software (note – make sure you download the right system for your camera model) or 2) Lightroom’s in-system tethering system.
Here’s a super informative video by Jonie Simon on how to tether your camera.
To prevent the tethering cord from being disconnected if I accidentally pull on the cable, I use this cable stopper (also from Tether Pro)
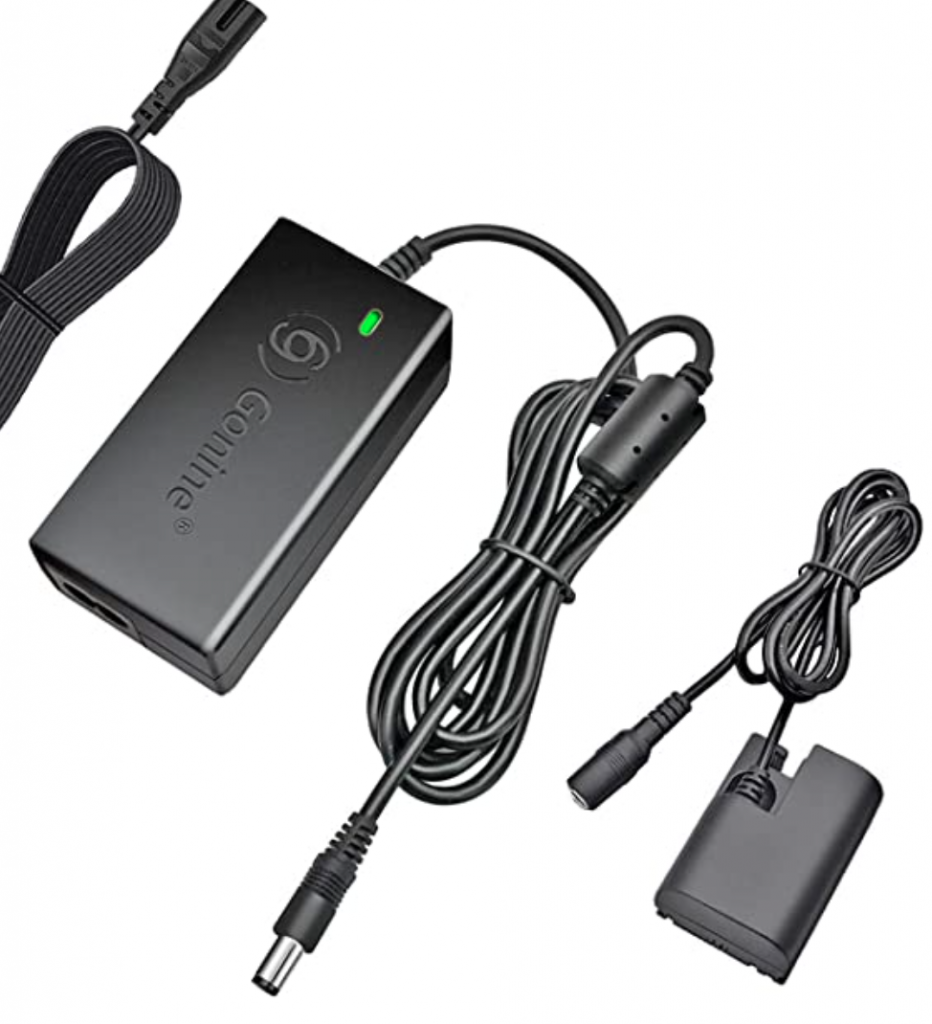
Cameras eat up your battery power really quickly, especially on video shooting days, so I always have a backup ready. I also recently purchased a battery adaptor that can be plugged into an outlet, so I don’t have to worry about my camera shutting off.
Tripods, Light stands, and C-stands
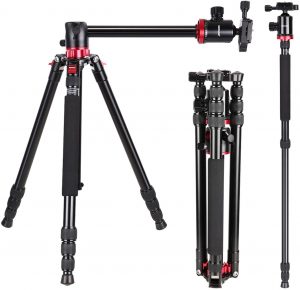
Tripods are essential! This one by Neewer 2-in-1 Camera Tripod I have is not fancy by any means (under $200) but it’s light enough to carry outdoors, and stable enough to support my camera and heavier lenses.
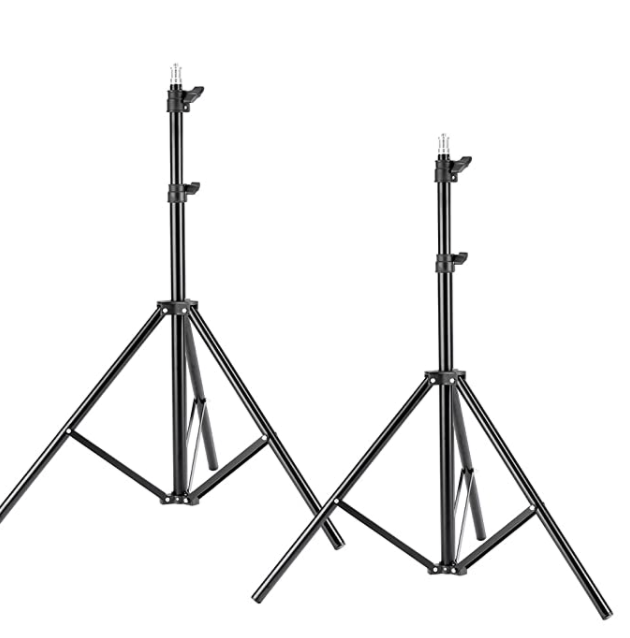
For holding up my lights, modifiers, and backdrops, I use these Neewer Light Stand (comes in a bundle of two). You’ll also need to purchase this head clamp attachment so you can hold up backdrops, modifiers, and props like flowers or leaves. I recommend getting at least two (2): one for holding your backdrop, and another for modifiers.
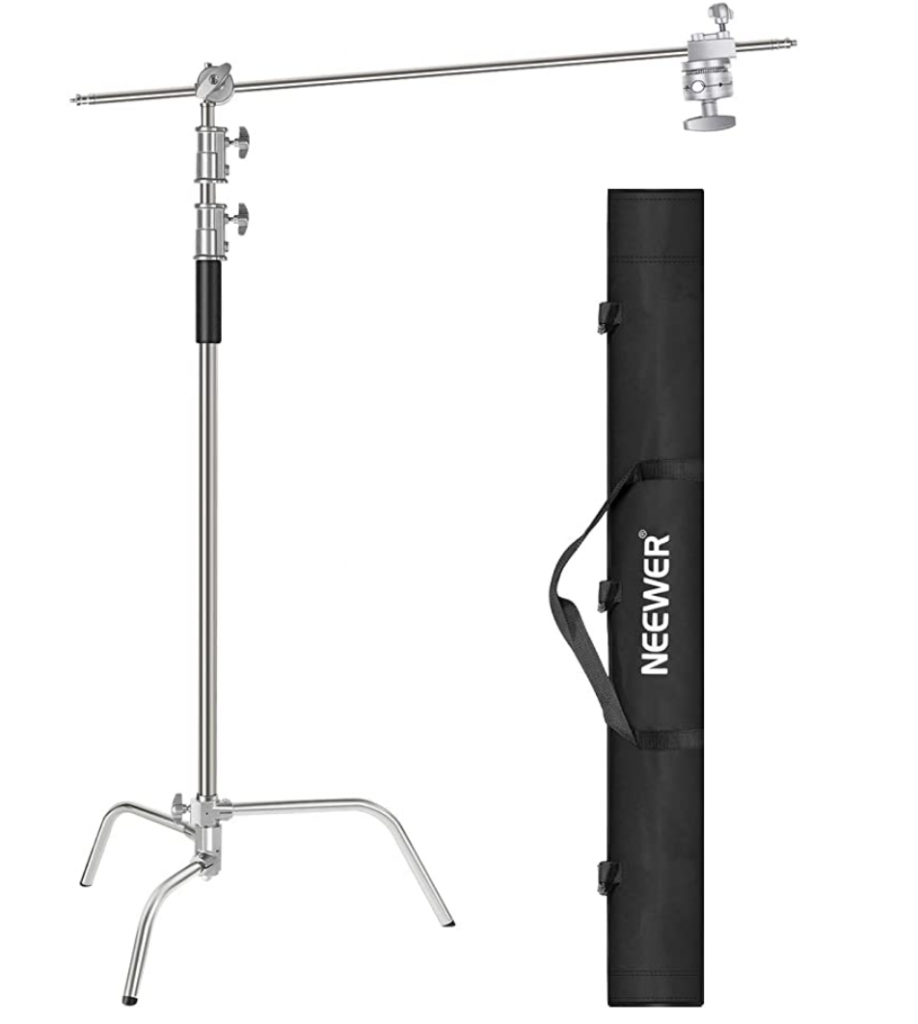
I made the jump recently, and splurged on a Neewer c-stand, and BOY do I wish I got this sooner! It’s amazing for overlay shots, and attaching my artificial lights to. I can compose my scene without having to stand on a stool or precariously balance my tripod on the table.
I do have to use a bag filled with heavy books to balance out the other side when I have heavier lights or lenses on, so make sure you purchase a c-stand that can support the minimum weight you need.
UPDATE – (January 2022) – I purchased an additional C-Stand. This time an Impact Turtle Base C- Stand, and I now prefer this brand much more than Neewer. The quality is superior, and the design more secure. Comparing the two, the Neewer stand is still good, but the materials and construction of the stand are subpar when compared to Impact. Another brand I’ve heard really amazing thing about is KUPO. Definitely one of the most expensive, but the quality and construction is on a level of its own.
Diffusers & bounce cards
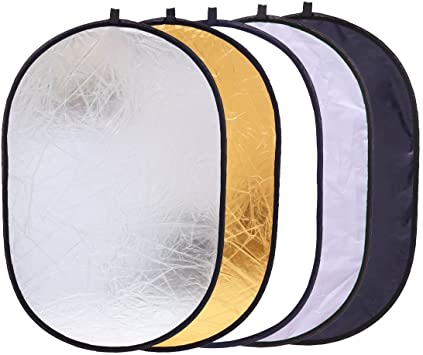
When shooting with natural light, this will be your #1 light manipulator. Especially on bright sunny days or even in the winter with harsh blue light. Most diffusers come with a removable liner that has 4 different finishes (white, black, shiny gold, and shiny silver). They come in a variety of shapes and sizes, but I recommend getting one large one at the very least! I have two: this smaller portable diffuser and this 47″ x 71″ large diffuser.
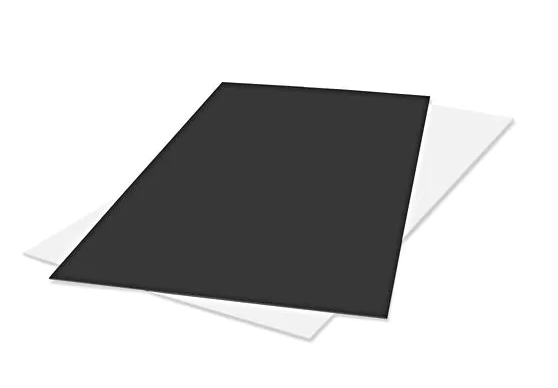
Second to diffusers are bounce cards. These are just like the different diffuser finishes, but I like using foam core board for a more sturdiness. I prop these up all around my scene to manipulate the light. You can get these are your local craft store.
Artificial Lights and modifiers.
I never thought i’d be talking about artificial light, but here we are!
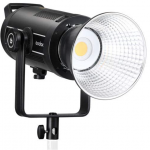
When shooting with artificial light, my current favourite is continuous light, and I use this Godox SL-150 II Strobe light. There is a more affordable version, but I also use this to film my videos, so the fan silencer is a god-send for quality audio. It also plugs into the wall, for continuous battery life, and it comes with a remote so I can adjust the light temperature. BONUS!
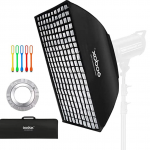
When using the strobe, I also attached this Godox 48 inch Modifier, but since my style is bright and airy, I will be making the switch to this octagon modifier instead.
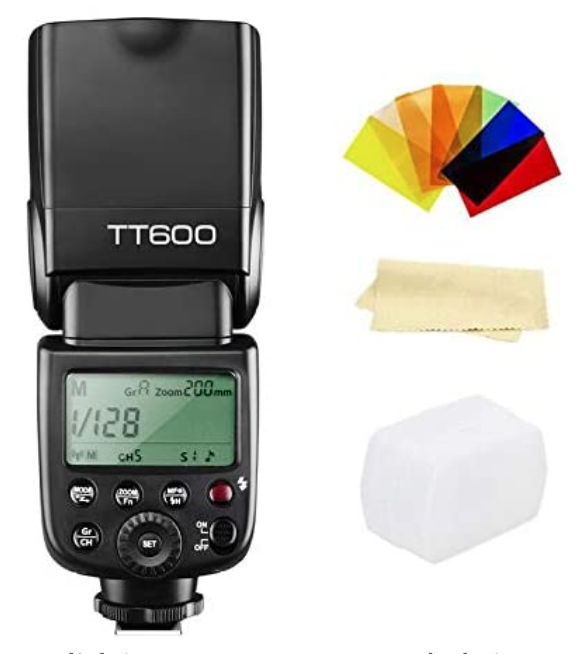
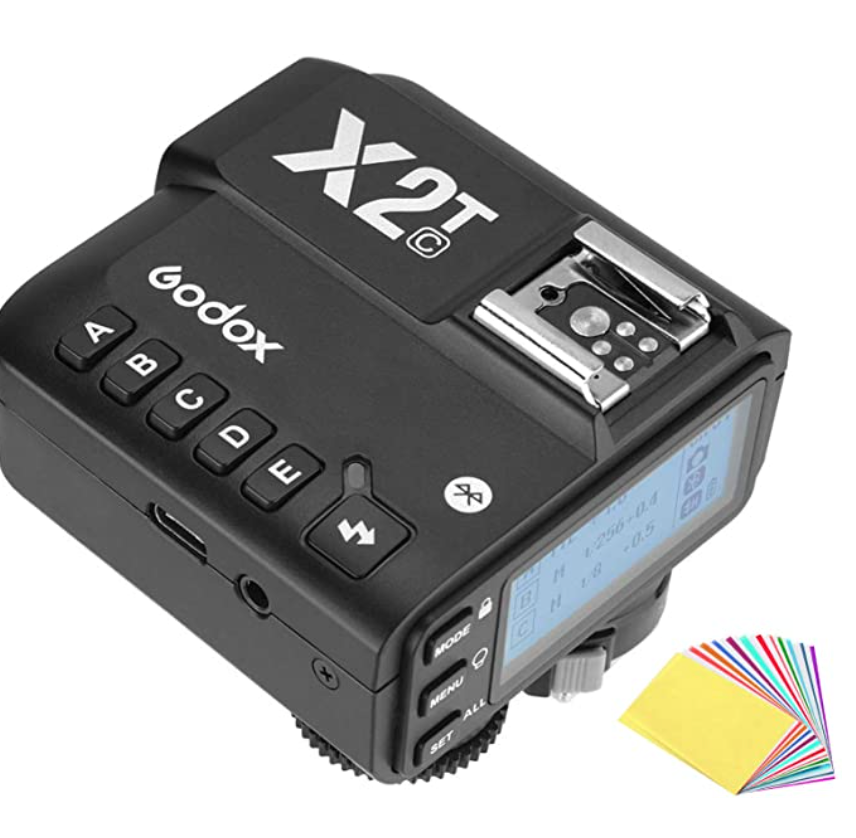
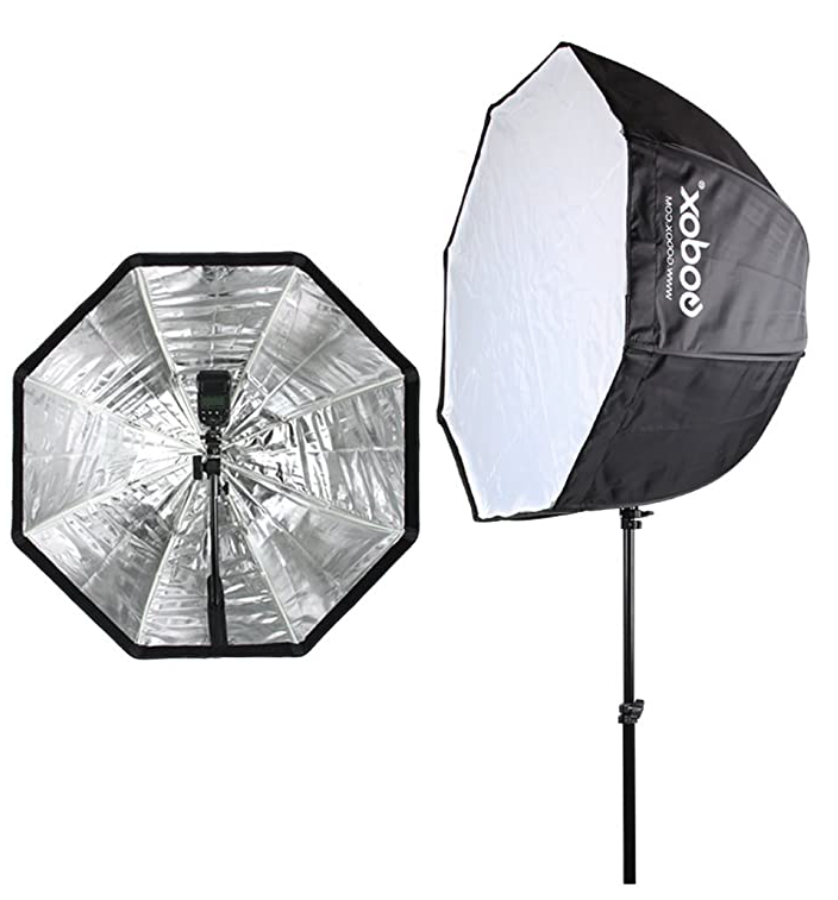
Besides the strobe, I use this Godox TT600 speedlight with the Godox X2T Trigger. To modify my light when using a speed light, I use this Godox 47 inch Octagon modifier. Remember what I said above? Bigger modifiers are better to get a natural bright and airy feel. This one is really easy to set-up as it opens like an umbrella.
Storage and Memory Cards

Don’t skimp out on your storage! There’s nothing worse than loosing all your photographs. It’s painful!
I have at least 3 of the SanDisk Extreme Pro 128 GB cards. For external storage, I have this Seaport 1TB External hard Drive, and to be EXTRA careful, once a week I back-up any new work onto Google Drive.
Video equipment
Currently, I use the same photography equipment for filming video. The only extra bit of kit I is this Rhode Pro+ Mic for capturing audio. It has a high pass filter which filters out background noise and makes editing audio in post a breeze.
Editing and Creative Softwares
To edit all my images, I use a combination of Lightroom Classic Desktop ONLY Version (not the CC mini version) for my light edits, and Adobe Photoshop for: photo manipulation, retouching, photo composites, and color manipulation.
UPDATE – (January 2022) – I’m currently learning how to use Capture 1, and I plan to make this my primary editing software. More updates and reviews on this to come.
For video editing, I use Adobe Premiere Pro, or InShot for videos shot with my smartphone.
other creative softwares and tools…
Outside of the editing softwares above, I mainly use Adobe InDesign and CANVA to create my marketing materials, e-books, pdfs, Pinterest Pins and any other visual content outside of my food photos.
Backdrops
There are so many amazing backdrop options, but here are some of my favorite shops at varying pricepoints.
- Capture by Lucy (CBL Backdrops) – $
- Woodville Workshop – $
- Bessie Bakes Backdrops – $
- Erickson Surfaces – $
- Club Backdrops – $
- Home-made DIY – $ (super fun, and VERY affordable. Here’s a tutorial!)
Again, remember that the gear does not make the photographer. If you’re looking to improve your photography, first consider investing in furthering your education before buying a ton of new gear.
If you have any questions about any of the food photography gear above, drop a comment below or send me a DM on instagram!
Till next time! Sharon
Make sure to tag me on Instagram @whiskfullyso and leave a review below if you found this post helpful. I hope you loved it! For more delicious ideas follow me on Pinterest.


Super helpful to hear your opinions on pricing/quality and how each piece of gear works for your specific needs. Thanks for the post and love your work!
Aww thank you Alice 🙂 I will always give my honest opinion. After all, gear can be such an investment!
This post is super helpful! Thank you so much for making things easier for me to purchase my artificial lights gear!!
Thank you so much Sofia!! Can’t wait to see what you do with the gear!